What the Golden Hour Is and How to Use It
In this guide, you'll learn when the sun creates the best light, how to plan, and how to shoot fast in a short window. We share studio-tested advice from TYX.
Golden hour is the brief window after sunrise and before sunset when soft, warm light flatters skin and sculpts texture.
This guide covers timing, science, and field technique so you work fast and get consistent results.
At TYX Photography Studios, our studio workflows support can your natural light sessions. Learn how the sun’s low angle and the atmosphere shape light, how to plan your shot list, and how to leave with images that feel alive.
Defining the phenomenon
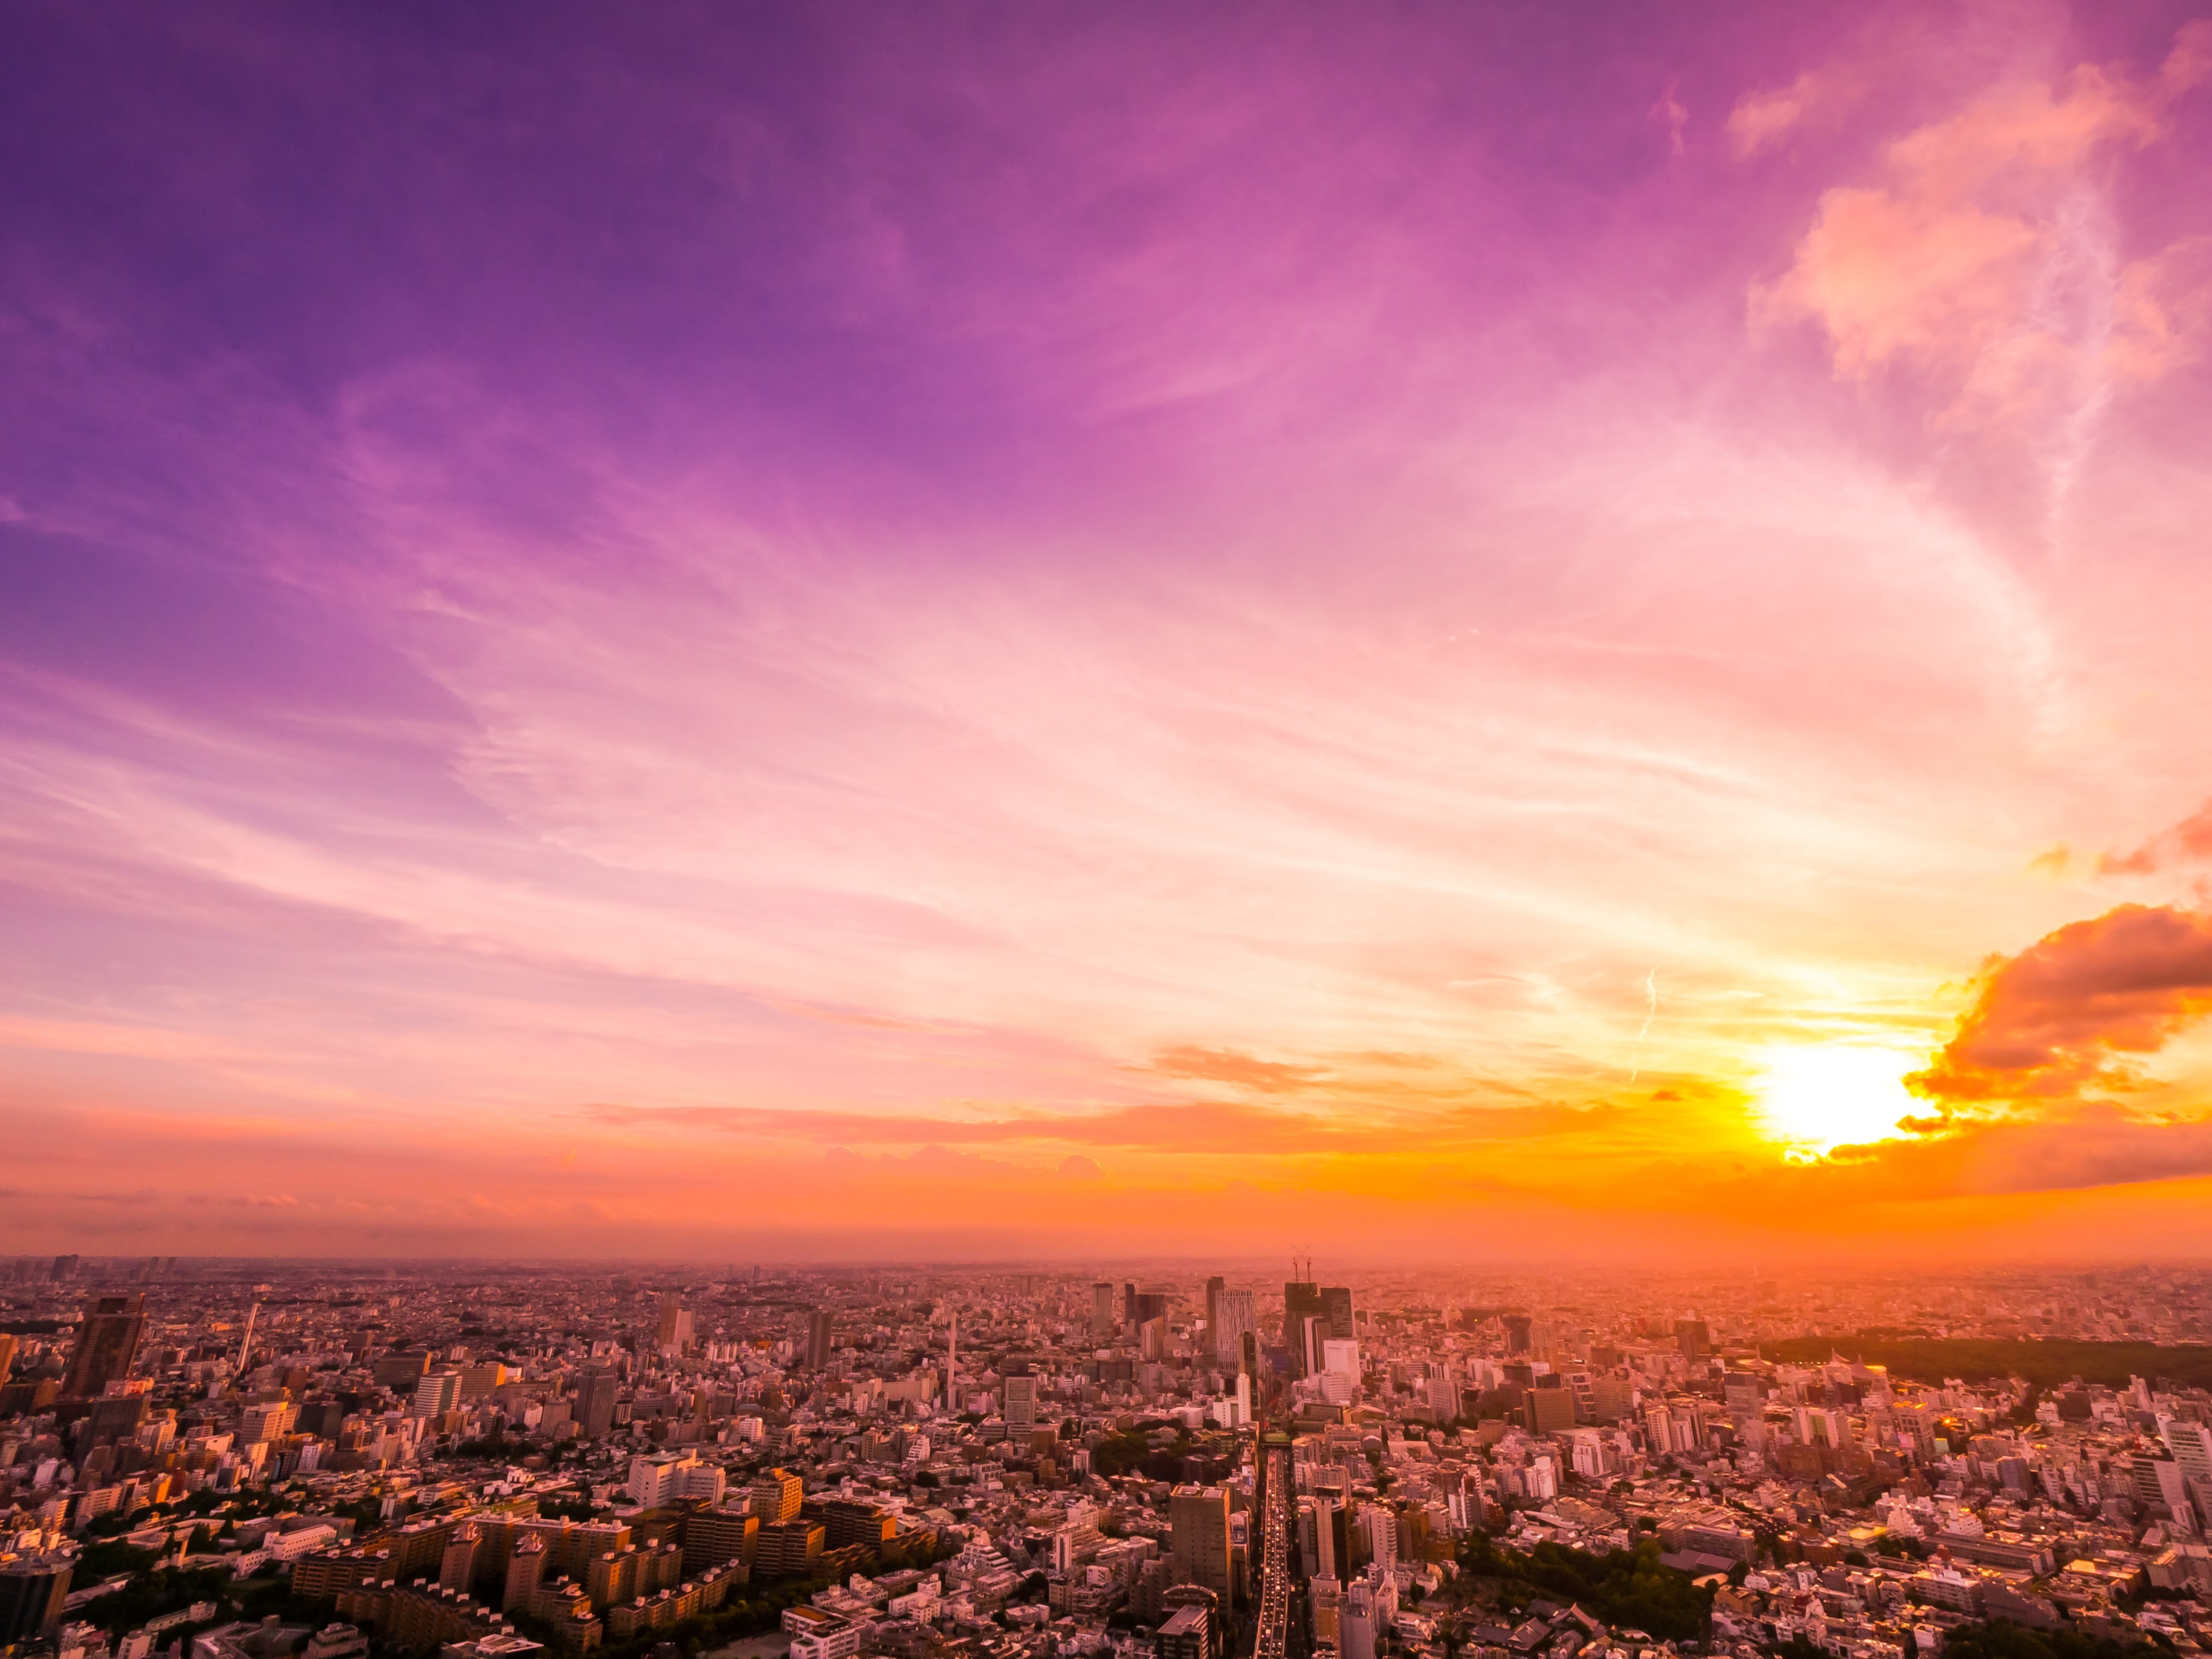
If you have ever wondered what the golden hour is, think of the times of day when the sun is low and the sky glows with warm light. Many call it magic hour because the light wraps around your subject and softens edges.
In this period, you see less light from overhead and more colour in the sky. The sun is no longer directly overhead. It strikes at a low angle through the earth's atmosphere, so you get soft light, gentle tonal separation, and richer colour.
Photographers also talk about blue hour, which arrives just before sunrise and just after sunset. Blue light dominates then.
Golden hour covers the span when the sun is near the horizon, roughly from about −6° below to +6° above, which is why you notice a glow on the subject’s face and a beautiful halo on hair, glass, or foliage.
The science of golden light
.jpeg)
The sun sits near the horizon, so its rays travel through more of the Earth's atmosphere before they reach the surface. Rayleigh scattering by air molecules preferentially removes shorter wavelengths, which reduces blue light and yields warm light.
Aerosols and moisture add Mie scattering that can further tint or soften the look of golden light. Because the sun is at a low angle, you receive more indirect light from the sky dome in addition to directional light from the sun. The result is light that remains soft and flattering.
This setup reduces harsh shadows and moderates overall contrast. Sunlight is still bright, but it is spread across the sky, dust, and moisture in the air. You often have enough sunlight to shoot handheld if your camera, lens stabilisation, and subject movement allow.
The balance gives you the best light for skin tones, reflective instruments, and fabrics.
When golden hour happens
Golden hour lasts for different lengths of time depending on season and latitude. In summer at higher latitudes, it can feel like an hour or more.
In winter, it can shrink to a short window of minutes. A more precise way to plan is to use solar elevation: expect golden hour light from roughly 6° to +6° relative to the horizon. Watch how the sun passes across the horizon in your city and note how fast the light changes.
On a sunny day, the colour will be richer. On a cloudy day, the colour shifts, but the softness remains. At very high latitudes in summer, golden hour light can persist for much of the night, while in winter, during polar night, it may not appear.
Check the sky and remember that the light is changing quickly. If the horizon has low clouds, the display might end early. If the sky is clear, the period can glide into blue hour with a clean gradient. Either way, you must plan to be set, framed, and ready to shoot before the best light peaks.
Planning like a pro
Plan so you arrive early, scout, and get your angles. Pick your location ahead and mark two or three spots that give a different background and angle to the sun. Build a plan that covers travel, setup, test frames, and a backup. The sun moves, the hour is short, and the scene evolves.
Use a simple checklist:
- Confirm the direction of the sun
- The exact minute of sunrise or sunset, and any obstacles on the horizon
- Decide the moments for rim lighting, side lighting, and front lighting
- If it is a wedding day, agree on a window for portraits that fits the schedule.
The plan keeps you calm, and your subject can relax into the shoot.
Light direction and creative looks

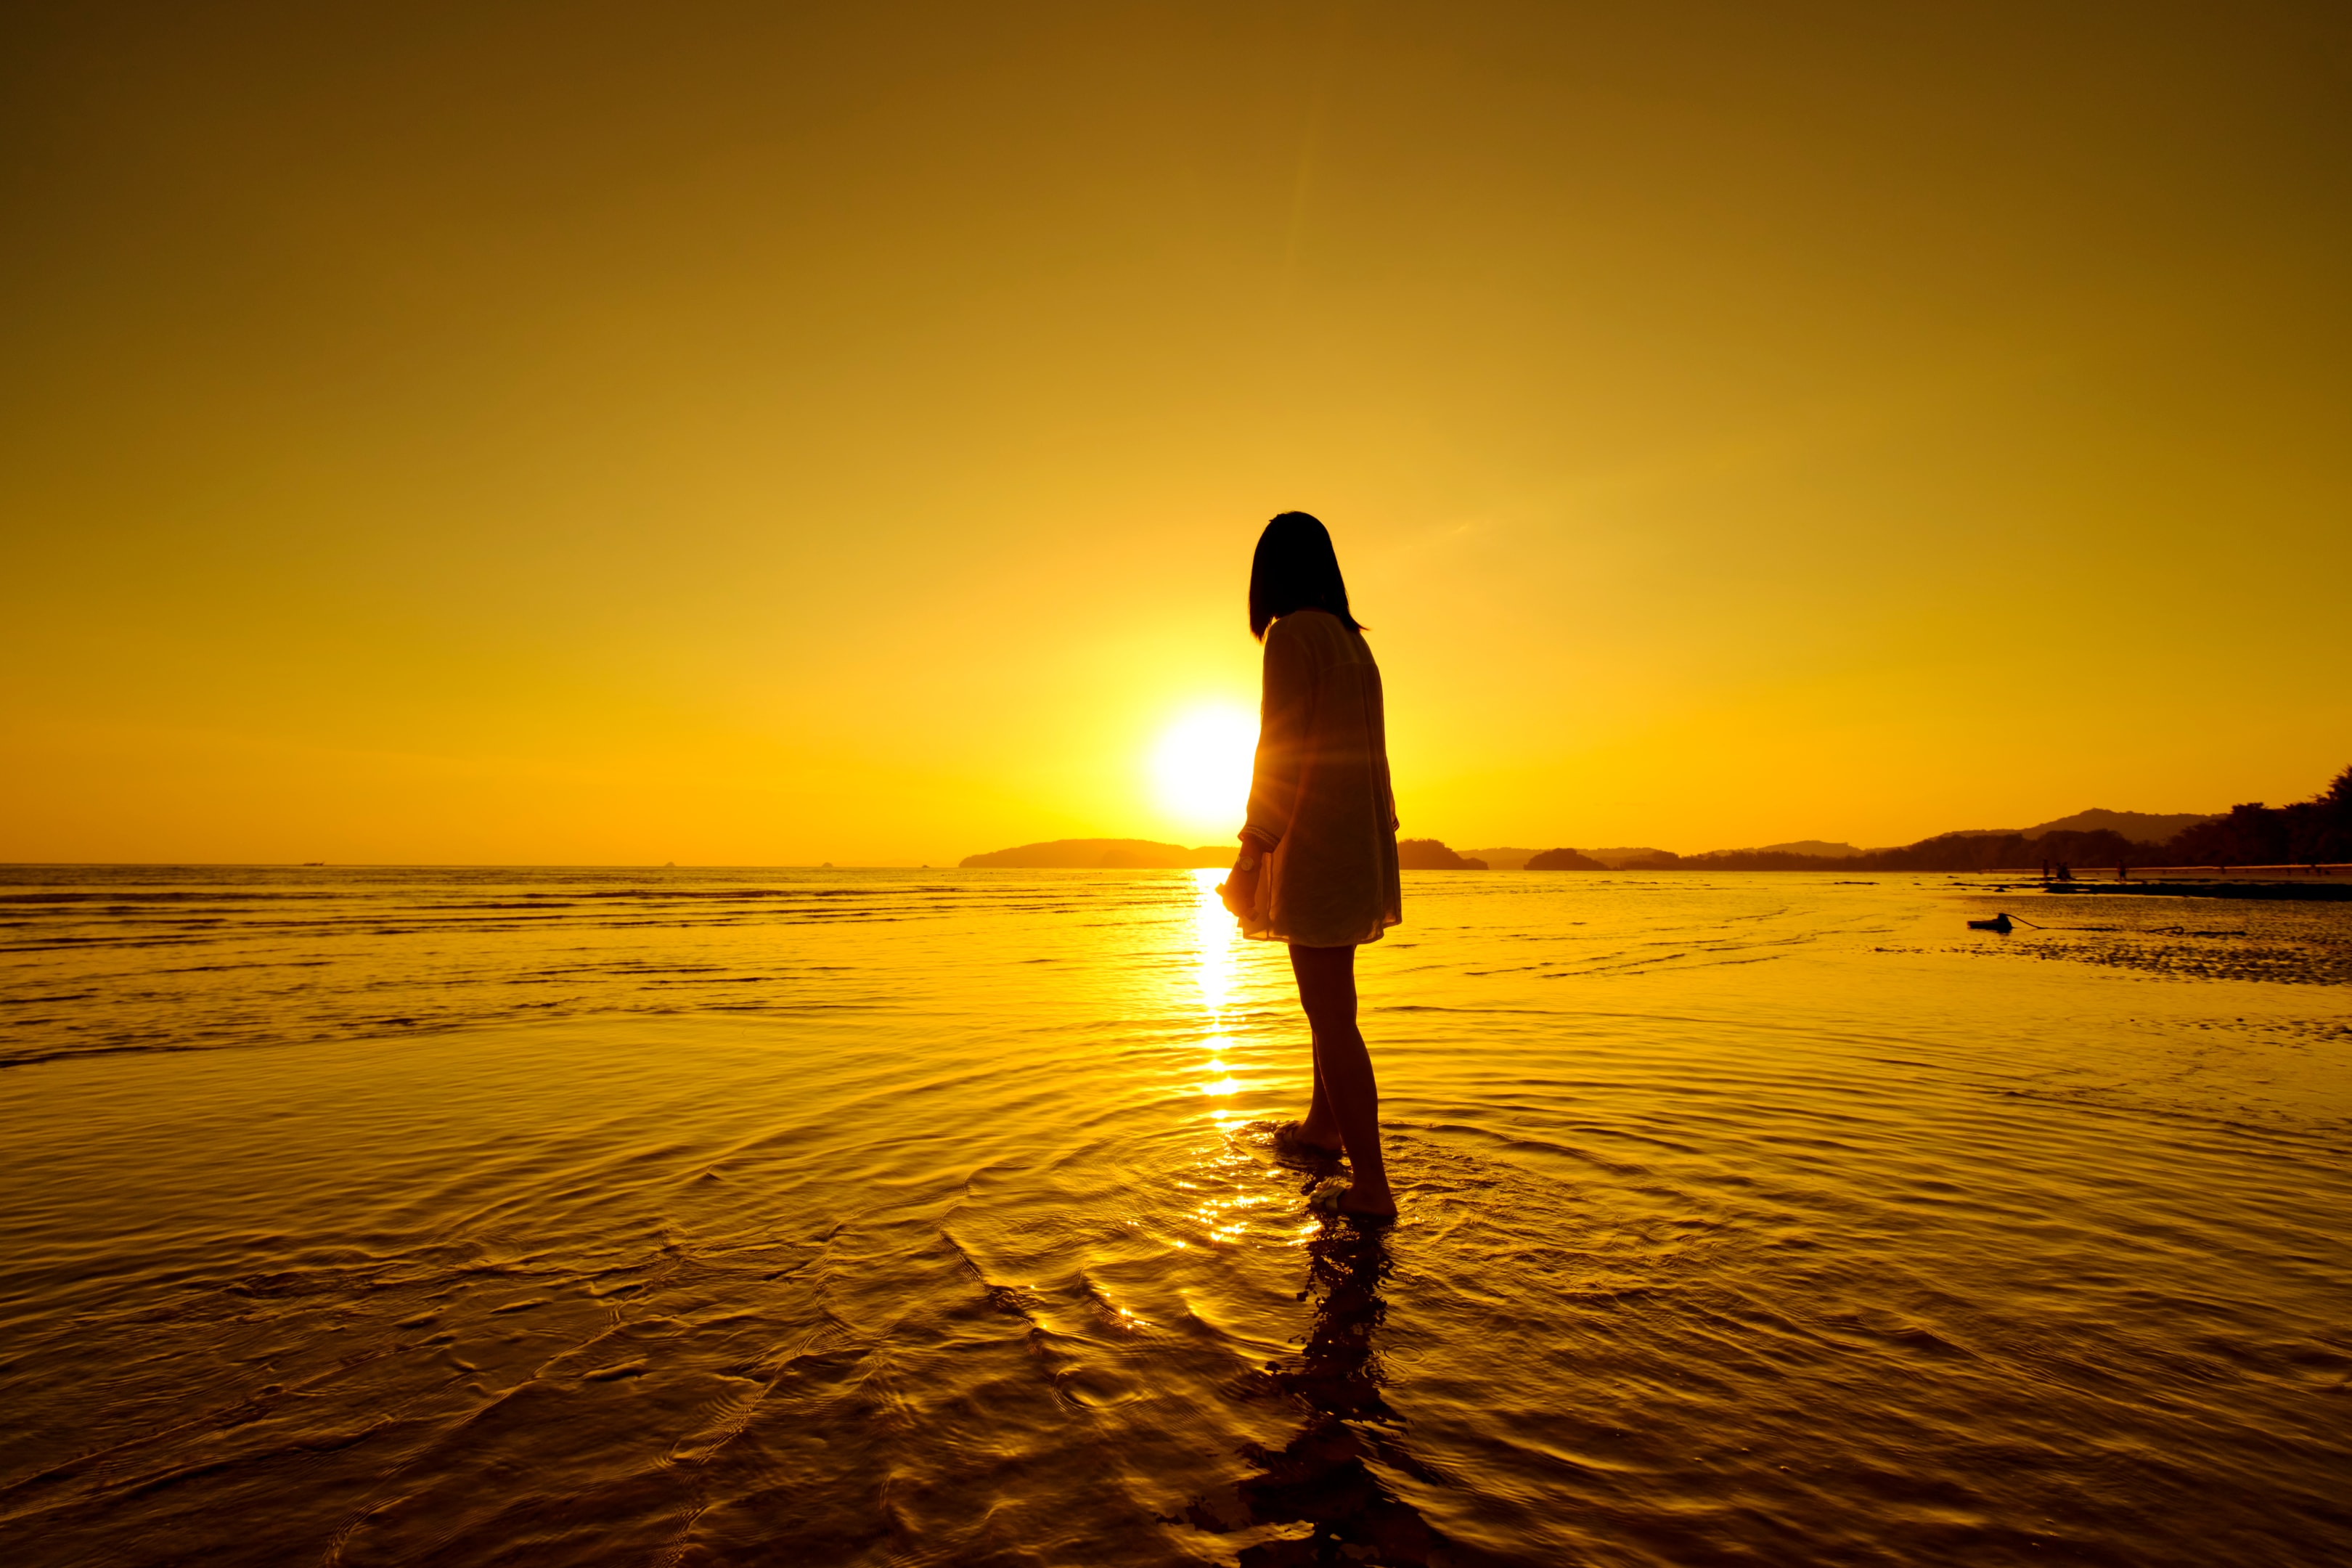
Light direction is your lever. Front lighting gives flat skin and fewer shadows. It is safe and fast. Side lighting gives shape and texture to the subject’s face. It reveals detail and depth. Backlight gives rim lighting, where a ring of golden light traces edges and creates a beautiful halo. That glow is a classic signature of golden hour photography.
Move your subject a step left or right to change how the sun hits. The sun is low, so a small move shifts the angle and flare. Use the horizon as a line and place the sun just outside the frame for clean rim lighting. If you need balanced lighting on a bright evening, add a reflector as fill light. Keep it subtle so the image keeps the mood of natural light.
Camera settings that work
Golden hour light is soft and warm, but you often have less light than midday. Use a wide aperture to keep ISO low and blur busy backgrounds. A wide aperture also lifts skin tones and separates the subject’s face from the sky. Start with f1.8 to f2.8 for portraits and stop down if you need more detail. Shutter speed should match the pace of the shoot. If you capture motion, push ISO a little and protect sharpness.
Set white balance to Daylight or to a custom Kelvin. As a starting point, try about 5500–6500 K and adjust. White balance will drift as the sun sinks, so check the histogram and preview as you go. Bracket exposures for insurance.
If lens flare sneaks in, shade the front element with your hand and reframe. These camera settings keep your image clean and consistent.
Portrait photography in the glow
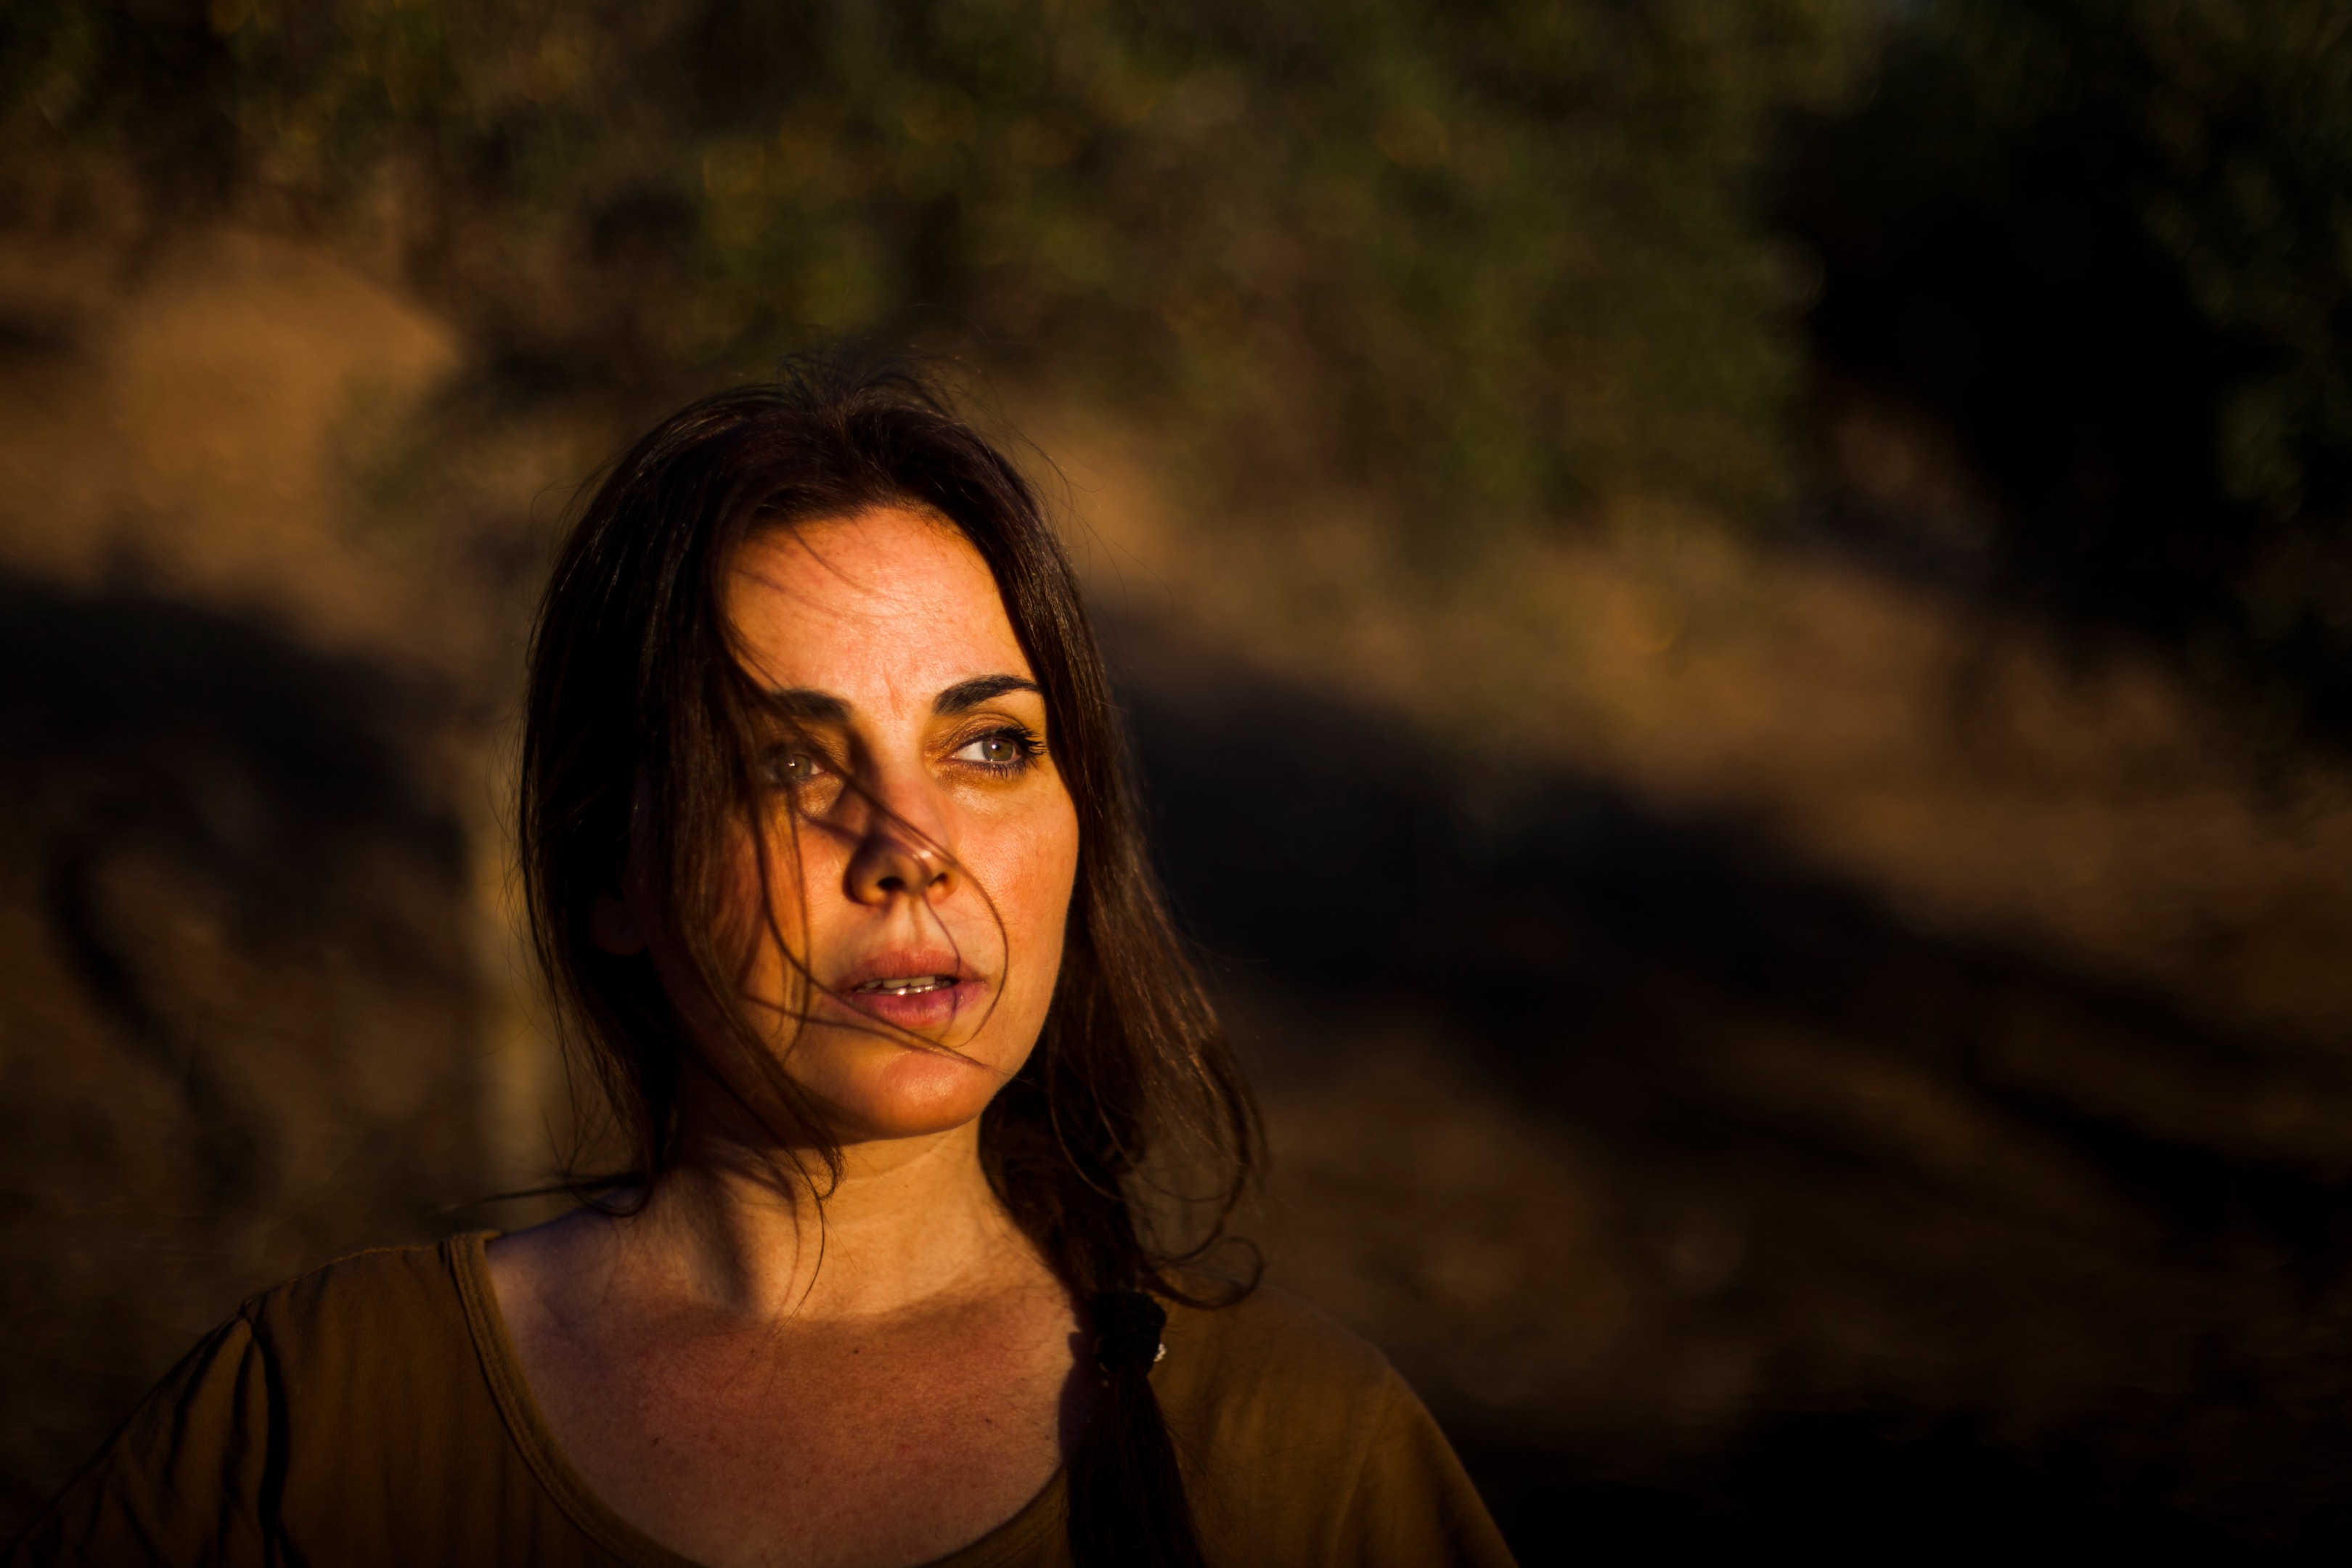
Portrait photography thrives in golden hour because soft light and warm colour flatter skin tones. Guide the subject to face the sun for front lighting if you want bright eyes and minimal shadows. Pivot to side lighting for sculpted cheeks.
Turn them away for rim lighting when you want a halo and a mood. Watch the subject’s face for squinting. Ask for a glance just off the sun and a breath to reset.
On a wedding day, this calm direction speeds the session without breaking the flow. If you need more control, lift a small reflector for gentle fill light. Keep it close to maintain natural light.
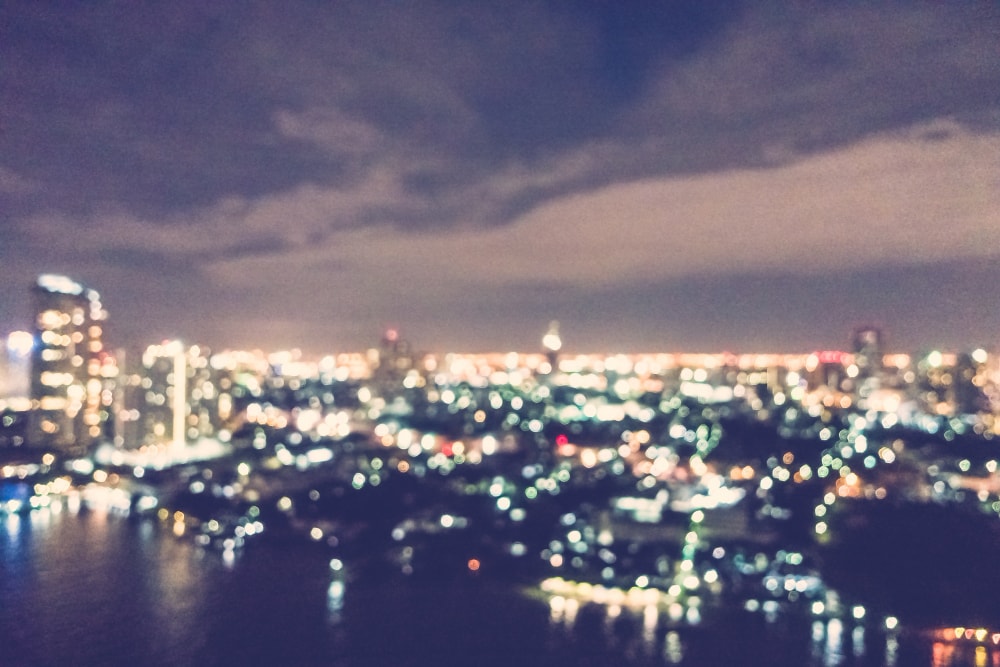
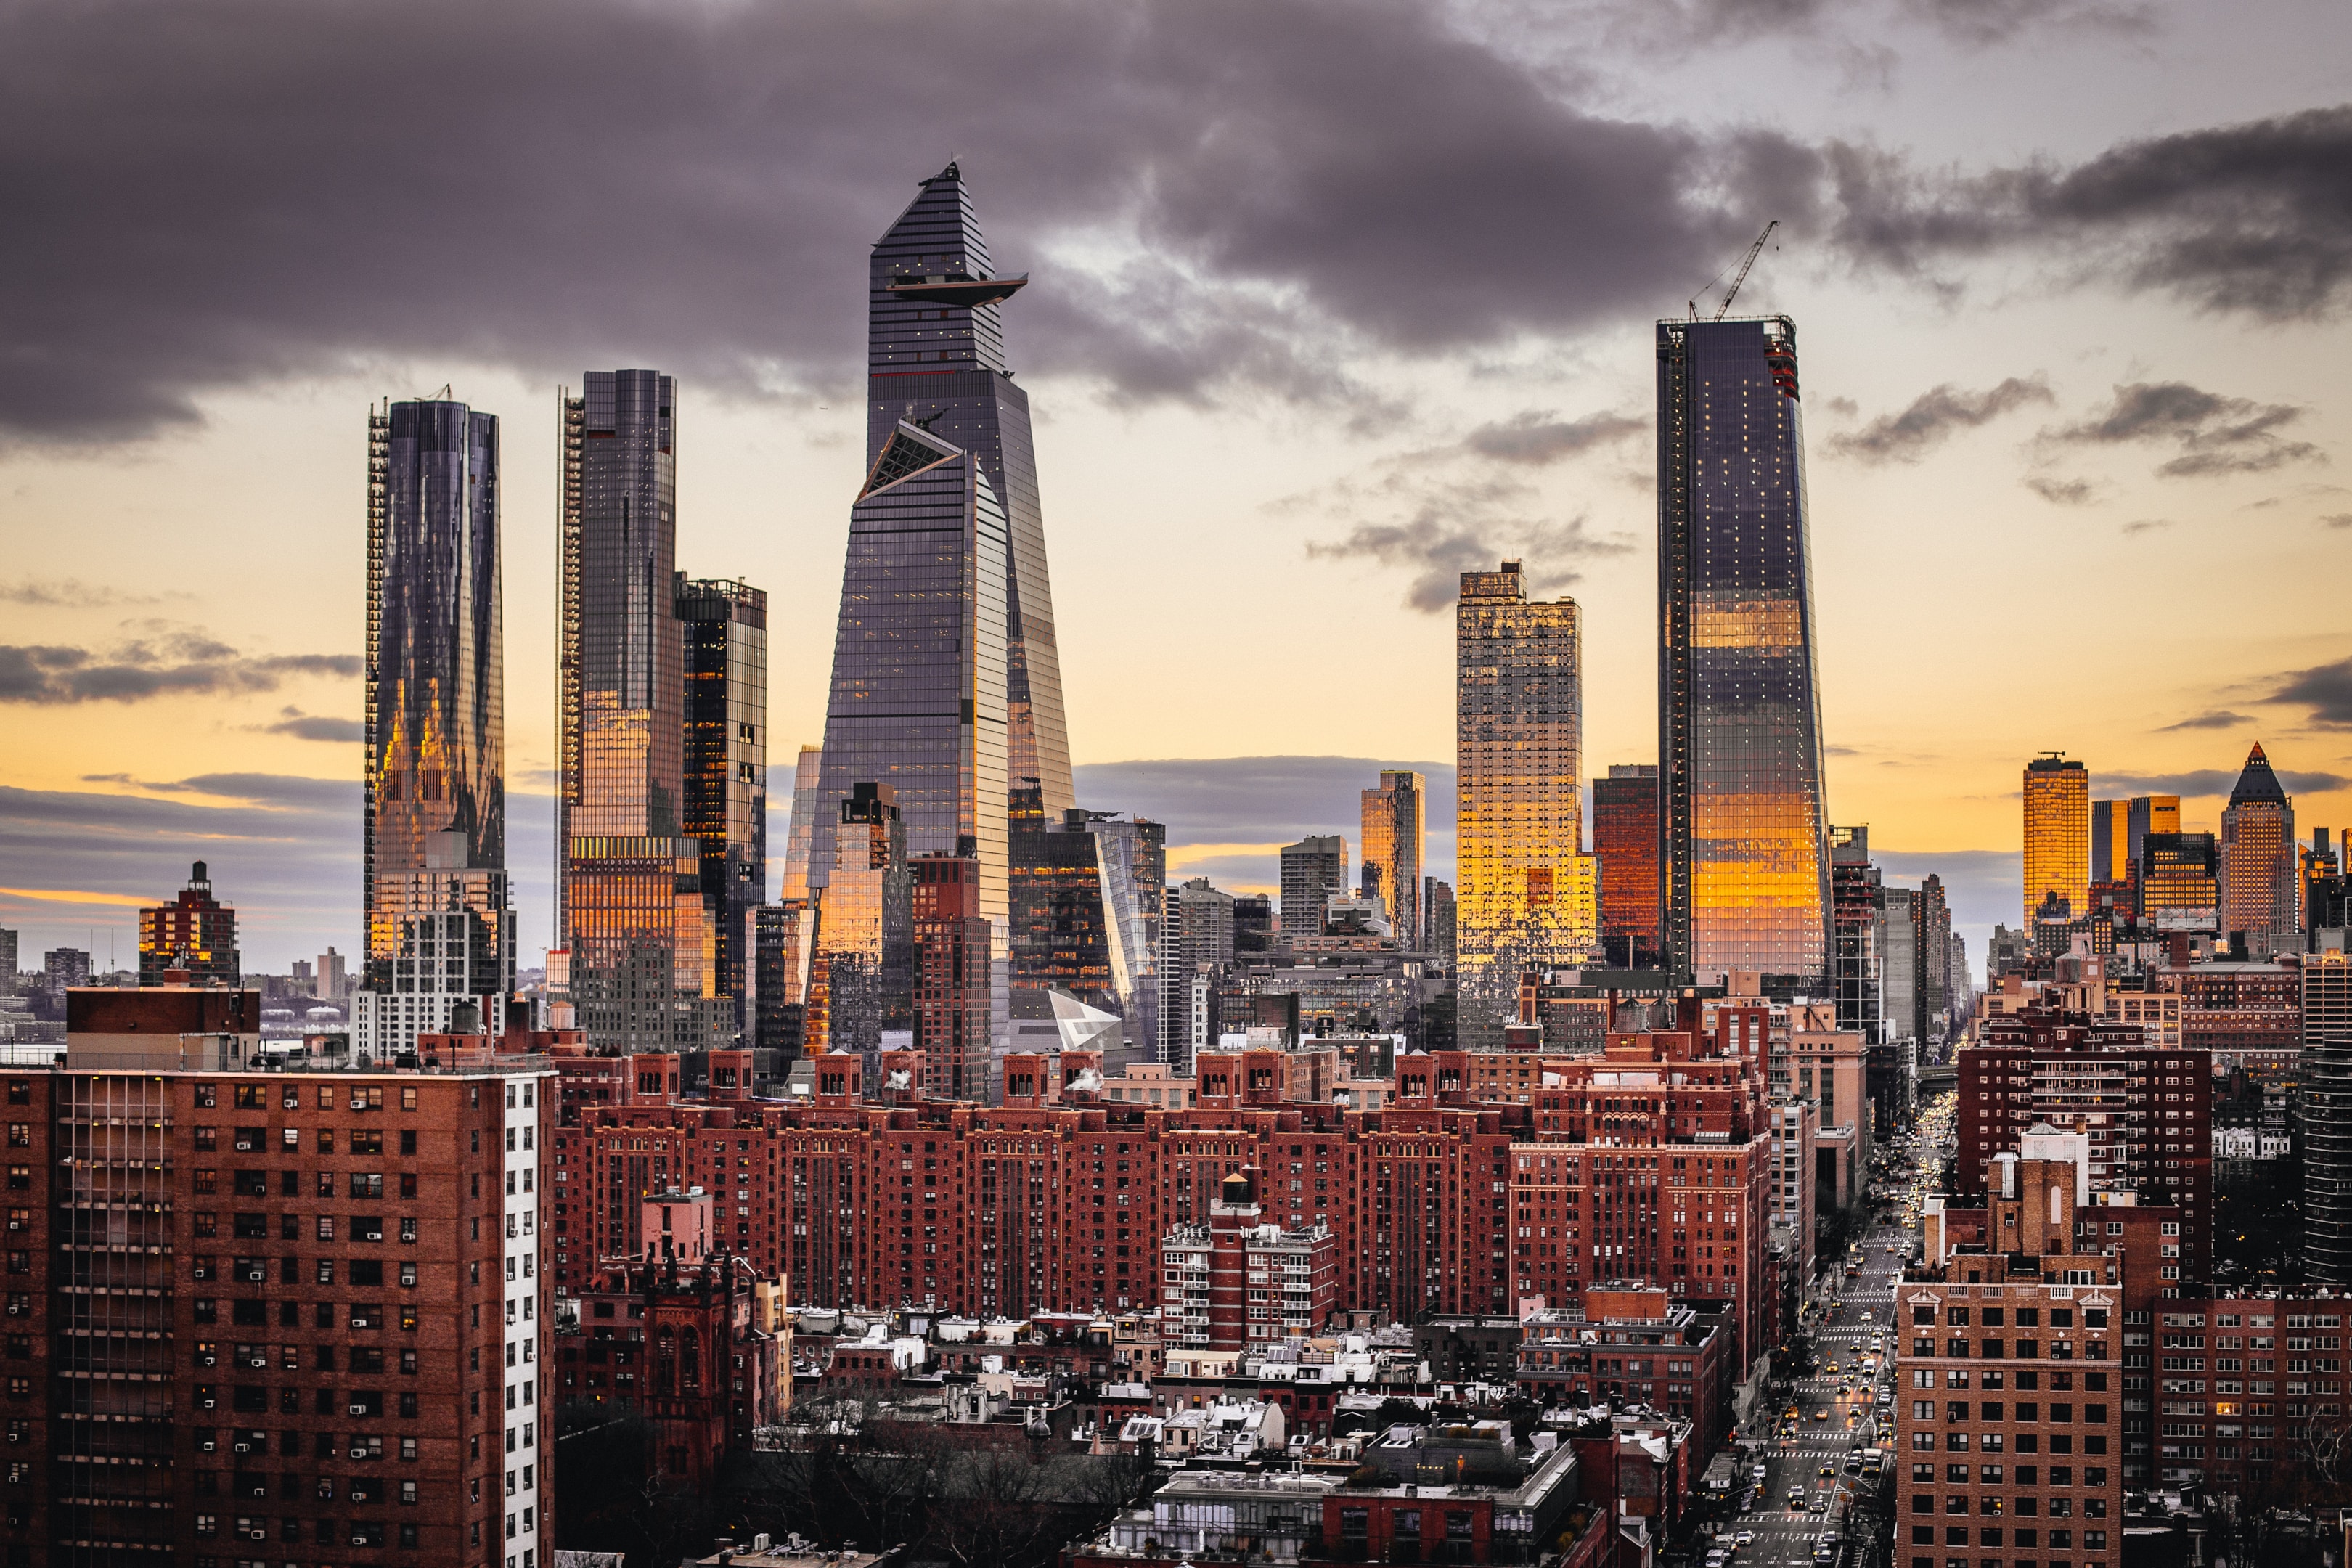
Landscapes, streets, and city texture
Landscapes use the low angle to draw lines across fields and roofs. Streets gain longer shadows that point toward your subject. Water and glass throw back sunlight with a shimmer. Frame the horizon with care. Let the sun sit near an edge or behind a building for a controlled flare. Keep the background simple so the subject stands out, or include the sky if clouds catch the colour.
City scenes come alive at sunset. The sky warms, details pop, and life on the street feels cinematic. After the sun dips, blue hour begins and signs light up. That is a clean time to switch from golden to blue hour compositions and capture a second look without moving the crew.
Golden hour photography tips you can trust
Here is a fast list that works in our own sessions:
Arrive early and lock your angles before the first frame: Golden hour photography rewards preparation.
Treat the sun like a moving key light. Reposition often. Golden hour photography tips always include mobility.
Use a wide aperture and test white balance every few minutes: These golden hour photography tips keep files consistent.
Face the subject to the sun for front lighting: then rotate for side lighting, then finish with rim lighting.
Watch the edges for a beautiful halo and flare. Golden hour light is gentle but strong.
Build coverage: Move from wide to medium to close portraits to capture variety.
Keep ISO modest to protect colour: There is still enough sunlight for handheld work if your stabilisation and subject movement allow.
Working with weather
A sunny day gives glowing colour and defined edges. A cloudy day drops perceived contrast even further, which can be useful for groups. If clouds cover the sun near the horizon, the hour may compress. The light is still useful. You get soft light and control over harsh shadows, even if the colour is muted.
Wind can lift hair and create life in the frame. Use it. If rain threatens, shoot under a doorway or a tree and let the sky fill the background. The goal is to capture the mood and keep the image clean.
The role of composition
Simplify. Place your subject where lines lead toward it. Use the horizon to anchor the frame and avoid cutting through the neck. Shift a step to change the angle between the sun, the camera, and the subject. Small moves change flare and the balance of light.
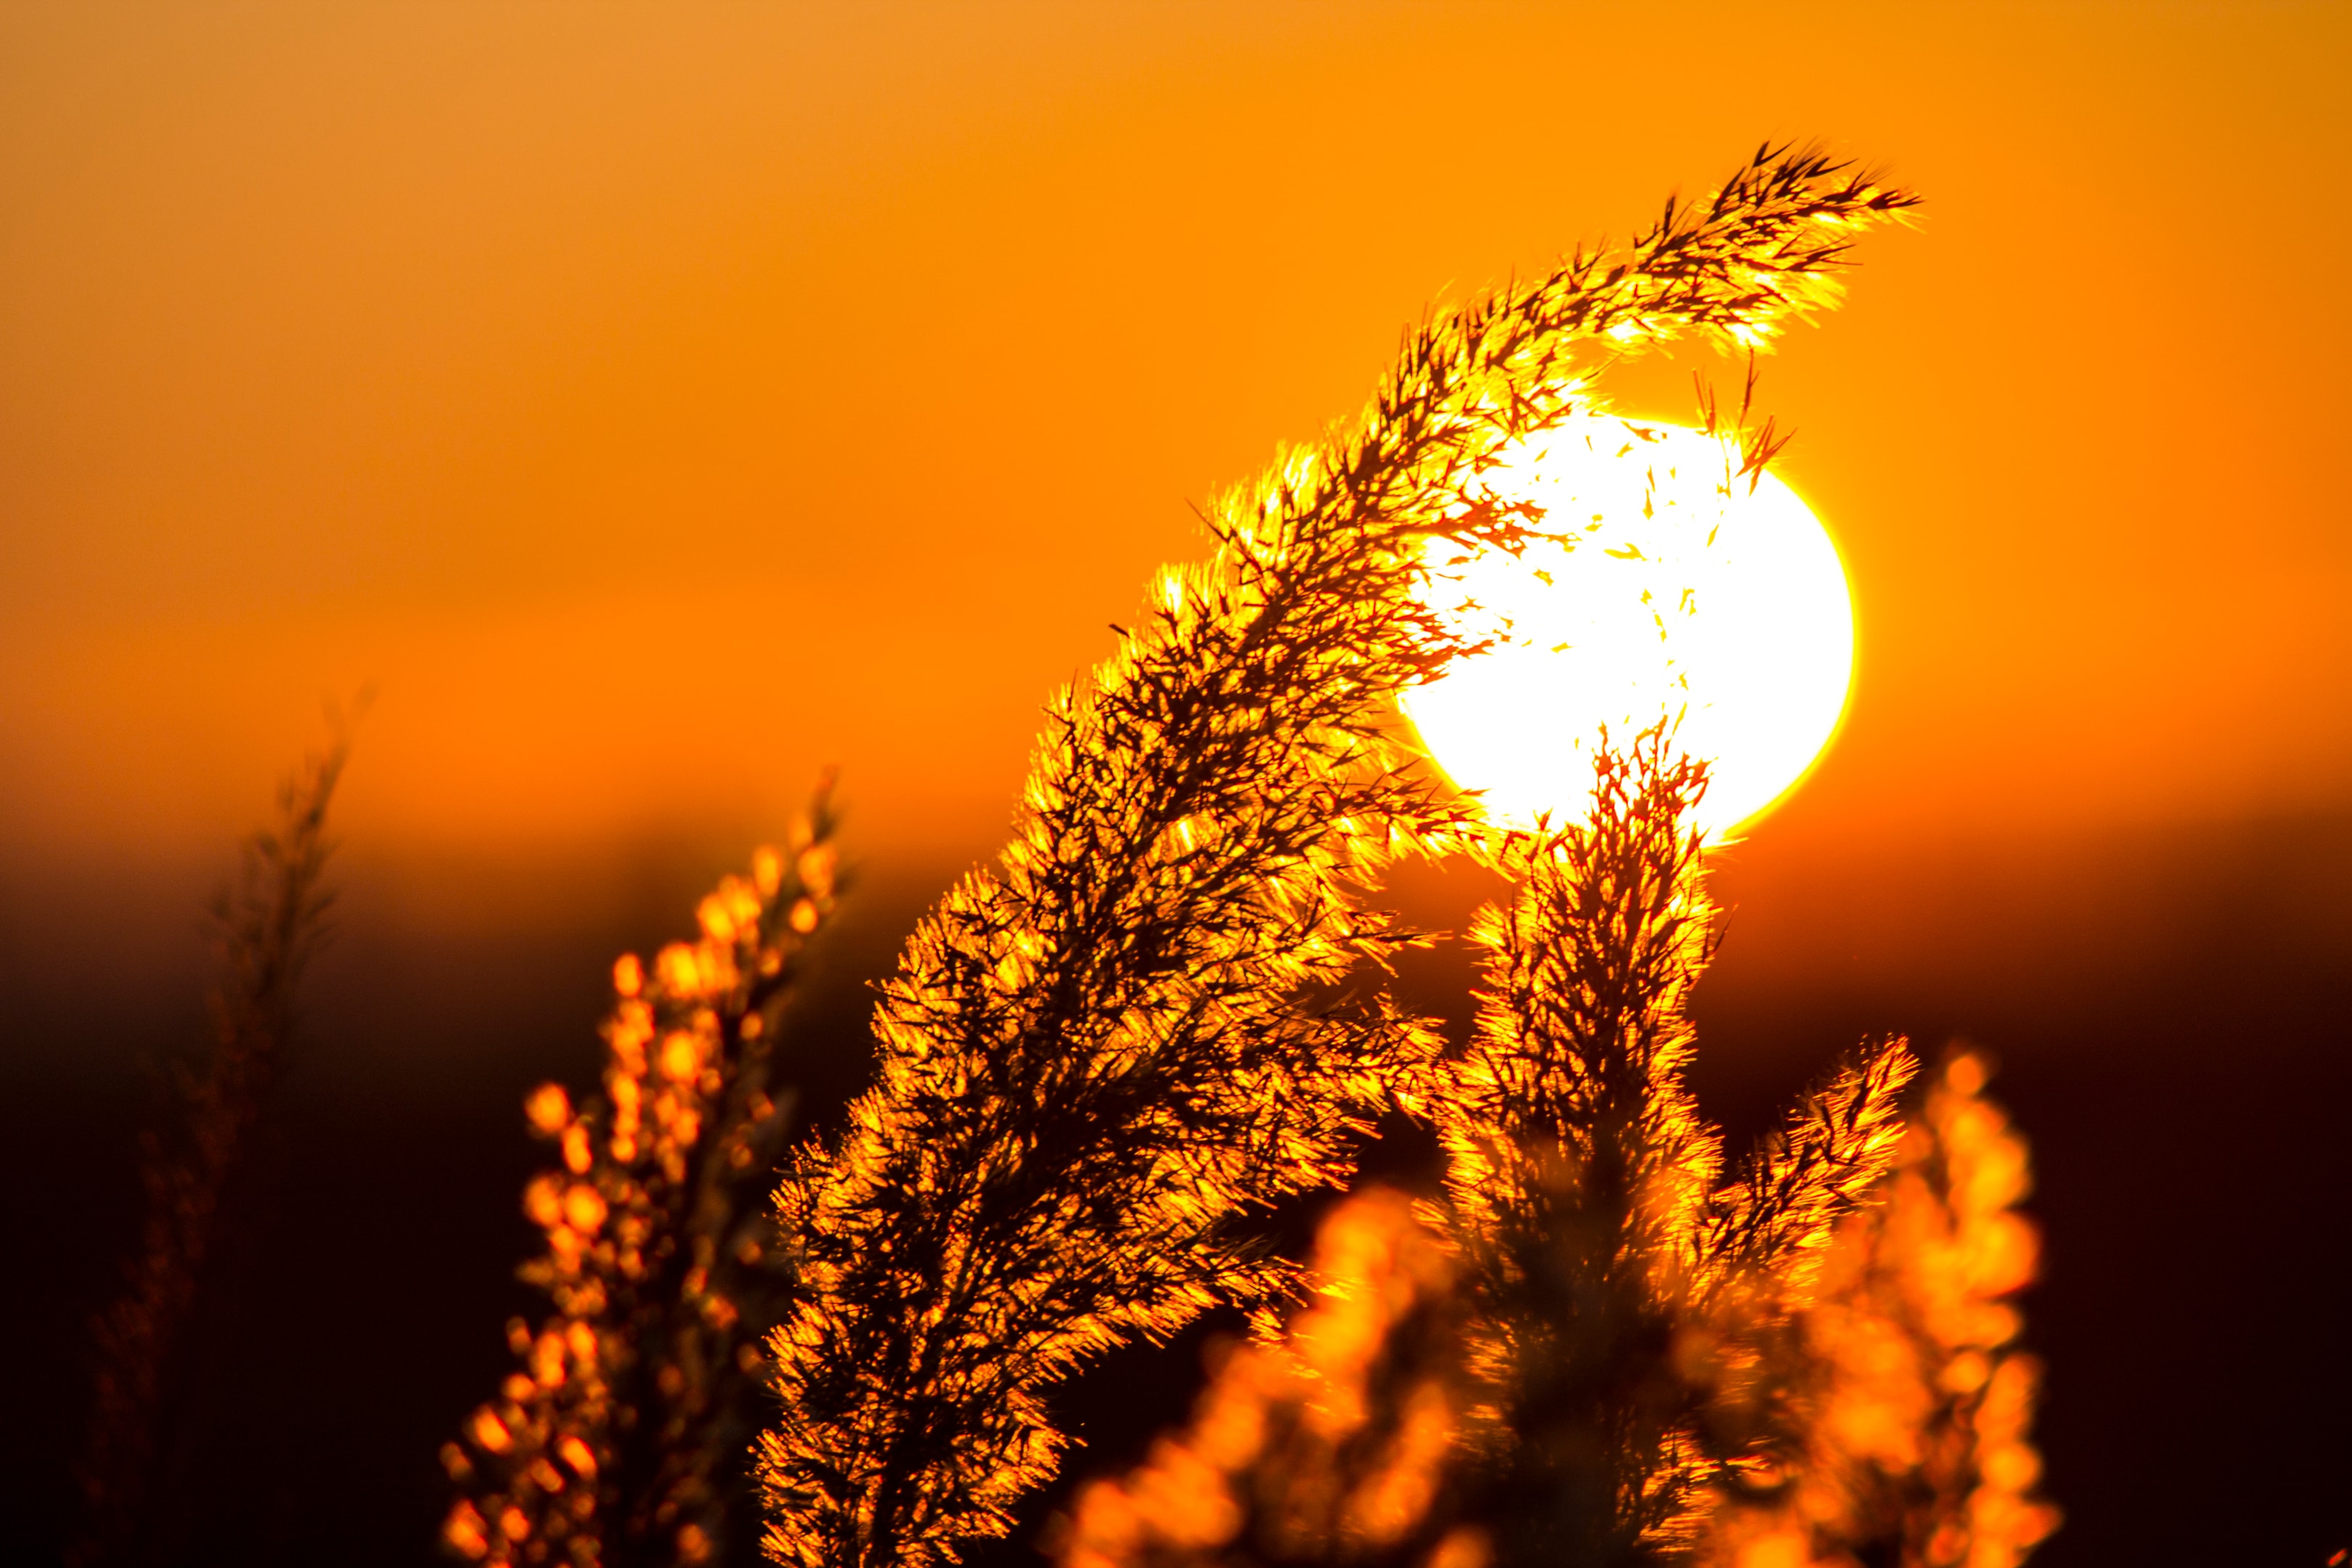
Foregrounds help. Grass, glass, or fabric can catch golden light and add depth. If the scene is busy, use a wide aperture to blur it. If the scene is sparse, stop down and include rays or silhouettes. This is the perfect time to capture both a clean portrait and a dramatic silhouette without changing location.
Managing exposure and contrast
Golden hour lowers overall contrast, but the sun is still bright. Expose for the subject’s face and protect highlights. Use spot or partial metering if the background is much brighter. Check the histogram, then adjust. If the sun sits just out of frame, you can lift a reflector to balance lighting while keeping the mood of natural light.
If your frame includes the sun, expect flare and reduced contrast. Embrace it or block it with a tree, a wall, or the subject. The reward is depth and a rim that defines edges.
Post-processing and colour
Post-processing begins with white balance. Nudge temperature and tint until skin tones look true. Lift the shadows slightly, then add gentle microcontrast. Avoid crushing blacks. Golden hour files often need only light correction.
A touch of clarity and a subtle vignette can keep eyes on the subject’s face.
If you need to match a series, save a preset. Post-processing can also remove stray flare or haze. Mask the sky if it needs a little curve. Keep the colour natural to honour the scene.
From shoot to post-production
Build a workflow you trust. Tag selects while the hour is fresh in your mind. Mark frames that display golden hour light best. In post production, sequence images from safe front lighting to bold rim lighting for a smooth story. This approach is fast and clean, which matters when clients expect delivery within days.
Mobile and small crews
You can capture strong golden hour images with a phone. Use portrait mode with a wide aperture simulation and lock exposure on the subject’s face. Step to change the angle and use buildings to block direct glare. For small crews, a collapsible reflector and a clamp cover are most needed. Golden hour light is forgiving and powerful.
Common mistakes and how to fix them
- Do not arrive late. The hour is short and changing quickly.
- Do not stay in one spot. Move to keep the sun at a fresh angle.
- Do not forget white balance. Check every few minutes.
- Do not overuse flare. One photograph with rays looks dreamy. Ten in a row can feel tired.
- If the background is messy, raise your perspective or open up the aperture.
- If your subject squints, pivot to side lighting or try a quick laugh to reset.
- If files feel flat, add a touch of contrast in post-processing.
Timing myths and truth
The phrase says hour, but the real duration varies. Golden hour lasts as long as the sun and horizon geometry allow. Near the equator, it can be brief. Further north, it can be long. It is not only for landscapes. Portrait photography, fashion, and street photography all benefit. It is not only for summer. Winter light can be just as clean, and the earlier sunset can suit schedules.
Magic hour is another name for the same period. Both labels describe the same beautiful light that arrives when the sun rests low. You can plan for both golden and blue hour in one session and leave with two looks. Blue hour typically spans when the sun is about 4–8° below the horizon.
Final thoughts
Golden hour rewards preparation and speed. Scout, set angles, and choose your look before the light peaks. Move from front to side to rim, then roll into blue hour for a second palette. Keep exposure and colour tight, and you leave with images that feel alive.
Elevate your shoots at TYX Photography Studios
Ready to plan a session around the best light?
Book at TYX Photography Studios and align your schedule with sunrise or sunset. Our team supports flexible call times, fast turnarounds, and smooth coordination with your photographer so the move from studio to location is seamless.
Record, step out for a focused golden hour shoot, then return for post-production on the same day.
Explore our photography spaces and book your next date.
Frequently Asked Questions
Golden hour lasts from a few minutes in winter to nearly an hour in summer. It varies with latitude, season, and the local horizon.
Yes. Magic hour is a common name for the same time of day when the sun sits low and the light feels warm and soft.
Yes. Colour may be softer, but you still get indirect light and gentle tonal separation. The softness can be ideal for groups.
Use a wide aperture, moderate ISO, and shutter speed that matches movement. Set white balance to Daylight or a custom Kelvin around 5500–6500 K and adjust as the sun drops.
Yes. Use windows as a large, soft key. Position the subject’s face to catch the glow and add a reflector if needed.
Arrive at least thirty minutes before the first frame so you can plan, test, and move as the sun passes across your chosen angles.
Keep the sun slightly off axis, use a reflector for fill light, and favour side lighting or gentle front lighting depending on the scene.