Depth of Field in Photography: A Practical Masterclass
This in-depth guide explains depth of field in photography, covering how aperture, focal length, and subject distance shape sharp focus and background blur. Perfect for beginners and professionals looking to refine their creative control.
Depth of field is the invisible geometry that directs the eye. When you understand it, you can create separation in portraits, extend clarity across a ridge line, or craft intimate product shots that sell.
At TYX Studios, we build lighting and composition around reliable control of depth of field for creators who need consistent results.
This guide shows how aperture, focal length, and focus distance interact with the camera's sensor to shape focus. You will learn field skills that work in real sessions.
What depth of field means and why it matters
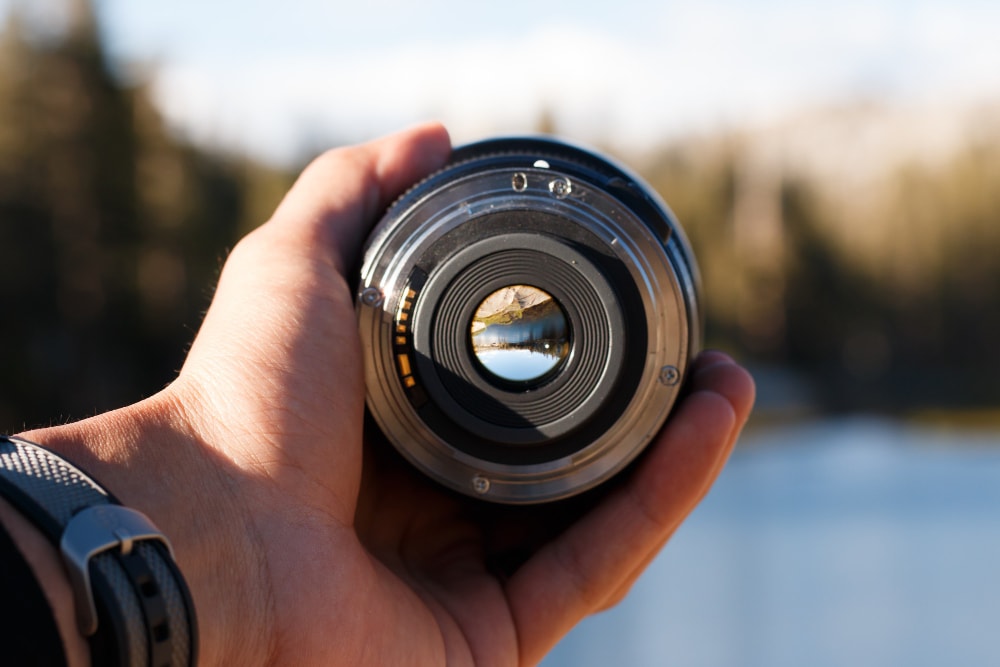
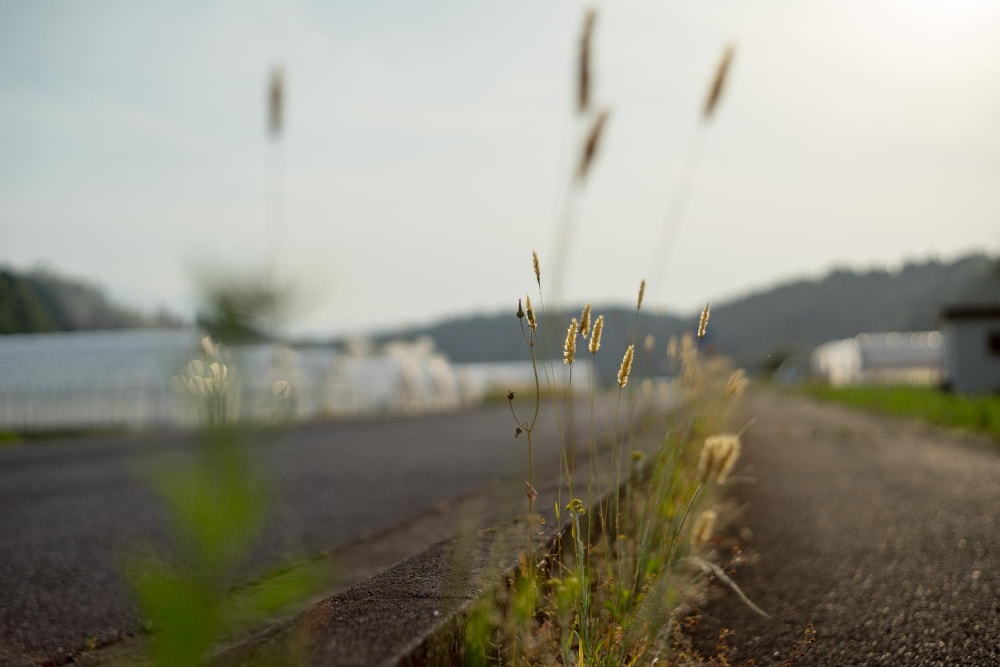
Depth of field describes the range in your scene that appears acceptably sharp to the viewer. It's not a wall, but rather a zone that transitions from sharp focus near the focus point to softer detail away from it.
The actual image contains an in-focus slice at the focal plane, with a front and rear region where detail appears sharp enough for the intended display size. Photographers adjust the depth of field to isolate the subject or to reveal context across the frame.
Mastering depth of field gives you control over narrative pressure in an image. It also protects you from soft results when camera settings shift under pressure.
Many beginners think depth of field is only about lens aperture. Aperture matters. So do focal length and focus distance. Sensor size influences the circle of confusion criteria that define what appears acceptably sharp.
When you change any of these inputs, you change the field depth and you change how viewers read your picture.
The three primary controls that affect depth of field
Depth of field comes from three main levers. Each lever predictably affects depth and background blur.
Aperture and the size of the blur
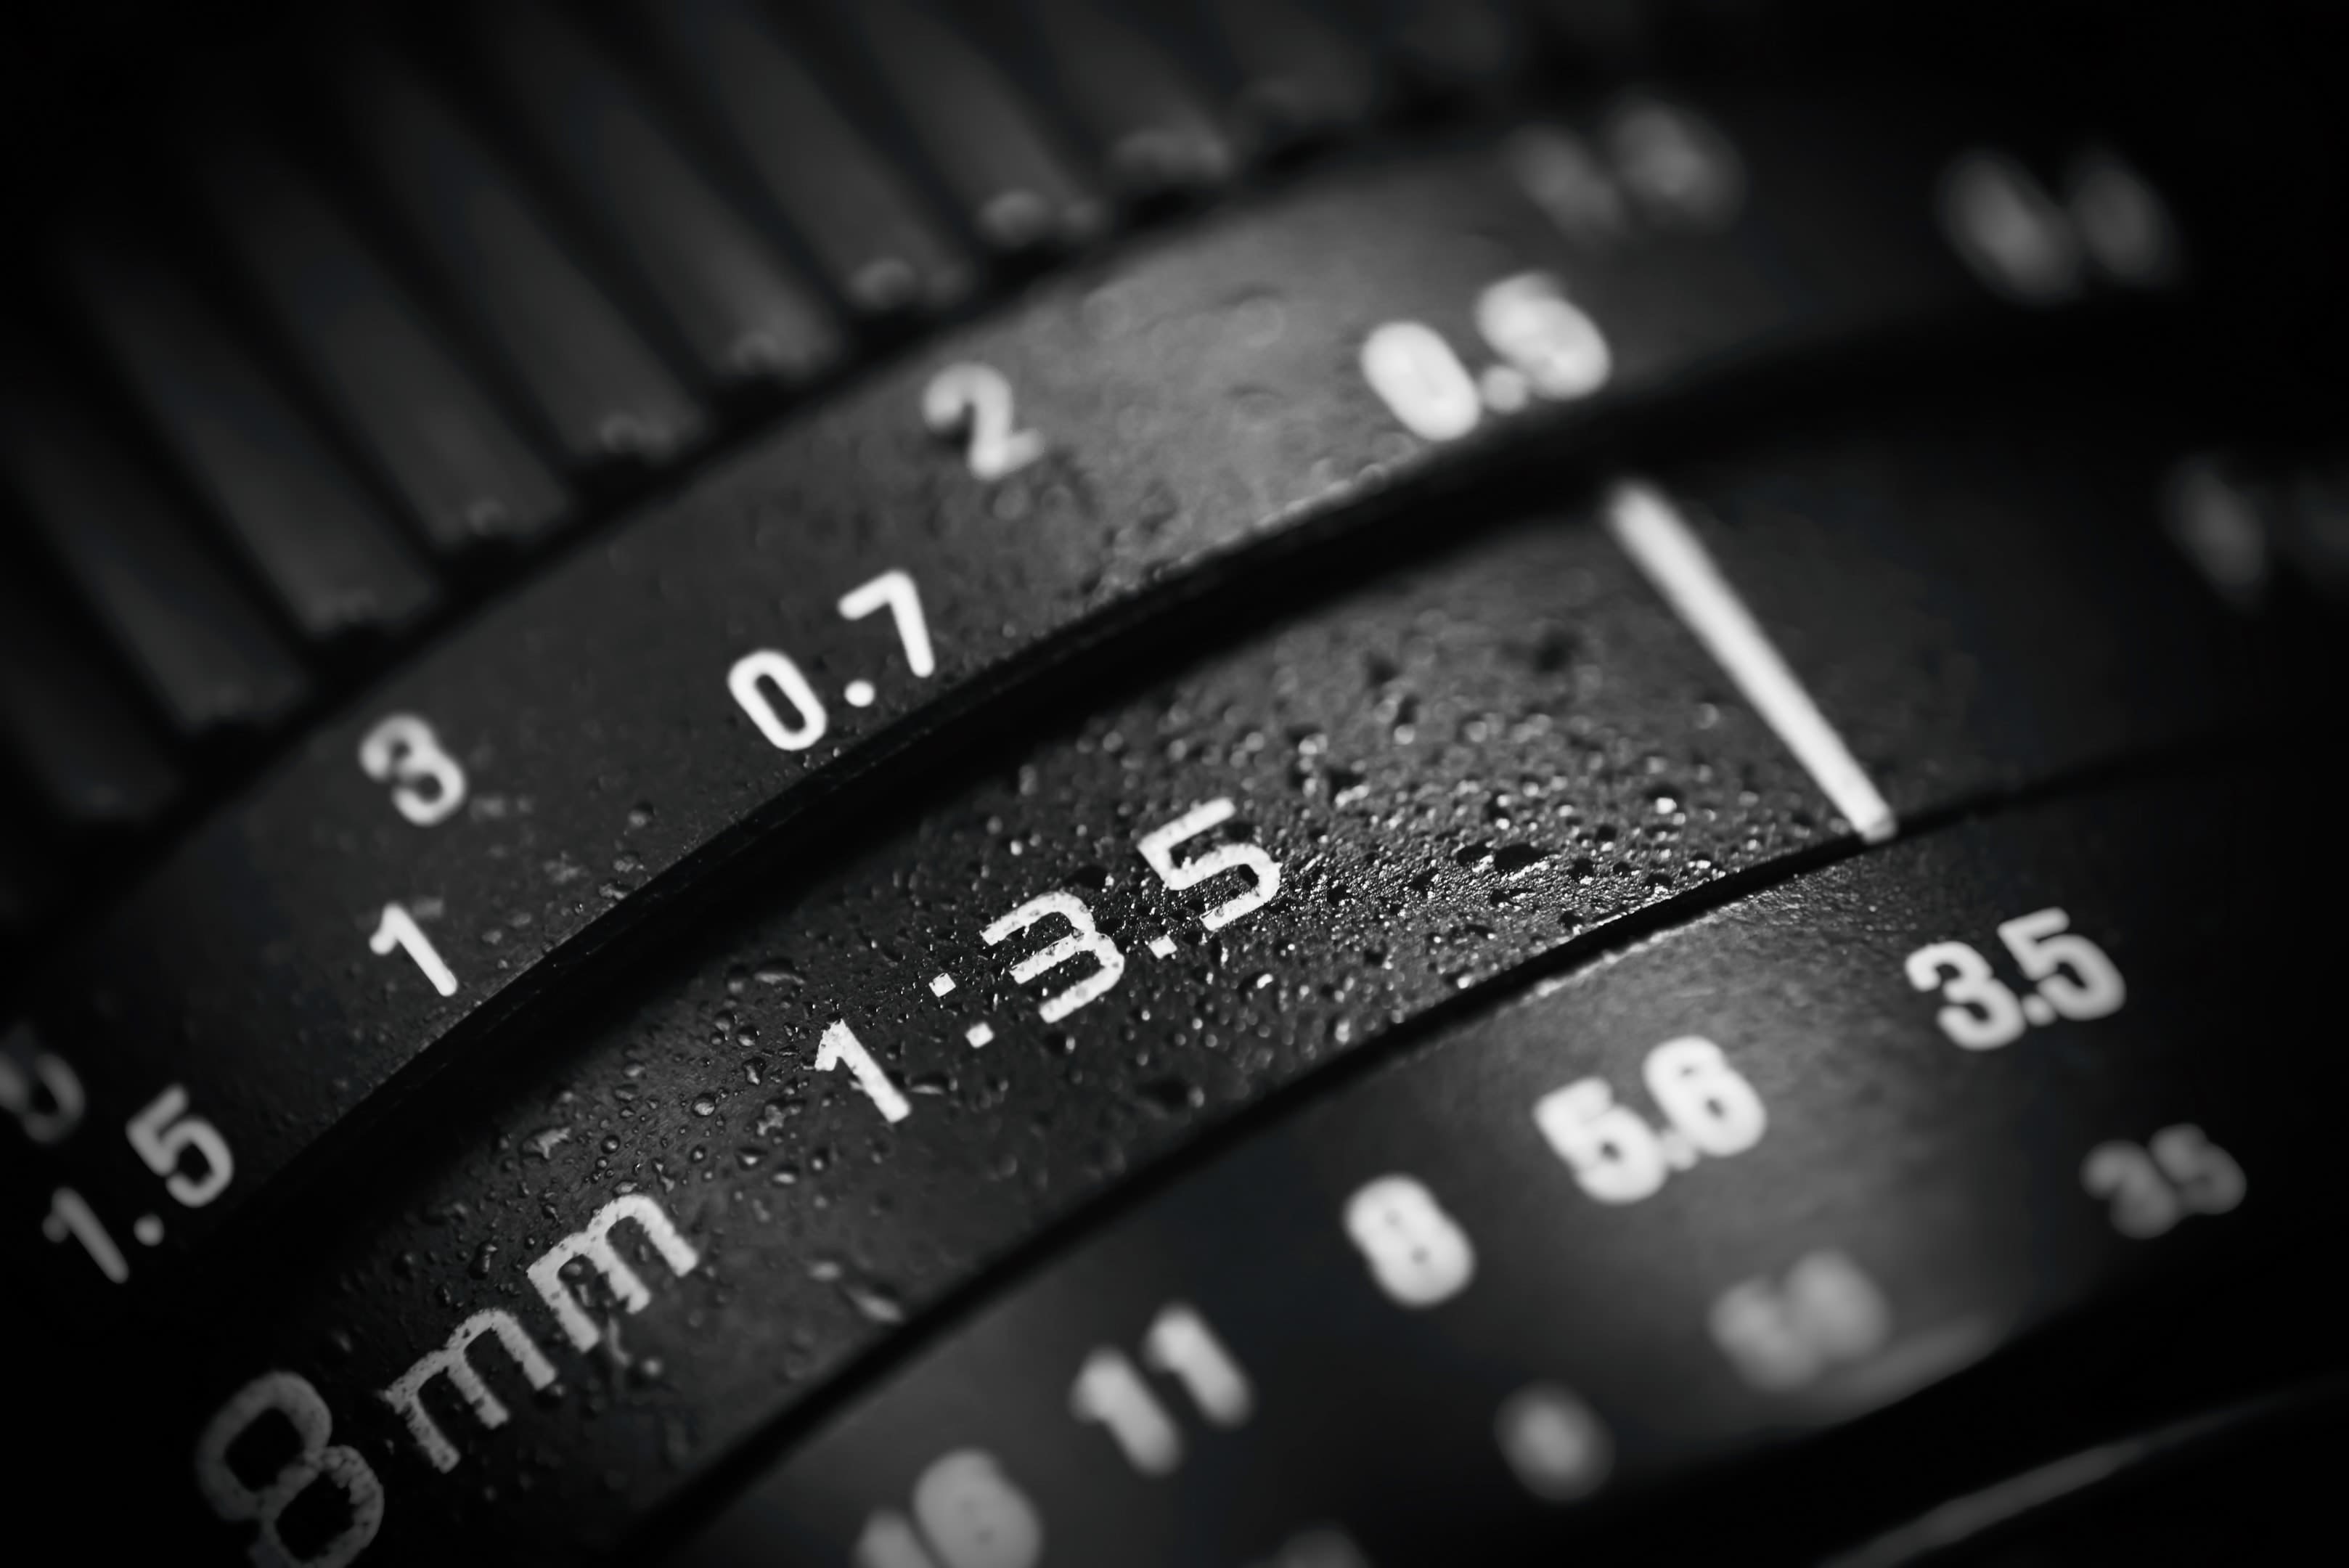
A smaller aperture increases depth of field, while a wide aperture reduces it. The lens aperture is the iris opening. The aperture setting sets the f-number.
Use a smaller aperture to achieve greater depth and to keep the entire subject inside acceptable sharpness.
Use a wide aperture when you want a shallow depth of field or when light is low and you need a faster shutter speed to avoid camera shake.
Focal length and the rendering of background blur
Focal length changes how blur looks in practical viewing. At a fixed subject distance, a longer focal length reduces depth of field and increases the scale of background blur.
When you maintain a constant image size by stepping back with a longer focal length, total depth can be similar at the same aperture. Yet, the distant background still looks more blurred because the entrance pupil is larger and the angle of view is narrower.
A shorter focal length reduces blur scale and can deliver deeper depth even at wider apertures. A longer focal length lens also narrows the angle of view, which can simplify a distracting background.
When you select a focal length, think about how its perspective and blur signature support the story.
Focus distance and where the sharpness lives
Focus distance sets where the focal plane sits in the scene. Closer focus reduces the depth of the field. Increased distance adds depth of field. Subject distance is the practical version you measure in the field.
If you maintain constant subject distance while changing focal length, you will change how the background blur looks and how much of the entire subject stays in sharp focus.
Sensor size and viewing conditions
Depth of field depends on the reproduction size and the viewer’s distance. The camera's sensor size matters because it changes the circle of confusion threshold used to decide what appears acceptably sharp.
For the same framing and the same aperture, smaller sensors generally yield greater depth of field, while full-frame cameras give shallower depth of field at an equivalent framing. Viewing conditions still matter.
If you crop heavily, you magnify blur disks, which reduces acceptable sharpness in the final output. Always judge depth of field for the intended output, not only on the rear screen.
Focal plane, focus point, and focal point
The focal plane is the geometric plane of exact focus. Everything that intersects it is as sharp as the lens can resolve at that aperture. Your focus point is the spot in the frame where you instruct the camera to focus.
The focal point is a term some use for the distance where light converges, yet in practical shooting, you use the on-screen focus point and the measured focus distance. Accurate placement matters because the depth of field extends differently in front of and behind the focus point.
How aperture interacts with focal length and distance
The three controls do not work in isolation. The same aperture does not guarantee the same depth.
- Case 1, fixed distance: At a constant subject distance and the same aperture, increasing focal length reduces depth of field and increases background blur.
- Case 2, constant image size: If you maintain constant image size by stepping back with the longer focal length at the same aperture, total depth of field can be similar, yet the distant background will still render with larger blur disks and a tighter field of view. That practical change affects depth perception.
In the field, you rarely hold all variables fixed. You move, the subject moves, and light changes. Use the interplay to your advantage. If the shallower your depth is hurting you, stop down to a smaller aperture and increase focus distance slightly.
If you need separation, choose a longer focal length and move closer, or switch to a wide aperture that increases blur size.
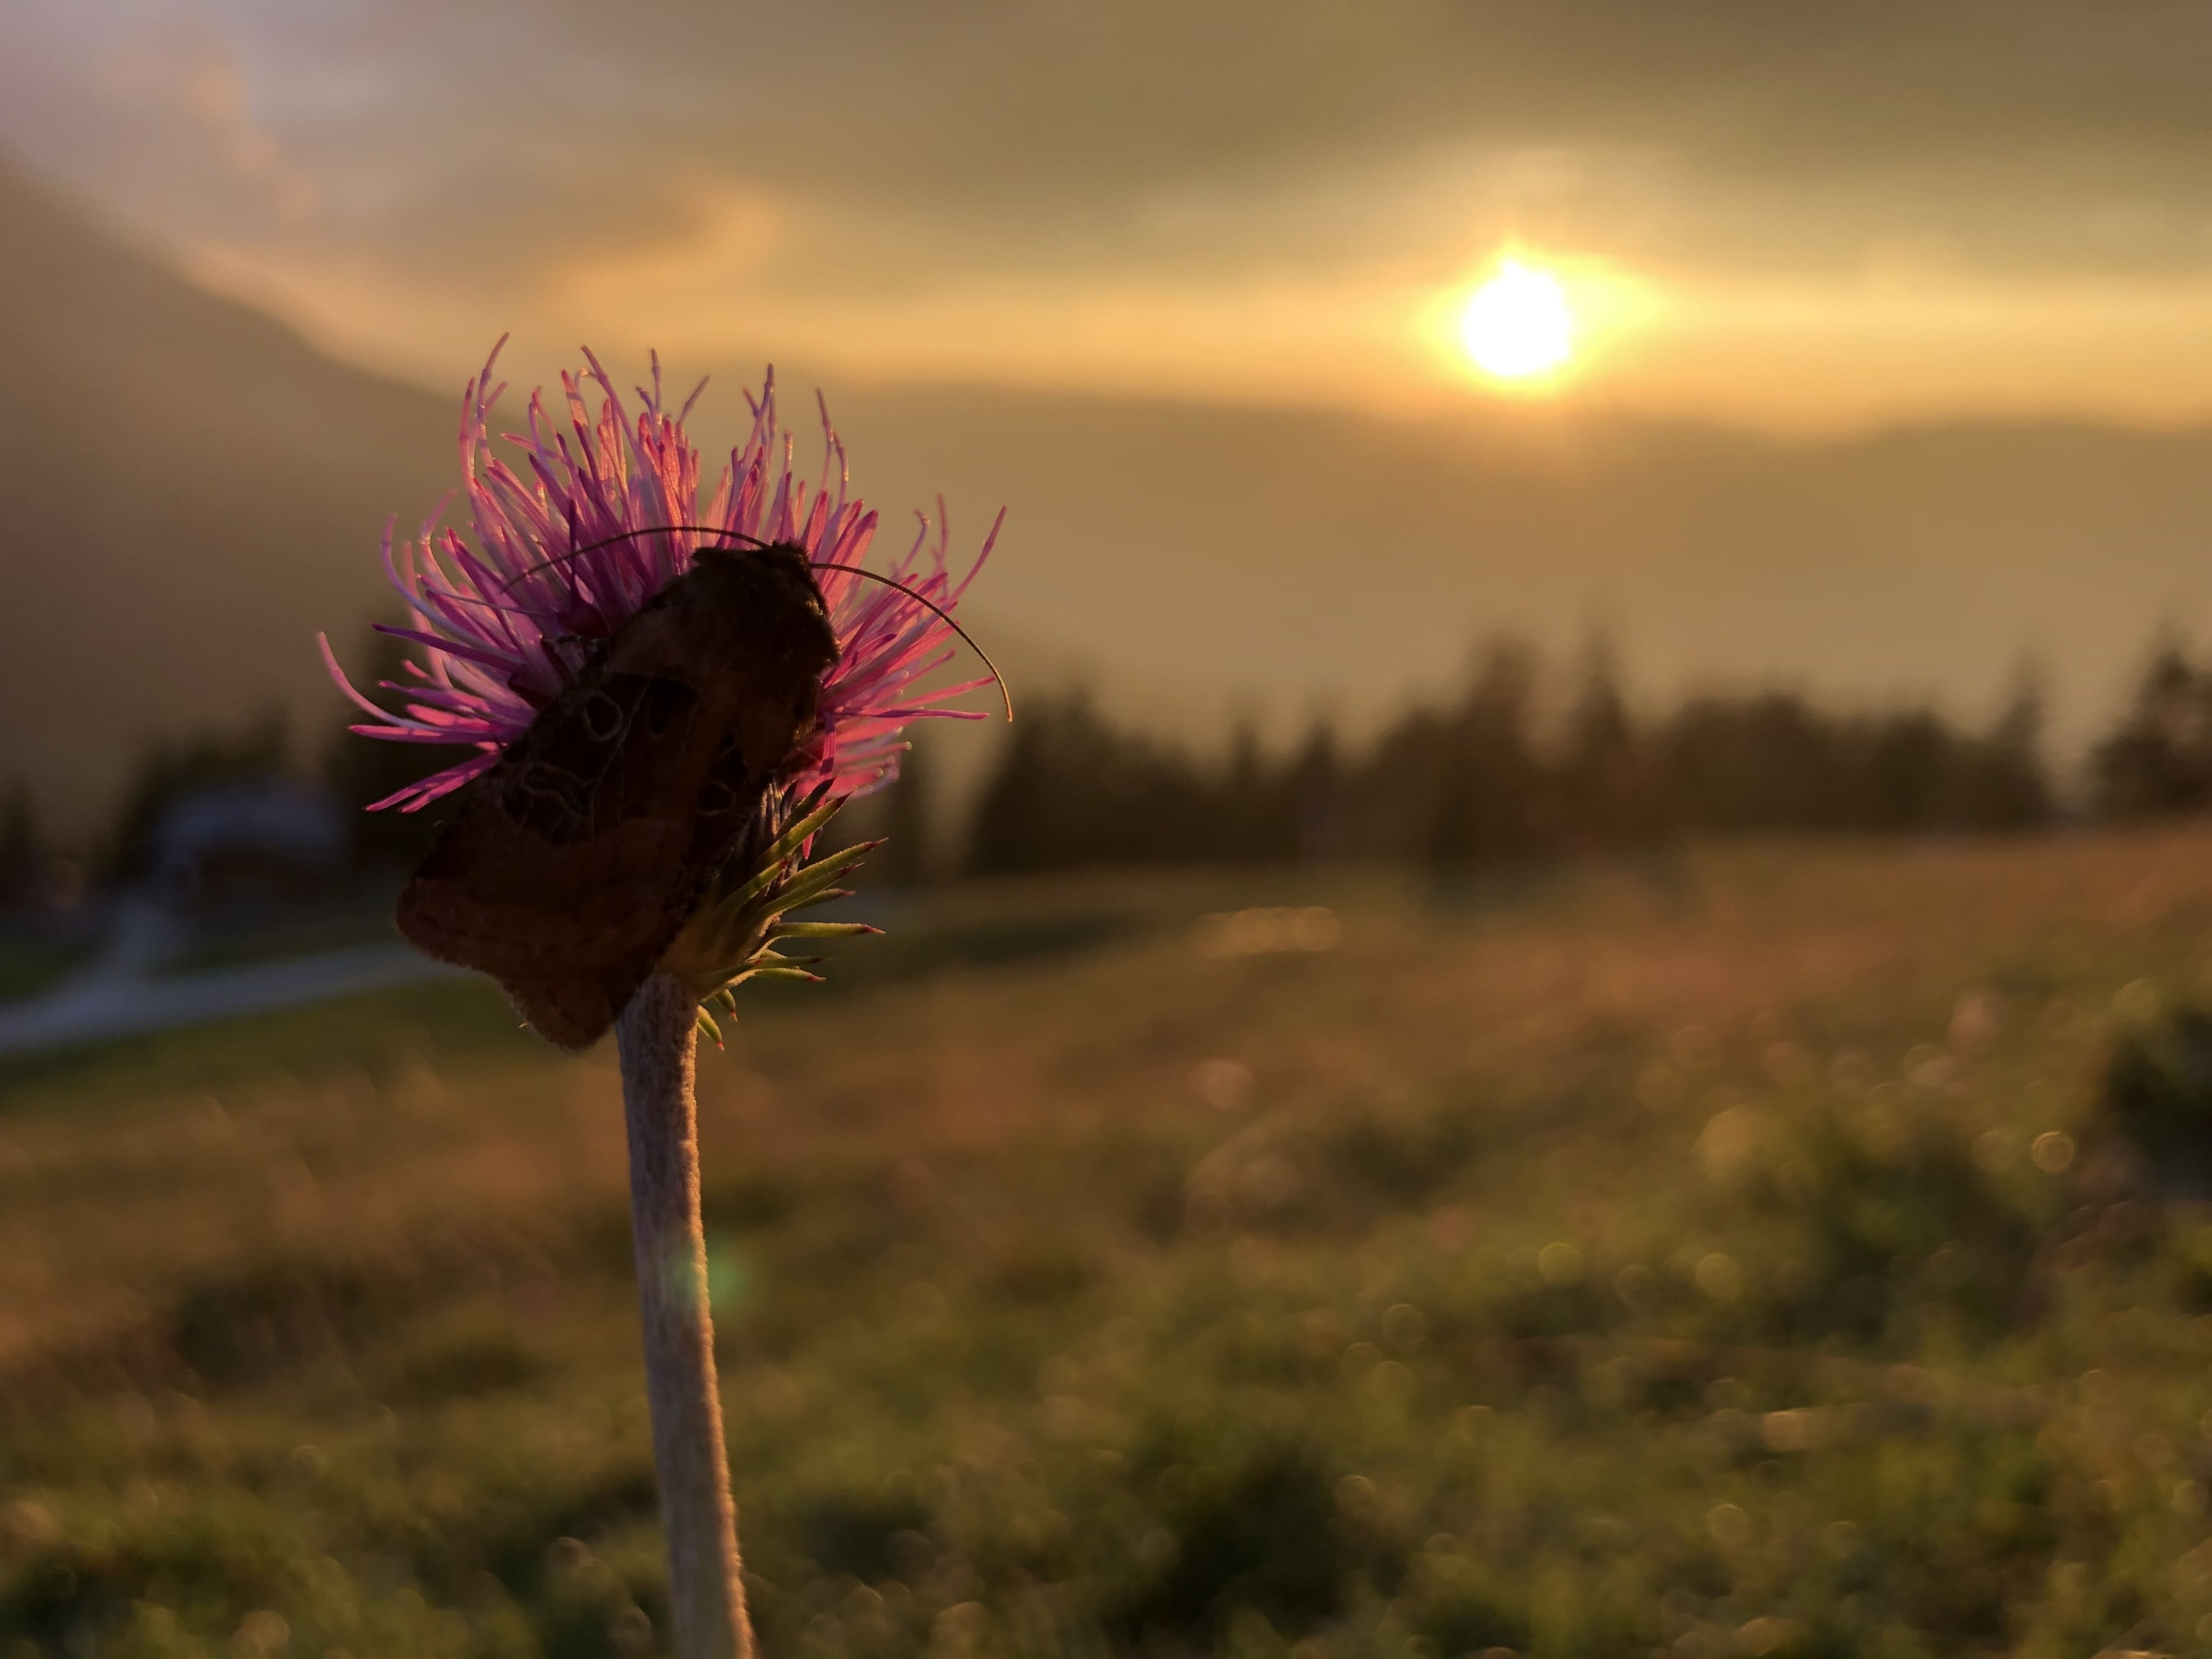
Portrait photography and the art of isolation
Portrait photography often benefits from shallow depth of field and pleasing background blur. Use a telephoto lens to narrow the angle of view and to clean up a distracting background. Position your subject well away from a distant background.
Increase subject distance only if you need more of the entire subject in acceptable sharpness. A wide aperture at a moderate focal length can keep the eyes in sharp focus while allowing subtle fall-off across the subject’s image for a classic look.
Practical steps. Place the focus point on the front eye. Choose an aperture setting that balances shallow depth with the risk of missing focus. Watch the shutter speed to prevent camera shake. Ask for a slight adjustment in pose to align the focal plane with the face.
If highlights in the distant background distract, adjust your camera position to remove problem shapes. Small moves change field depth relationships and clean the frame.
For a traditional headshot, a telephoto lens between 85 and 135 millimetres at a wide aperture gives refined background blur. For environmental portraits, a wide-angle lens can show context with controlled separation.
When you change focal length, pay attention to the subject image size and how the blur scale changes.
Landscape photography and the craft of clarity
Landscape photography often demands depth to keep foreground detail and a distant background crisp. Use a wide-angle lens to increase depth of field at practical apertures. Select a smaller aperture, and set focus near the hyperfocal distance to hold the closest and farthest objects within acceptable sharpness.
Many landscape photographers learn to judge this by habit, so they move quickly when the light peaks.
To find the right focus for maximum depth, determine a focus distance that gives a deep field from roughly half the focus distance to infinity. You can learn to estimate it by focal length and aperture, or you can consult a DOF chart.
A hyperfocal distance calculator or modern DOF apps can speed decisions in the field. Use them as guides. Verify on the rear screen with magnified playback and adjust the focus point a touch forward if the foreground needs more clarity.
Deep depth does not mean everything must be clinically sharp. Decide which textures carry the story. If the entire scene needs symmetry of detail, use a tripod. Stop down to a smaller aperture, but avoid extreme depth settings that cause diffraction to reduce micro-contrast.
Work at the point that protects detail in the farthest objects without sacrificing the crisp edges that make the picture sing.
Macro photography and close range control
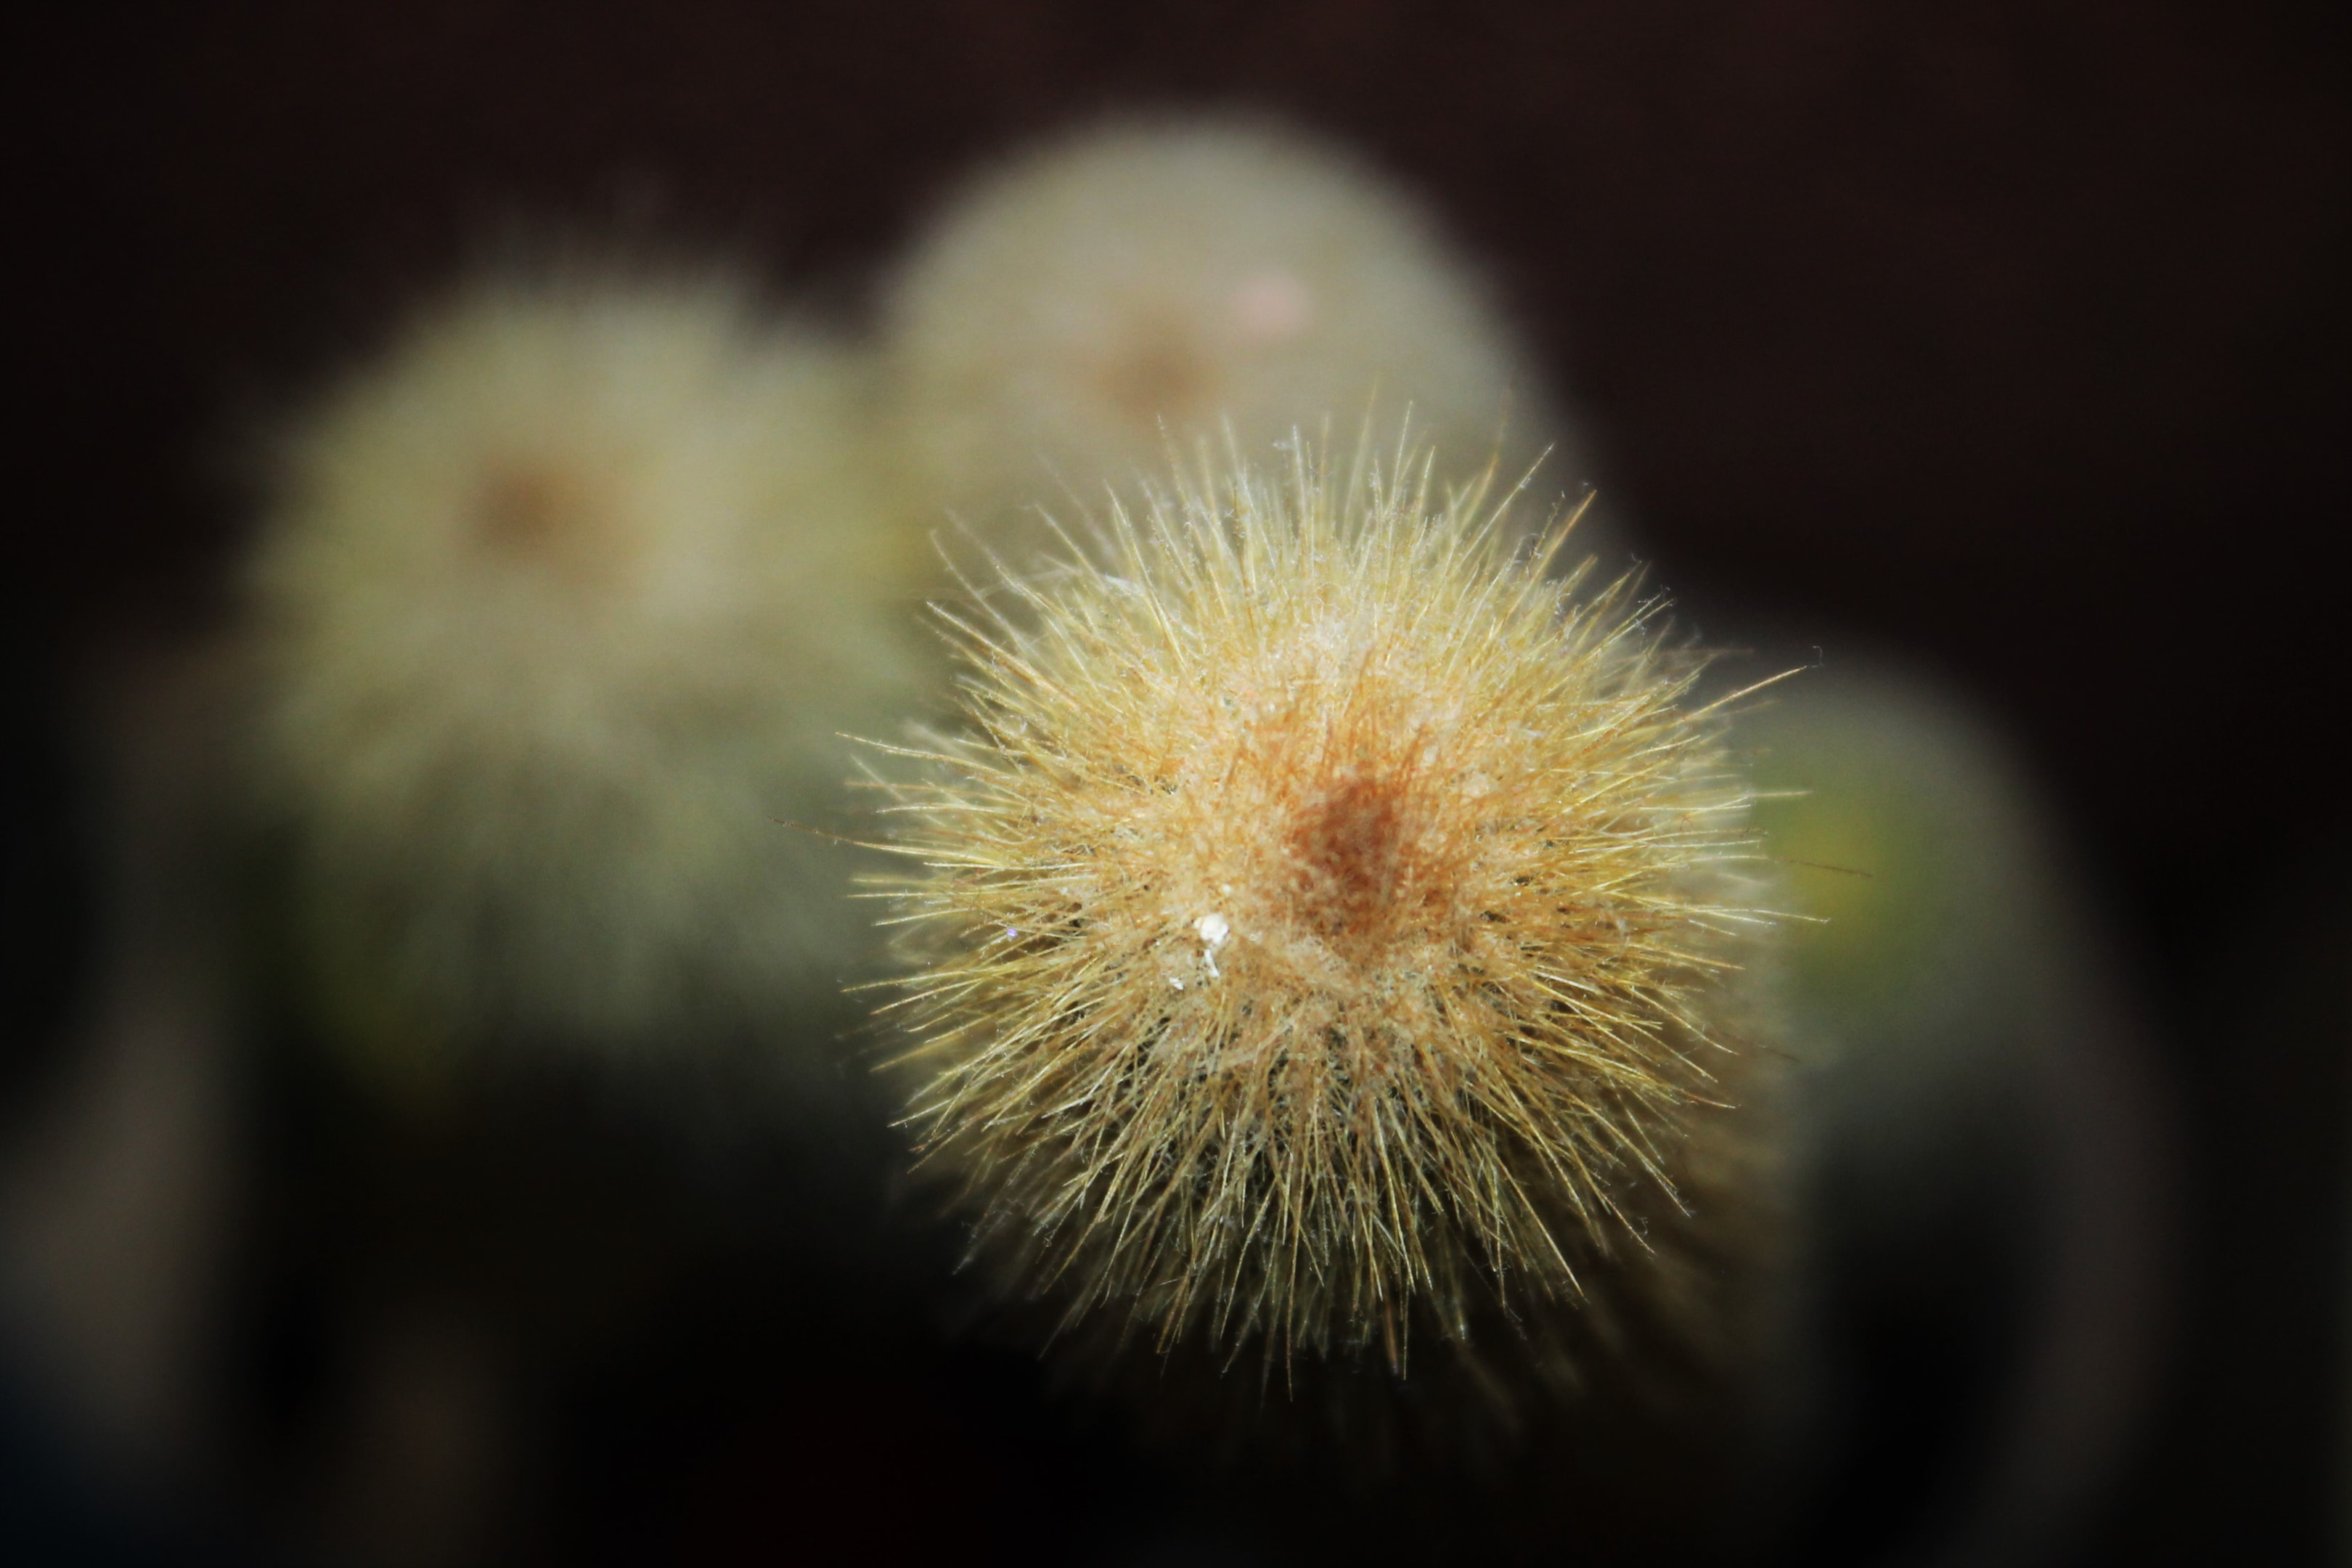
Macro photography reduces the depth of field to millimetres. Even at a smaller aperture, you will see very shallow depth at close focus.
For close-up photography of jewellery, textures, or product details, align the subject plane with the focal plane to place the most important features in sharp focus. Use focus stacking when single frames cannot hold the entire subject in acceptable sharpness.
Focus stacking blends multiple images with different focus distances to extend field depth without the penalty of diffraction softening.
At high magnification, watch focus spread across the sequence so the software can merge cleanly. Lock down camera settings and stabilise the camera to eliminate movement between images shot for stacking.
If the subject moves, switch to a solution with fewer frames and compromise on very shallow depth. This is one of the essential dof limitations at high magnification.
Background blur as a design tool

Background blur is not only about softness. It is about shape, scale, and direction. A telephoto lens magnifies blur disks, which makes colour fields wash together behind the subject.
A wide-angle lens stretches geometry and can keep recognisable context even with a wide aperture. Position the subject away from a distant background to increase separation.
If space is tight, use a longer focal length and frame tightly to reduce the slice of the environment that competes.
You can shape background blur with foreground decisions. Shift the subject distance by a small amount to tune how edges render.
Change focal length to control how the distant background layers scale in the frame. Choose surfaces and lights in the background that support the story rather than fight it.
Sensor formats, crop factors, and output size
Different formats handle depth of field differently. With full-frame cameras, you often achieve the same framing with a longer focal length than you would on a smaller sensor. That change affects depth in practical viewing because it changes magnification and how blur scales in the final output.
The camera's sensor also influences noise performance, which affects how far you can stop down or raise ISO to reach the desired depth without compromising tonal quality. This is model-dependent. Test your camera body to set safe ISO and diffraction limits for your work.
The camera's sensor size changes the path to the same look, yet the same principles apply. Set the focus distance with intent. Select the aperture setting that secures the entire subject when required.
Use focal length to drive background shape and scale. Evaluate on the screen and again on a larger monitor to see the actual image sharpness you will deliver.
Tools for calculating depth of field
You can approach calculating depth with simple rules. For many scenes, focusing one-third of the way into a scene is a rough heuristic for deep depth at mid apertures, but it is not always optimal.
For precision, lean on a dof chart, a hyperfocal distance calculator, or modern dof apps on your phone. Many photographers learned from luminous landscape articles that visualise the trade-offs between aperture, focal length, and distance. Use these references to build intuition.
Then confirm with a quick test frame at 100 per cent review to ensure the frame appears sharp where it matters.
No tool replaces judgment. The DOF equation assumes a particular viewing size and distance. If your client needs a large print, the threshold for acceptable sharpness narrows. If your content stays on mobile screens, the depth of field appears more generous.
Myths, observation contrasts, and the truth in practice
A common myth says that using the same aperture at different focal lengths will deliver the same depth. At a constant subject distance, the longer focal length gives a shallower depth of field.
At constant image size and the same aperture, total depth of field can be similar, yet the distant background will look more blurred with the longer lens because of the entrance pupil and angle-of-view differences.
Another myth says sensor size does not matter. In reality, viewing conditions and enlargement from the camera's sensor to the final display matter. For the same framing and f-number, smaller sensors give greater depth of field; larger formats give shallower depth of field.
A third myth claims that focal length does not change the rendering of the distant background. When you hold constant subject distance or reframe to match the subject’s image, longer focal lengths pull the distant background into a larger scale and can magnify blur disks. The result is a different visual weight that affects depth perception.
Observation contrasts help. Make two images shot from the same position, one with a wide-angle lens and one with a telephoto lens. Match the subject image size by cropping the wider frame.
The telephoto frame will show stronger background blur even when the numbers claim a similar depth of field.
Field exercises to build depth of field intuition
Practice converts theory into reflex. Try these drills and look for how the depth of field and background blur change.
- Three-distance portrait: Use a telephoto lens at a wide aperture. Place the subject three metres from the camera with a distant background. Then move the subject to five metres. Then to eight metres. Keep framing consistent. Note how subject distance shifts the separation and how much of the entire subject stays within acceptable sharpness.
- Two-focal test: Photograph a subject at the same aperture with a 35 millimetre wide-angle lens and a 105 millimetre telephoto lens. Keep framing similarly. Compare the distant background. Confirm how focal length affects depth and blur scale.
- Hyperfocal walk: With a wide-angle lens, set a smaller aperture and focus near the hyperfocal point. Shoot a foreground object with a distant background mountain. Evaluate which parts of the entire scene hold.
- Macro stack: Set up macro photography on a small object. Shoot multiple images at slightly different focus distances. Merge them with focus stacking. Examine the focus spread across the stack and the gain in field depth.
These exercises give you concrete evidence. You will see where theory and the actual image meet.
Scene types and reliable starting points
You can approach common scenes with tested starting points. Adjust from there based on light and motion.
Head-and-shoulders portrait

Start with 85 to 105 millimetre focal length. Choose a wide aperture for a shallow depth of field. Focus on the front eye. Keep the subject distance long enough to include the entire subject within acceptable sharpness. Raise shutter speed to protect against camera shake.
If the background has harsh, bright shapes, move your position to avoid a distracting background. For groups, stop down to a smaller aperture and place focus so that near and far faces remain within acceptable sharpness. The one-third placement heuristic sometimes works but is not universal.
Full-length portrait outdoors

Use a 50 to 85 millimetre focal length. Work with a moderately wide aperture. Increase subject distance to keep shoes and hair within sharp focus. Watch the distant background. If it competes, choose a longer focal length and reframe.
Ultra-crisp landscape

Choose a wide-angle lens between 14 and 24 millimetres. Use a smaller aperture. Set the focus distance near the hyperfocal position to maximise depth without sacrificing micro-contrast. Check the farthest objects at high magnification. If they soften, focus slightly farther and try again.
Street with layered context

Work with a 35 millimetre focal length. Use a moderate aperture. Place the focus point on a mid-distance subject. Let the foreground soften slightly to guide the eye, while keeping enough field depth so faces appear acceptably sharp.
Macro product detail

Use a macro lens at a smaller aperture. Move the camera to align the focal plane with the subject. If very shallow depth still hides important features, capture multiple images and blend with focus stacking.
Edge cases, limits, and how to solve them
Some scenes push depth of field to its limits. Very shallow depth in macro photography can foil even careful focusing. The solution is to adjust subject distance, stop down, or stack frames. Extreme depth for architecture can push you into diffraction.
Back off one stop from the smallest aperture and use a tripod to lengthen the shutter speed. If motion threatens your plan, raise ISO to keep the exposure stable while protecting field depth. Balance the trade-offs with the picture’s goals in mind.
When you find the maximum depth you can hold in a single frame has been reached, make multiple images at different focus distances and merge them. Focus stacking solves dof limitations when the entire scene must be crisp.
Use live view magnification for precise manual focusing and a remote release to avoid camera shake during the sequence.
Working method for reliable control in the field
Use a repeatable process so your control of depth of field becomes consistent.
- Define intent: Decide whether the story needs a shallow depth of field or a deep depth. State the desired depth and the elements that must stay crisp.
- Choose focal length: Pick a focal length that gives the perspective you want. If you need stronger separation, choose a longer focal length. If you need more of the environment, pick a shorter focal length.
- Set aperture: Choose the aperture setting that gives enough field depth for the entire subject. A smaller aperture increases safety. A wide aperture offers separation and speed.
- Establish distance: Set subject distance and focus distance to place the focal plane where it matters. Confirm with a quick test frame that appears sharp where needed.
- Stabilise: Monitor shutter speed for handheld safety. Increase ISO or use support to prevent camera shake. Check corners and farthest objects for softness.
- Verify: Zoom in and scan critical edges. Adjust if the frame does not yet appear acceptably sharp.
Camera features that help
Modern cameras include tools that streamline control of depth of field.
Aperture priority mode lets you set the f-number while the camera selects the shutter speed. Aperture priority gives you fast control over field depth while you manage exposure compensation. Focus peaking highlights detail near the focal plane for manual focus.
Depth preview stops the lens down so you can judge how background blur and field depth will render. Use these aids with care and verify on a larger display when the job is critical.
Comparing lenses and how they render depth
Different optics draw blur differently, even at the same f-number. Some lenses have smooth edges in the out-of-focus regions. Others retain hard edges. Test your lenses. Note how a 35 millimetre focal length renders specular highlights compared to a 135 millimetre.
Measure how background blur changes when the lens focal length changes. Watch how micro-contrast in sharp focus areas holds at different apertures. Build a mental catalogue so you can select the right tool quickly on set.
Prime lenses often excel for shallow DOF tasks. Zooms give flexibility when you must move fast. Both can deliver professional results when you understand their rendering at different distances.
Case study: Album art portrait in a crowded venue

The brief was a moody portrait photography session in a busy backstage corridor. The goal was separation and depth without losing context. We used a telephoto lens at a wide aperture. The artist stood three metres from the camera with a distant background of lights.
The focus point was set to the front eye. We chose a longer focal length to narrow the field of view and to increase background blur. Subject distance and the aperture setting balanced shallow depth against the need to keep the entire subject sharp enough. Shutter speed was set high to eliminate camera shake from handholding.
The result delivered clean lines around the face and a soft, luminous wash behind.
Case study: Sunrise ridge with foreground flowers
The client wanted landscape photography with complete clarity from flowers at two metres to the mountain ridge. We selected a wide-angle lens and a smaller aperture. We calculated a practical hyperfocal focus position, then focused slightly beyond the nearest bloom. We verified that the closest and farthest objects looked crisp.
The farthest objects needed a touch more clarity, so we nudged focus out and tried again. We reached maximum depth for the conditions without diffraction. The entire scene held, and the print retained edge contrast.
Precision topics that refine your control
Hyperfocal distance in detail
Hyperfocal distance is the focus distance that gives the deepest field depth for a given aperture and focal length while keeping infinity acceptably sharp.
Set focus just beyond this point for safety. Use a hyperfocal distance calculator before you start a hike. Many of the DOF apps let you save presets by lens and sensor. As you gain skill, you will estimate on the fly with high accuracy.
Putting the focus plane where it matters
Align the focal plane with the most critical structures. For portraits, that usually means the eyes. For product work, align with logos or the primary face of the object.
For layered scenes, place the focal plane where contrast and colour carry the story. This is how you ensure the picture appears sharp even when the depth of field is limited.
Managing diffraction while seeking deep depth
Small apertures increase depth of field but eventually reduce resolution. Find the point where your lens keeps acceptable sharpness at both centre and edges.
Many lenses deliver optimal field depth and clarity one to two stops down from wide open for shallow tasks, and two to three stops from maximum for deep tasks. Test your lenses and write down sweet spots.
Testing, measurement, and personal calibration
You do not need lab gear to calibrate. Use printed text and simple targets at known distances. Make a series at different apertures and focus distances. Compare images shot at varied focal lengths. Note where the frame appears acceptably sharp and where it does not. Build a small notebook of results you can trust on paid work.
When you switch bodies, repeat the tests. The camera's sensor resolution and processing can change how detail is held at high ISO or small apertures. Full-frame cameras may give you more room to manoeuvre at high ISO while protecting field depth. Adjust your method accordingly.
Common mistakes and how to avoid them
Relying on the rear screen without checking the edges is common. Always zoom in. Misplacing the focus point on the cheek rather than the eye is another trap. Use single-point AF for portraits and confirm placement.
Using the same aperture for every scene removes your best tool for controlling depth. If your backgrounds feel busy, adjust focal length and subject distance rather than only stopping down. If your landscapes lack bite in the farthest objects, refocus slightly farther and verify.
Shooting at very small apertures in dim light can force long exposures that introduce camera shake. Stabilise or increase ISO. If motion blur matters more than field depth, raise shutter speed and accept slightly less depth of field to preserve subject integrity.
Advanced techniques for controlling depth on set
Use neutral density filters when a wide aperture is needed in bright conditions. This keeps a shallow depth of field without overexposure. Combine a wide aperture with a longer focal length for strong subject separation in portrait photography.
For architecture where the entire scene should hold, set the camera on a tripod and use a timed release to avoid camera shake. If you must achieve extreme depth and the light is low, shoot multiple images for focus stacking and blend with care.
When matching frames for visual continuity, hold constant subject distance and maintain constant image size to keep a similar look across series. If the look must match across lenses, pick the same aperture when practical, then fine-tune with distance and focal length to land on the same depth.
Planning checklists for repeatable success
Checklists reduce errors in fast environments like music video sets and live rooms at TYX Studios.
- Intent: Decide shallow depth of field or a deep depth before you place the camera.
- Lens: Choose a focal length for perspective and blur scale.
- Aperture: Set the aperture setting for the desired depth.
- Distance: Set the subject distance and focus distance.
- Stabilisation: Confirm the shutter speed, support the camera to avoid camera shake.
- Verification: Zoom in. Confirm that the entire subject or the entire scene appears acceptably sharp.
- Backup plan: If limits are hit, plan focus stacking or a second option with different camera settings.
Conclusion
Whether you are working on portrait photography, macro photography, or landscape photography, depth of field affects the way your audience experiences the final image.
With practice, observation, and the right camera settings, you can control background blur and sharp focus with intention.
Treat depth of field as a design choice, not an accident, and every frame you create will serve your story.
Take charge of your photography at TYX Studios
Ready to control depth of field with confidence on your next creative project.
Whether you need portraits with shallow depth of field, crisp landscape backdrops, or video with cinematic blur, we provide the space, expertise, and gear to bring your creative vision to life.
At TYX Studios, we help artists, filmmakers, and brands plan visuals that use depth of field with intent so every frame supports the story.
Book your session at TYX Studios today.
Frequently Asked Questions
Use a smaller aperture and increase focus distance slightly. Choose a wide-angle lens to add depth at the same framing.
Use a hyperfocal distance calculator on your phone, then round to a simple distance and focus just beyond that point to maximise depth.
A longer focal length can change depth cues because you often stand farther away and narrow the angle of view. Reintroduce shape with a more distant background or adjust subject distance.
The camera's sensor size changes how much enlargement is needed for the same output. For the same framing and f-number, smaller sensors give greater depth of field. This alters what appears acceptably sharp at a given framing.
Avoid the smallest f-numbers. Use the smallest aperture that secures field depth, then consider focus stacking for extreme depth.
A busy or bright distant background can still pull attention. Move the subject, change focal length, or change camera position.
Align faces on a similar plane. Use a smaller aperture, increase subject distance, and place focus so that near and far faces remain within acceptable sharpness. The one-third-into-the-group idea is a heuristic, not a rule.
Accept very shallow depth or stack frames. Reduce magnification or adjust the angle so the focal plane aligns with the subject.