


What Is Bokeh in Photography and How to Use It
Our photography experts break down the optics behind the bokeh effect and show you repeatable ways to dial it in. Follow the steps to get consistent results.
Bokeh is the look of the out-of-focus background and highlights in a photo. It shapes how your subject stands out and how the image feels. At TYX Photography Studios, we use controlled bokeh in music promos, artist portraits, and product visuals shot in our studios and on location.
This guide explains the optics in plain terms and gives you a repeatable process you can use on any camera. You will learn how aperture, focal length, distance, and light interact, plus simple field setups that work in London streets and in the studio.
What does "bokeh" mean?
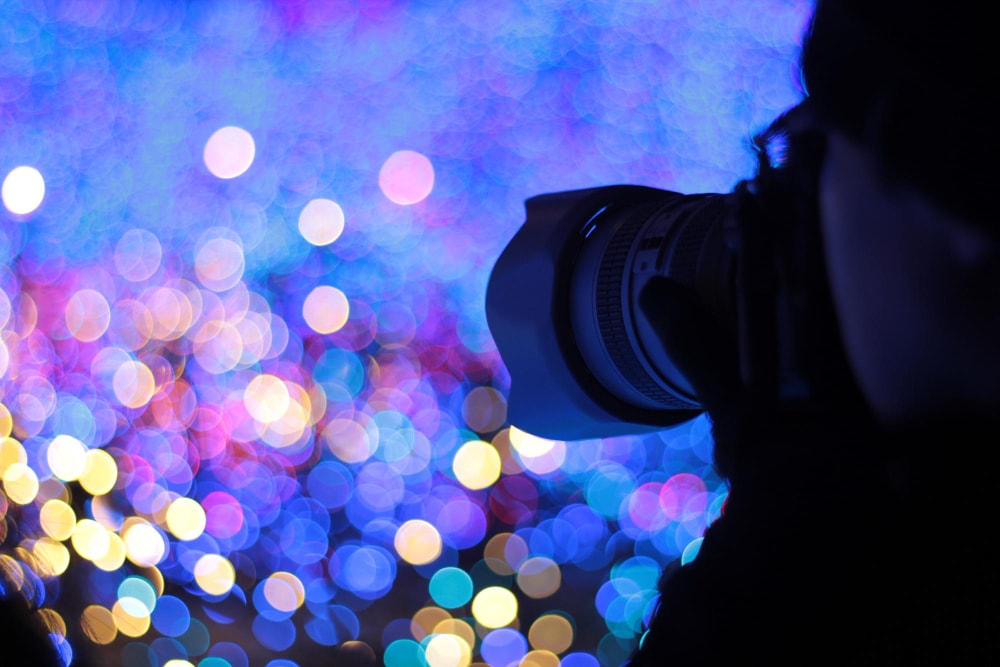
Bokeh describes the aesthetic quality of the defocused parts of a photo. Think of the way lights melt into discs and textures soften behind a sharp subject. The term bokeh comes from the Japanese word boke, which refers to blur or haze.
Many photographers shorten this to bokeh. Writers sometimes mention that bokeh is a Japanese word because the idea grew popular through discussions of image rendering and lens character.
Bokeh lives in the out-of-focus areas of the frame. It is not the same as depth of field, though both are related. Depth of field is the zone that appears in focus. Bokeh is how the background blur looks outside that zone. Two camera lenses can give the same shallow depth of field but very different bokeh.
Optics that shape the look
Three variables affect bokeh most strongly.
- Aperture controls how shallow the depth can be.
- Focal length sets the field of view and magnification.
- Apparent compression comes mainly from where you place the camera relative to the subject and background.
Open the aperture and the depth of field shrinks. That pushes textures into blur faster. At the same subject distance and f-number, longer focal lengths produce larger blur discs.
At the same framing, differences depend on background distance and entrance pupil; results are not strictly ‘more blur’ in every case. Increase subject separation from the background, and you get a more blurred background with softer shapes. These levers interact, so small changes add up. A move of one metre or a third of a stop can be visible.
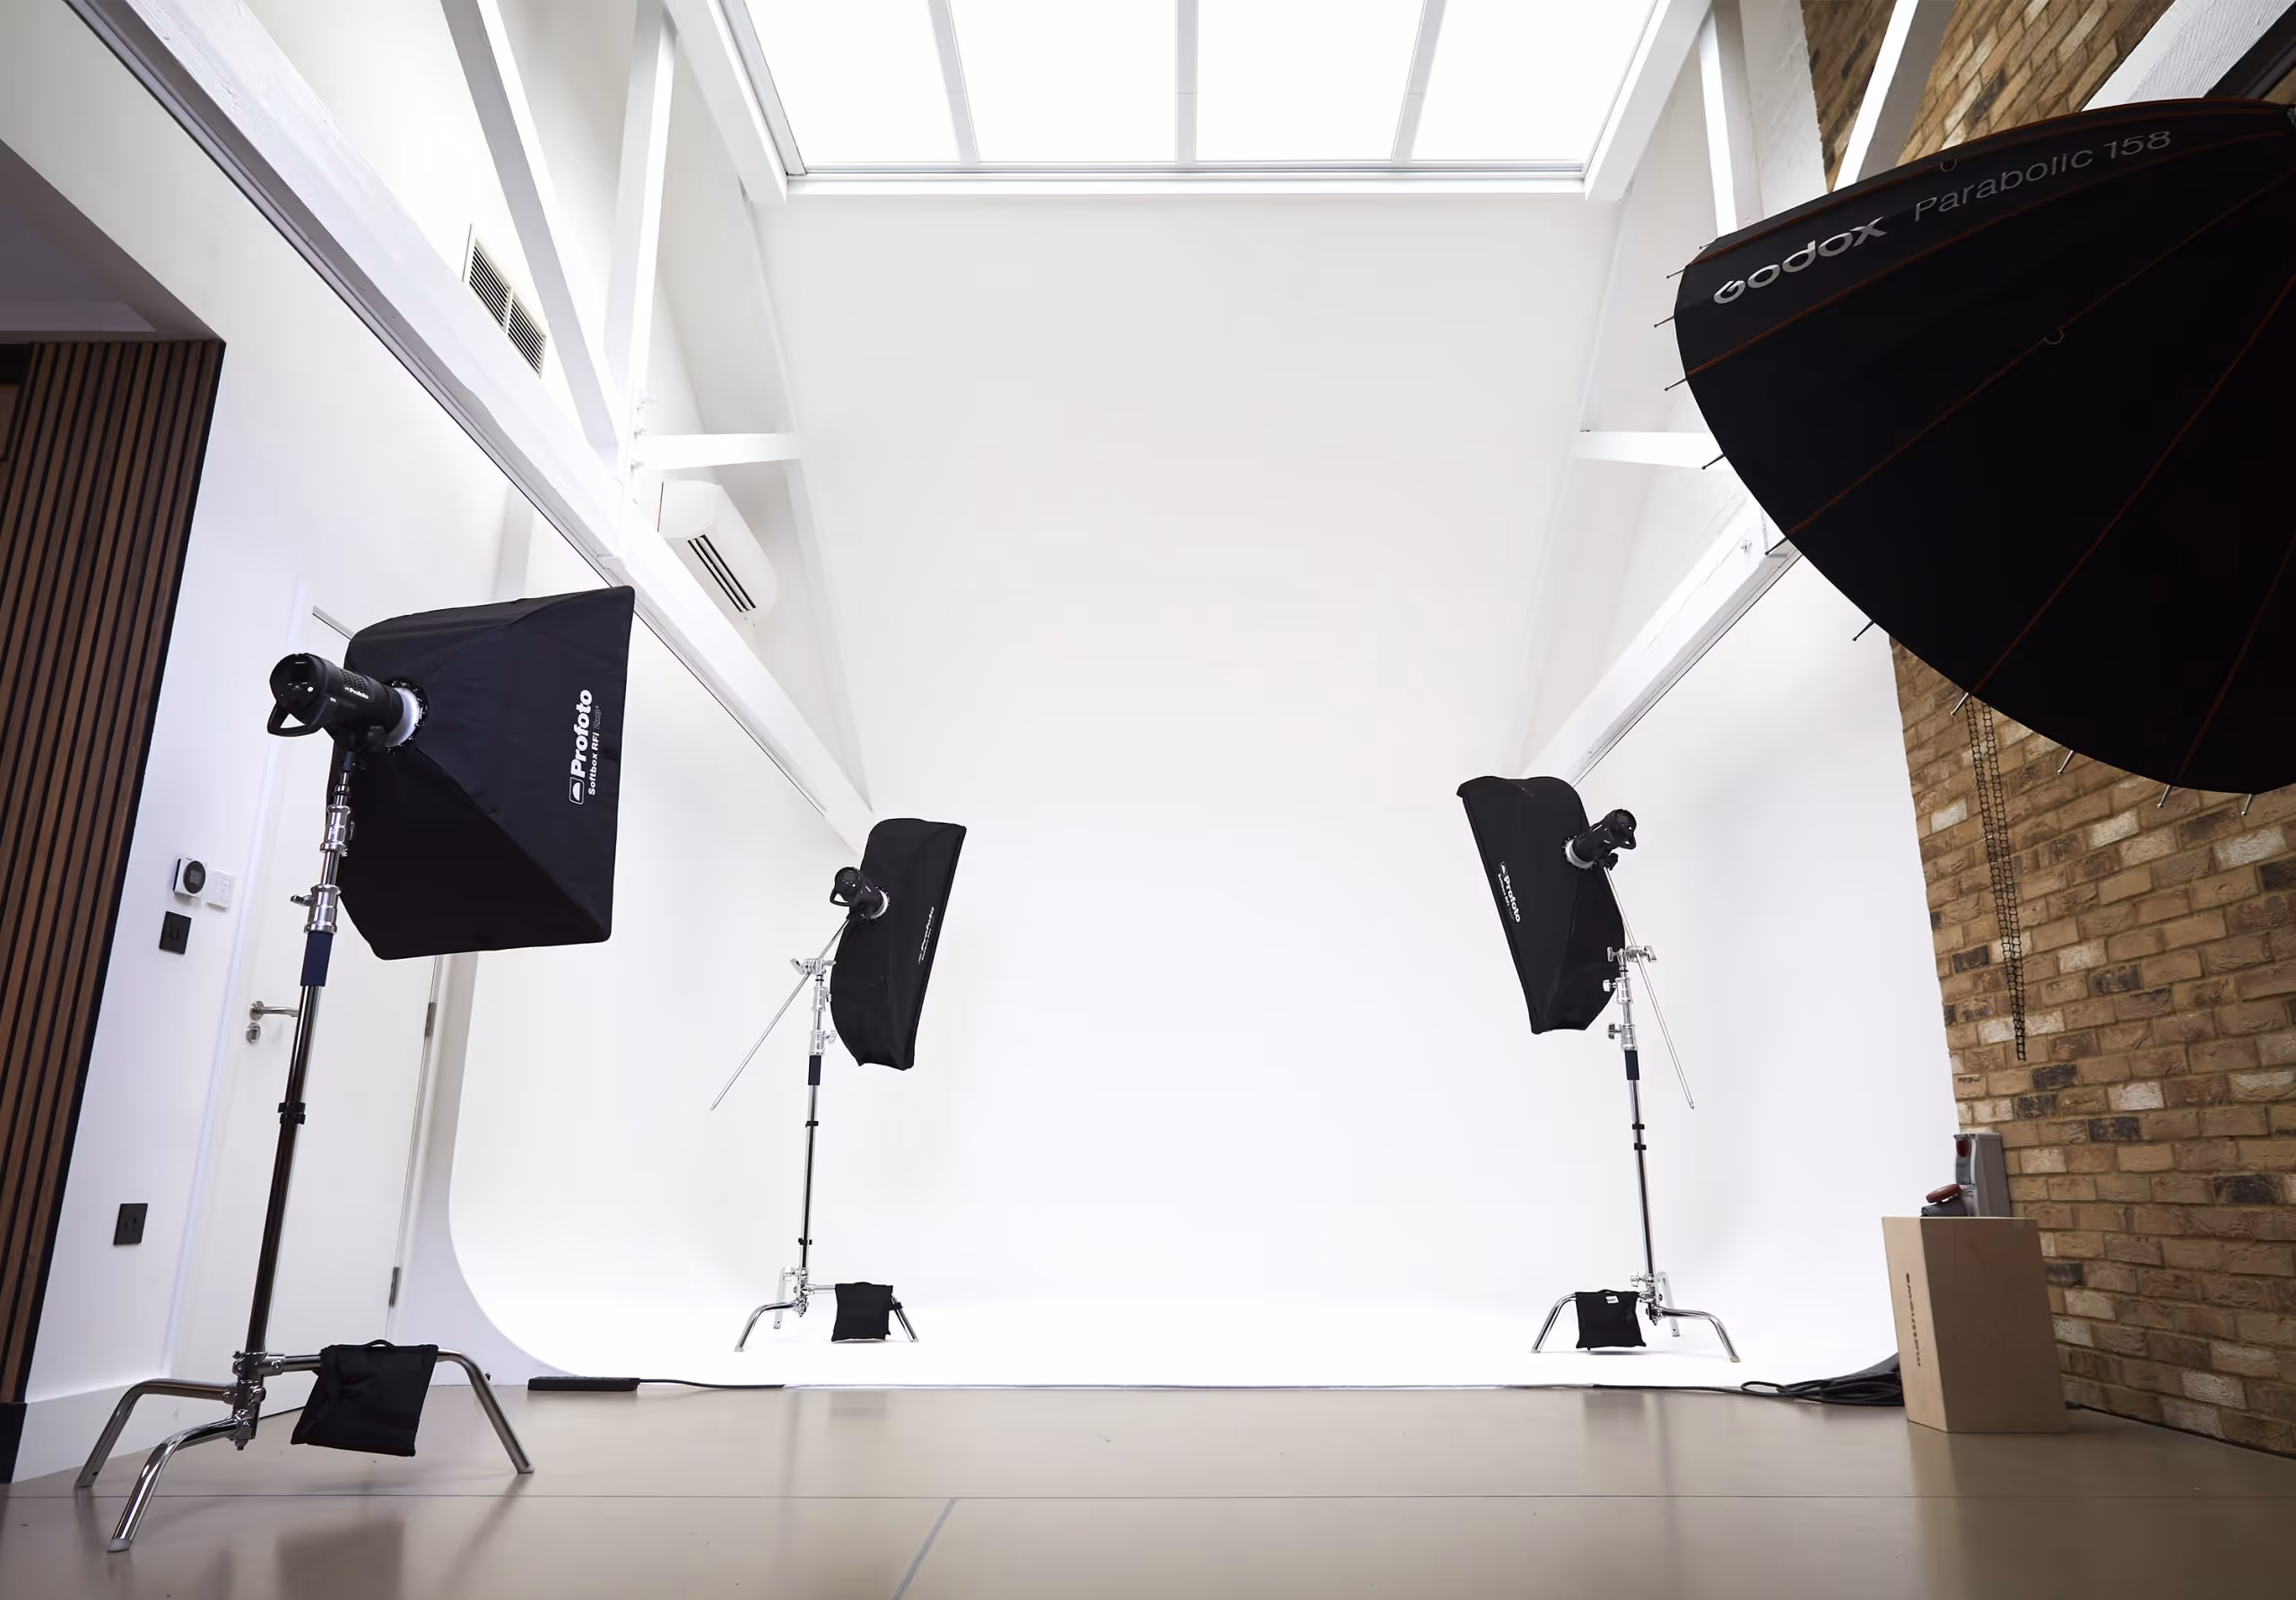
How aperture blades and lens design matter

The diaphragm inside your lens is made of aperture blades. Their number and shape guide how specular highlights render. More blades can give more rounded openings at mid apertures.
Older designs with hexagonal blades can show visible edges in highlight discs. Some lenses advertise one or more circular-shaped blades, which help maintain round bokeh when you stop down a little.
Lens design influences edge behaviour in the discs. Some optics show bright rims or onion patterns that can distract. Others blend edges for creamy bokeh that melts into the background.
Lens manufacturers tune bokeh via spherical aberration balance, diaphragm shape, optical vignetting control, and apodisation filters. Examples include: Sony FE 100mm F2.8 STF GM OSS; Fujifilm XF 56mm F1.2 APD. Coatings primarily affect flare/contrast.
You will see differences most clearly around the widest aperture, where the lens exhibits the most character.
Camera settings that work
Start with aperture priority for speed. Set your maximum aperture and let the camera choose the rest within safe limits. In A/Av mode, enable Auto ISO and set ‘Minimum shutter speed’’ to keep shutter from dropping below a threshold; the camera then raises ISO.
When the light is stable, switch to manual mode to lock exposure for a series. If you prefer one dial, use aperture priority or manual based on the pace of the shoot.
Set the aperture wide for separation. Try f/1.4, f/1.8, and f/2.8 on a fast lens. That pushes the plane of focus thin and deepens the blur behind it. If you need a little more detail on the subject, stop down to f/5.6 and watch how highlight shapes change.
Each click can affect bokeh, so adjust while watching live view. Keep the shutter speed high enough to avoid motion. If you are working handheld with people, use a baseline that fits your focal length, then refine.
Always place the focus on the eye or the most important detail. That gives you sharp focus where it matters and the bokeh effect everywhere else. If you are shooting a product or instrument detail, put the focal point on the logo or the key edge that sells the shape. Use a camera with Eye-Detection AF and a lens with fast, accurate AF motors.
Distance and placement in the real world
Bokeh grows when you place the subject and background at different distances. Pull your subject a few metres away from walls or hedges. Move yourself closer to the subject. Keep the background far behind. These moves are free and powerful.
Look for tiny lights, reflective edges, or sunlit leaves. Those become out-of-focus points that sparkle. Angle your camera so those points fall behind the sharp subject, not through it. If you need more separation, move your feet. You will often achieve bokeh faster with placement than with more gear.
Lens choices for character
Prime lenses often offer wider maximum apertures than comparable zooms, which helps produce bokeh at lower ISOs and faster shutter speeds. A fast lens with a wide maximum aperture lets you shoot at f 1.4 or f 1.8 for stronger separation. Many portrait favourites sit around 50 to 105 millimetres.
These lengths tighten the field of view so background elements occupy less of the frame, which can help you capture round bokeh more easily. Some zooms give excellent rendering, too, especially modern designs with more blades and refined optics.
A wide-angle lens can still produce bokeh if you move in close and keep the background far away. It will look different because the field of view is larger, yet you can still create bokeh around foreground objects and lights. If you want the best lenses for portraits with smooth discs, research examples from your system and test them in the scenes you shoot.
If highlight discs look harsh, change lenses. Try a lens with circular-shaped blades for a softer edge. If discs look cat-eyed at the frame edges, that is optical vignetting at work. Some designs keep shapes more uniform, while others show stronger edge deformation. Choose what supports your visual goal. For pleasing bokeh in tight spaces, a fast lens used near its widest aperture often helps.
Light makes or breaks the look

You need light with shape to show bokeh. Fairy lights, streetlights, glints on metal, and the sun through leaves all help. In the studio, place small practicals in the background. In music work, we use warm bulbs behind artists to add depth and rhythm to bokeh photos without drawing attention away from faces.
For example, consider a tree with the sun breaking through. Place your subject a few metres in front, open to the widest aperture, and focus on the subject. The leaves will turn into a shower of discs. Adjust your angle until the pattern supports the composition. This is a simple way to create background bokeh outdoors.
Step-by-step field process
Set your lens wide open. Frame the subject with clear separation. Switch to aperture priority and set f/1.8 or f/2.8, then ride exposure compensation to taste. Use Auto ISO and set ‘Minimum shutter speed’ for moving artists. If you need more control, go to manual mode and keep a safe shutter speed. Use Auto ISO if the light fluctuates during live performance. If colour shifts or flare creep in, flag stray light or move the practicals.
For portraits, place the subject facing open shade or a soft key. Put textured lights behind them. Anchor the frame on a sharp subject. Focus on the eye. For products, build a small set with reflective points behind the item.
For music videos, balance practicals against the key. Under mains-driven or some LED/fluorescent lights, use fps and shutter that divide the local pulse rate: 50 Hz regions → 25/50 fps with 1/50, 1/100 s; 60 Hz regions → 24/30/60 fps with 1/60, 1/120 s. Test, avoid high frame rates under mains unless lights are certified flicker-free, or use fixtures/ballasts with flicker-free modes.
Managing sharpness and transitions

Bokeh is strongest when contrast sits exactly where you need it. Place hard edges on the subject. Keep busy patterns behind them. Use a shallow depth of field to pull the eye.
If the background still competes, move it farther back or open the aperture. If the subject lacks shape, stop down a little to recover edges. Watch the transition from sharp to blur. A smooth roll-off is often the key to pleasing bokeh.
Check for flare and ghosting. Backlight can wash out edges and make highlights lose structure. A simple flag can restore clarity. To reduce disc size, stop down or bring highlights closer to the focus plane; moving them farther back enlarges discs though per-pixel brightness may drop.
When bokeh goes wrong and how to fix it
Busy foliage can turn messy when it is just slightly out of focus. Push it deeper into blur by moving the subject forward, increasing focal length, or opening the aperture. Lines through faces distract. Reframe so bright discs fall away from features.
Harsh rims around highlight discs can look nervous. Some lenses show this at mid apertures. Open a little more or try another lens. Onion-ring structures usually arise from surface patterns left by moulded aspherical elements. If bokeh swirls near the edges, keep subjects near the centre.
Specific settings to try today
Portrait at dusk: 50 millimetres, f 1.8, aperture priority, Auto ISO, and a shutter speed fast enough to freeze slight movement. Place small lights behind your subject. Focus on the eye. This gives beautiful bokeh while keeping skin crisp.
Product on a table: 85 millimetres, f 2.8, manual mode to lock exposure under continuous light. Put silver foil with small crinkles a few metres behind. Once lit, those crinkles turn into round bokeh that frames the item. This is a simple way to produce bokeh with a basic setup.
Band in studio: 35 millimetres, f 1.4, lens wide open for separation in tight rooms. Hang practical bulbs in the background. Keep microphones in sharp focus and let instruments sit just behind the plane of focus for layered depth.
Understanding shapes and cat eyes

Highlight discs take the shape of the aperture opening. With many blades and a round opening, you get round bokeh. With six straight blades, you can see hexagonal edges. That is why hexagonal blades show up in older designs. As you stop down, the opening becomes more polygonal unless your lens uses more circular-shaped blades. This is where more blades help.
Toward the edges of the frame, discs can stretch. This comes from the optical path and vignetting. It is normal. If you do not like the look, keep bright highlights nearer the centre or stop down slightly. Every lens will affect bokeh in its own way. That is part of the art.
How to test lenses for bokeh
If your priority is smooth rendering, test before you buy.
- Compare the same focal length at the same aperture across two lenses.
- Look at the discs and the transition to blur.
- If one drawing feels calmer, that lens may be better for your work.
- Pay attention to aperture settings around f 1.8 and f 2.8, where many shoots happen.
- Bring the camera and lens you use on jobs.
- Do not chase specs alone.
- A fast lens helps, but placement and light do more.
- The best lenses are the ones you can carry and use confidently.
In real projects, we value reliable focus and clean ergonomics as much as pure speed. Aim for good bokeh, stable focus, and predictable handling over headline numbers.
Video and bokeh
Bokeh photography principles carry straight into video. Lock your exposure. Keep focus breathing in mind, since it changes the feel when you rack focus. Use practical lights that will not flicker, or match frame rate and shutter speed to local mains. In live rooms, we set safe shutter angles and expose for faces first, then tune background highlights to taste.
Post work without overdoing it
You can enhance separation in post, but aim to get the look in camera. Gentle local contrast on the subject adds pop against the blurred background. Lower clarity in the background can mimic a smoother roll off, but overdoing it can make the image look artificial. Keep edges clean and guides straight. Use masks to protect the focal point and avoid halos.
A simple field process you can repeat
Arrive early and scout angles that place your subject away from textured backgrounds. Add small lights or seek reflective points. Choose a focal length that frames without distortion. Set a wide aperture. Place the focal point carefully. Take a test frame and refine the distance and light until the background melts.
TYX Photography Studios
Ready to add controlled depth to your work? Book your next photography session today and build visuals that match your sound. You can also explore our world-class podcast and music recording studios, or work with our engineers to bring your project to life.
At TYX Photography Studios, we help you shape light, focus, and background so the bokeh in your photos supports your story and your music.
Book your slot today and elevate your project.
Frequently Asked Questions
Move your subject away from the background, open to the widest aperture, and place small lights or bright textures behind it.
At the same framing and f-number, larger sensors yield shallower DoF because the entrance pupil is larger. To match DoF across formats, use equivalent f-numbers (multiply the smaller-sensor f-number by its crop factor).
Yes, if you move close, keep the background far, and tap to set the focal point. Portrait modes simulate background blur using depth maps and segmentation.
Aperture shape and lens design control this. Hexagonal blades or stopping down too far can change the disc shape.
No. Use it for products, food, instruments, and candid moments. It adds separation and mood in many genres.
Use reliable focus methods, shoot several frames, and align the plane of focus with the face or key detail.
Harsh rims and busy patterns can cause this. Soften the light, increase separation, or use a lens with smoother rendering.
Yes, if you move very close to the subject and keep the background far away. The look is different but still effective.
Yes, all photography sessions are fully tailored to your requirements. From creative direction to post-production, our services are designed to align with your unique vision and deliver results that suit your goals.
£325 for a half-day£575 for a full day lockout.£50 per extra hour if needed.£30 if you need a technician.TYX members get up to 20% off all bookings.*All prices are excluding VAT.

.avif)
.avif)