Types of Lighting in Photography—Techniques for Captivating Images
Lighting can vastly change how an image looks, and you can create stunning photos simply by exploring new techniques. This guide will provide a breakdown of various lighting setups and techniques in photography. Ultimately, we want to ensure you have enough tools in your tool-kit to do justice to your creative vision.
Lighting is one of the most crucial elements in photography, capable of transforming a simple shot into a captivating image. Whether you're harnessing natural light or experimenting with artificial lighting, understanding how light affects your subject can elevate your photography to new heights.
Having run a professional photography studio for many years now, we're well-versed in the various lighting techniques you can use to elevate their images. That's why we want to share some of our wisdom and help you create breathtaking photos!
Let's dive in!
Natural lighting

Natural light is one of the most accessible and versatile types of photography lighting. Whether you're shooting outdoors or near a window, sunlight offers a variety of unique opportunities.
Time of day and weather conditions can drastically change how natural light works in your images. For example, the soft light of the golden hour -just after sunrise or before sunset- creates uniquely warm tones and delicate shadows, ideal for portrait photography.

However, natural light can be unpredictable. Sudden changes in the weather such as clouds can cause your subject's face to have unflattering shadows. Consider these tips to make the most out of natural light:
- Remember to use the golden hour – Shoot during the golden hour. The light creates unique colours and shades you won't have at other times
- Use a reflector – Bounce light back onto your subject to fill in shadows and even out the exposure.
- Use shade – If sunlight is too harsh, seek shade. You can also create dark shadows this way, creating a strong contrast.
- Keep the sun's position in mind – You can create different contrasts and moods based on the sun's angle. Experiment with positions to find the best angle for your photography.
- Weather – Bad weather doesn't ruin the day. Different weathers can provide you with different moods. Overcast days offer soft light, while sunny days can create strong, directional light that’s great for dramatic effects.
With these techniques, you can use light to create amazing photos that will be sure to dazzle your audience.
Broad lighting

Broad light is a lighting technique where the light source illuminates the side of the subject that is closest to the camera, making that side appear larger and more prominent. You can use this setup for photographing subjects with narrow faces. It can help to broaden their features and create a more balanced appearance.
Broad light is often used in portrait photography to flatter the subject by reducing the appearance of deep eyes or other features. You should keep in mind that broad light can flatten an image slightly. Pay attention to how it affects things like contrast and depth in your final image.
If you carefully adjust things like angles and lighting, broad light can create natural, well-lit images that complement the subject.
Front lighting

Front lighting, or flat light, involves positioning the light source directly in front of the subject. This type of lighting is known for its simplicity as well as its ability to evenly illuminate the subject.
Flat lighting is particularly popular in portrait photography, as it can easily illuminate a face evenly, eliminating annoying shadows.
However, flat lightning can sometimes lead to flat images with no depth. To make them more interesting, you can change the angle of the light source to make some subtle shadows. These shadows can add a little dimension to your photos.
Front lighting remains a reliable option for many photographers. Its simplicity and straightforward technique can create portrait photos that can easily get your point across.
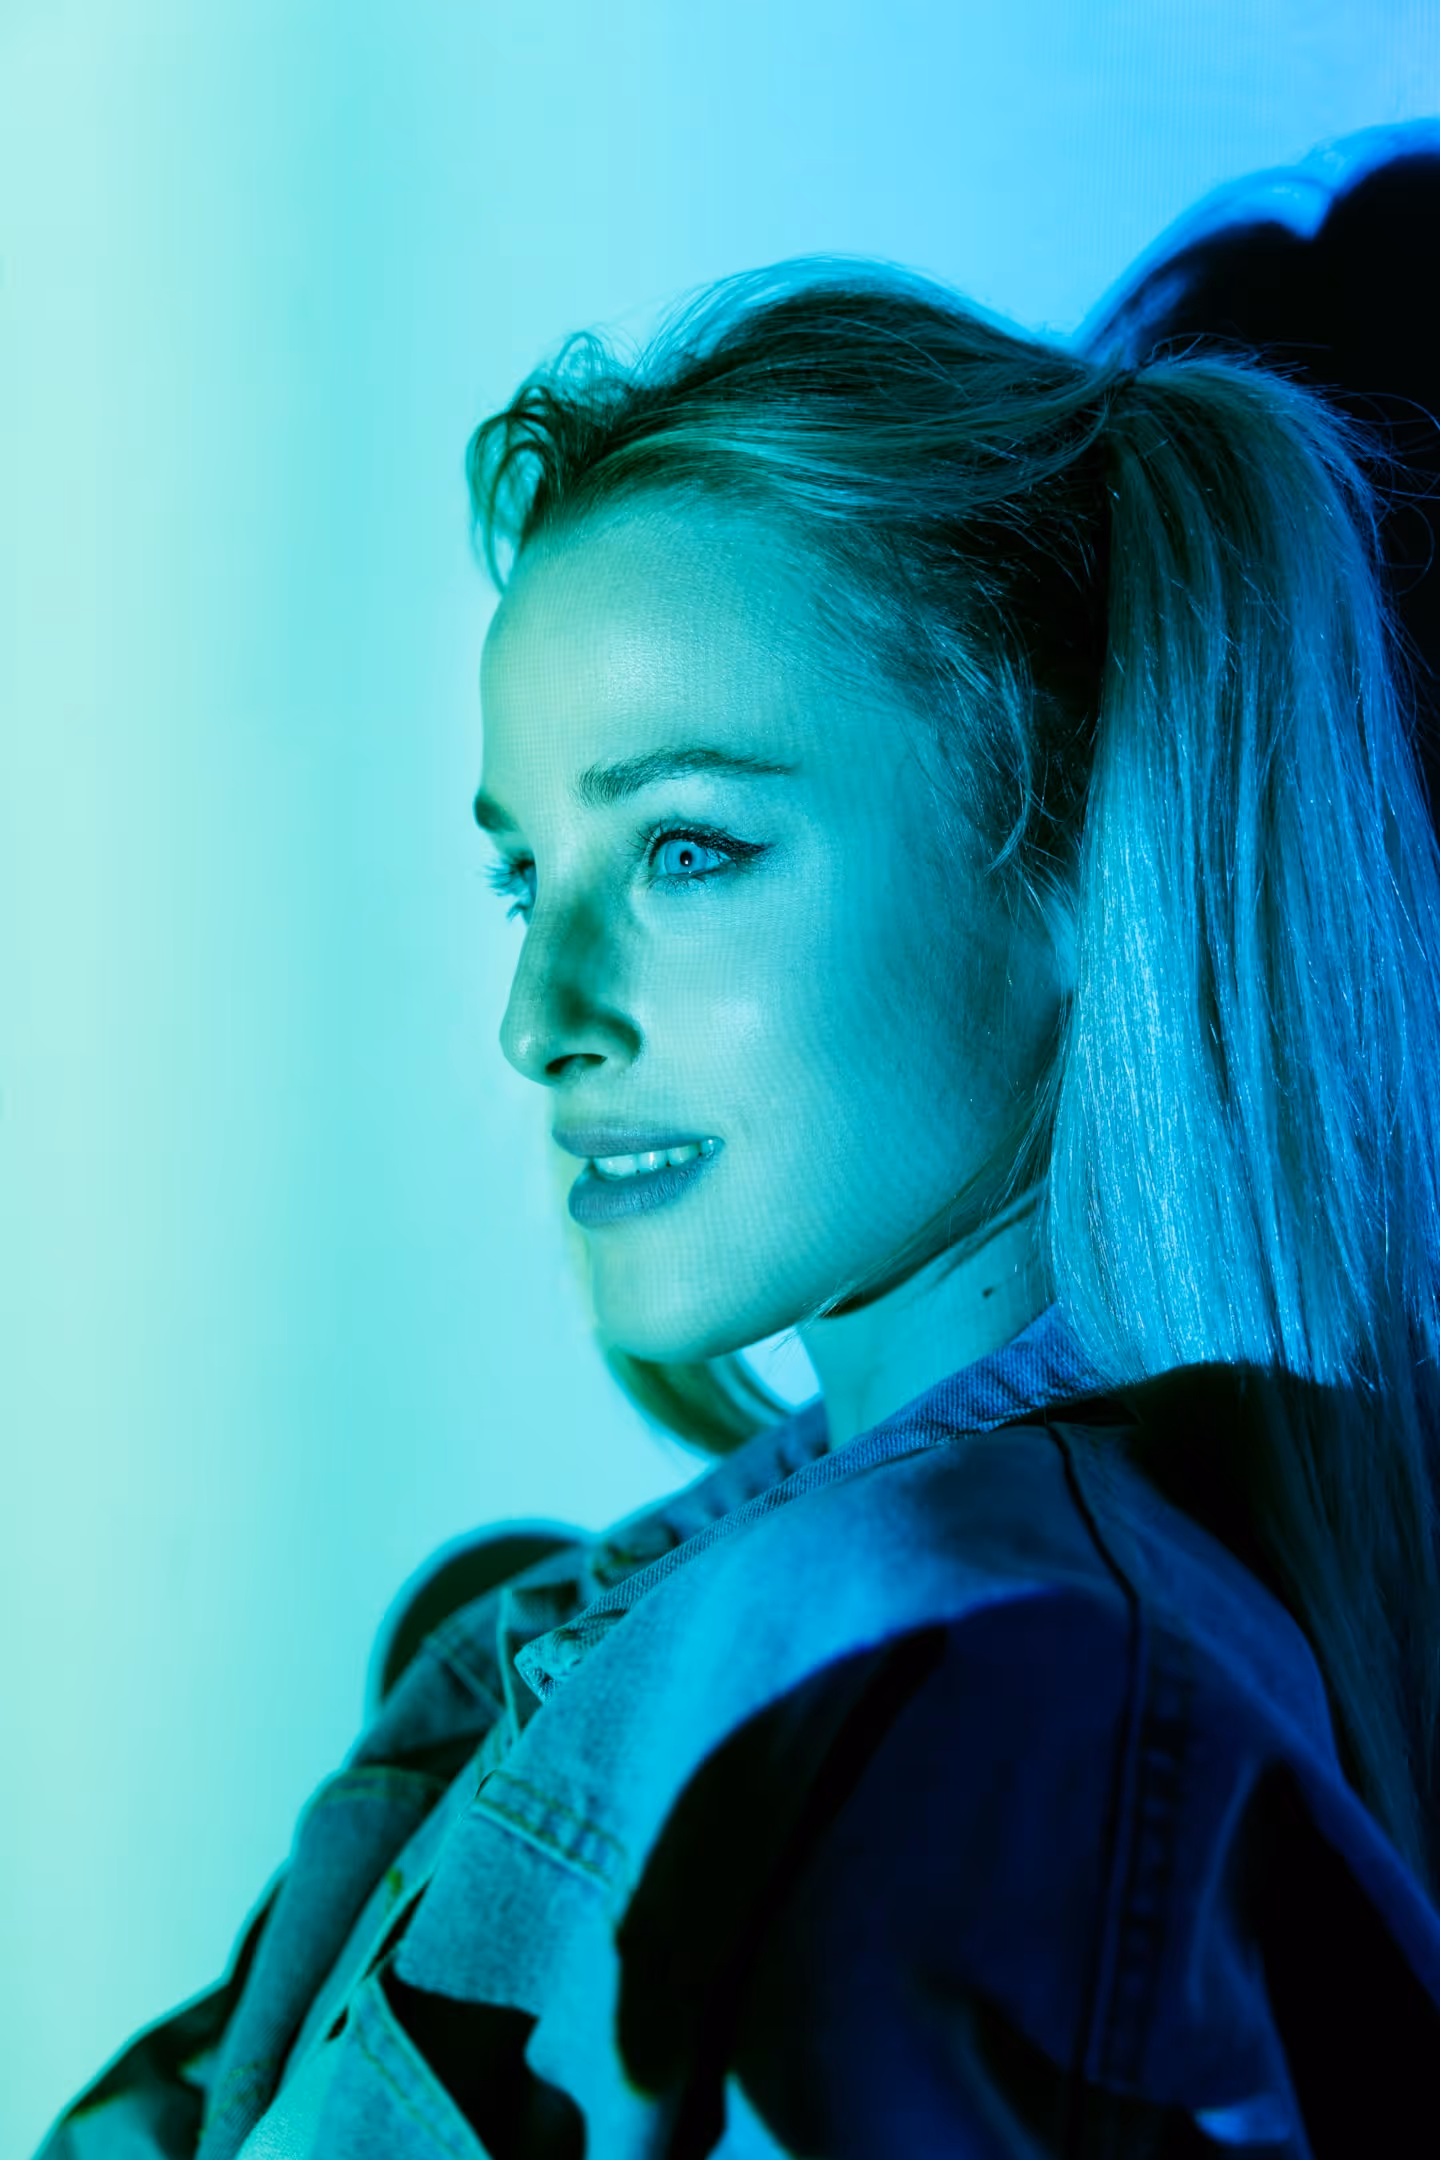
Back lighting

This is a technique that encircles the subject with a 'rim' of light. Light hits the outline of the subject, making shadows fall on the rest of the image, creating dramatic portraits that stand out.
You can use this technique to separate the subject from the background. It adds a certain depth to an image whilst also making it more dramatic. Backlighting, also known as rim light, is used to create silhouettes.
You could use a natural light source or artificial light. These light sources may be the better choice if you're looking for stronger contrasts without much editing.

Mastering backlighting is no simple feat, First, you'll need to carefully balance exposure. The light can't be too strong, or it might overpower the outline of the subject.
To get the right consistency, you'd want the light to be bright enough to leave an effect, whilst not taking away from the other aspects of the image.
Side lighting

If you want to use a simple lighting technique that is sure to leave an impression, then you should try side lighting.
As the name suggests, the light source is placed to the side of the subject. With the lighting off to the side, you will create a contrast between strong light and deep shadows. This is a popular choice for portrait and architectural photography because it highlights the texture and shape of the subject.
Side lighting can also be used to create a dramatic effect by casting long shadows across the subject's face or body.
This lighting technique is great for bringing out the details. It can make the subject stand out against the background. If you want to experiment, you can try changing the lighting angle, or use a reflector if the shadows are too intense to soften them up.
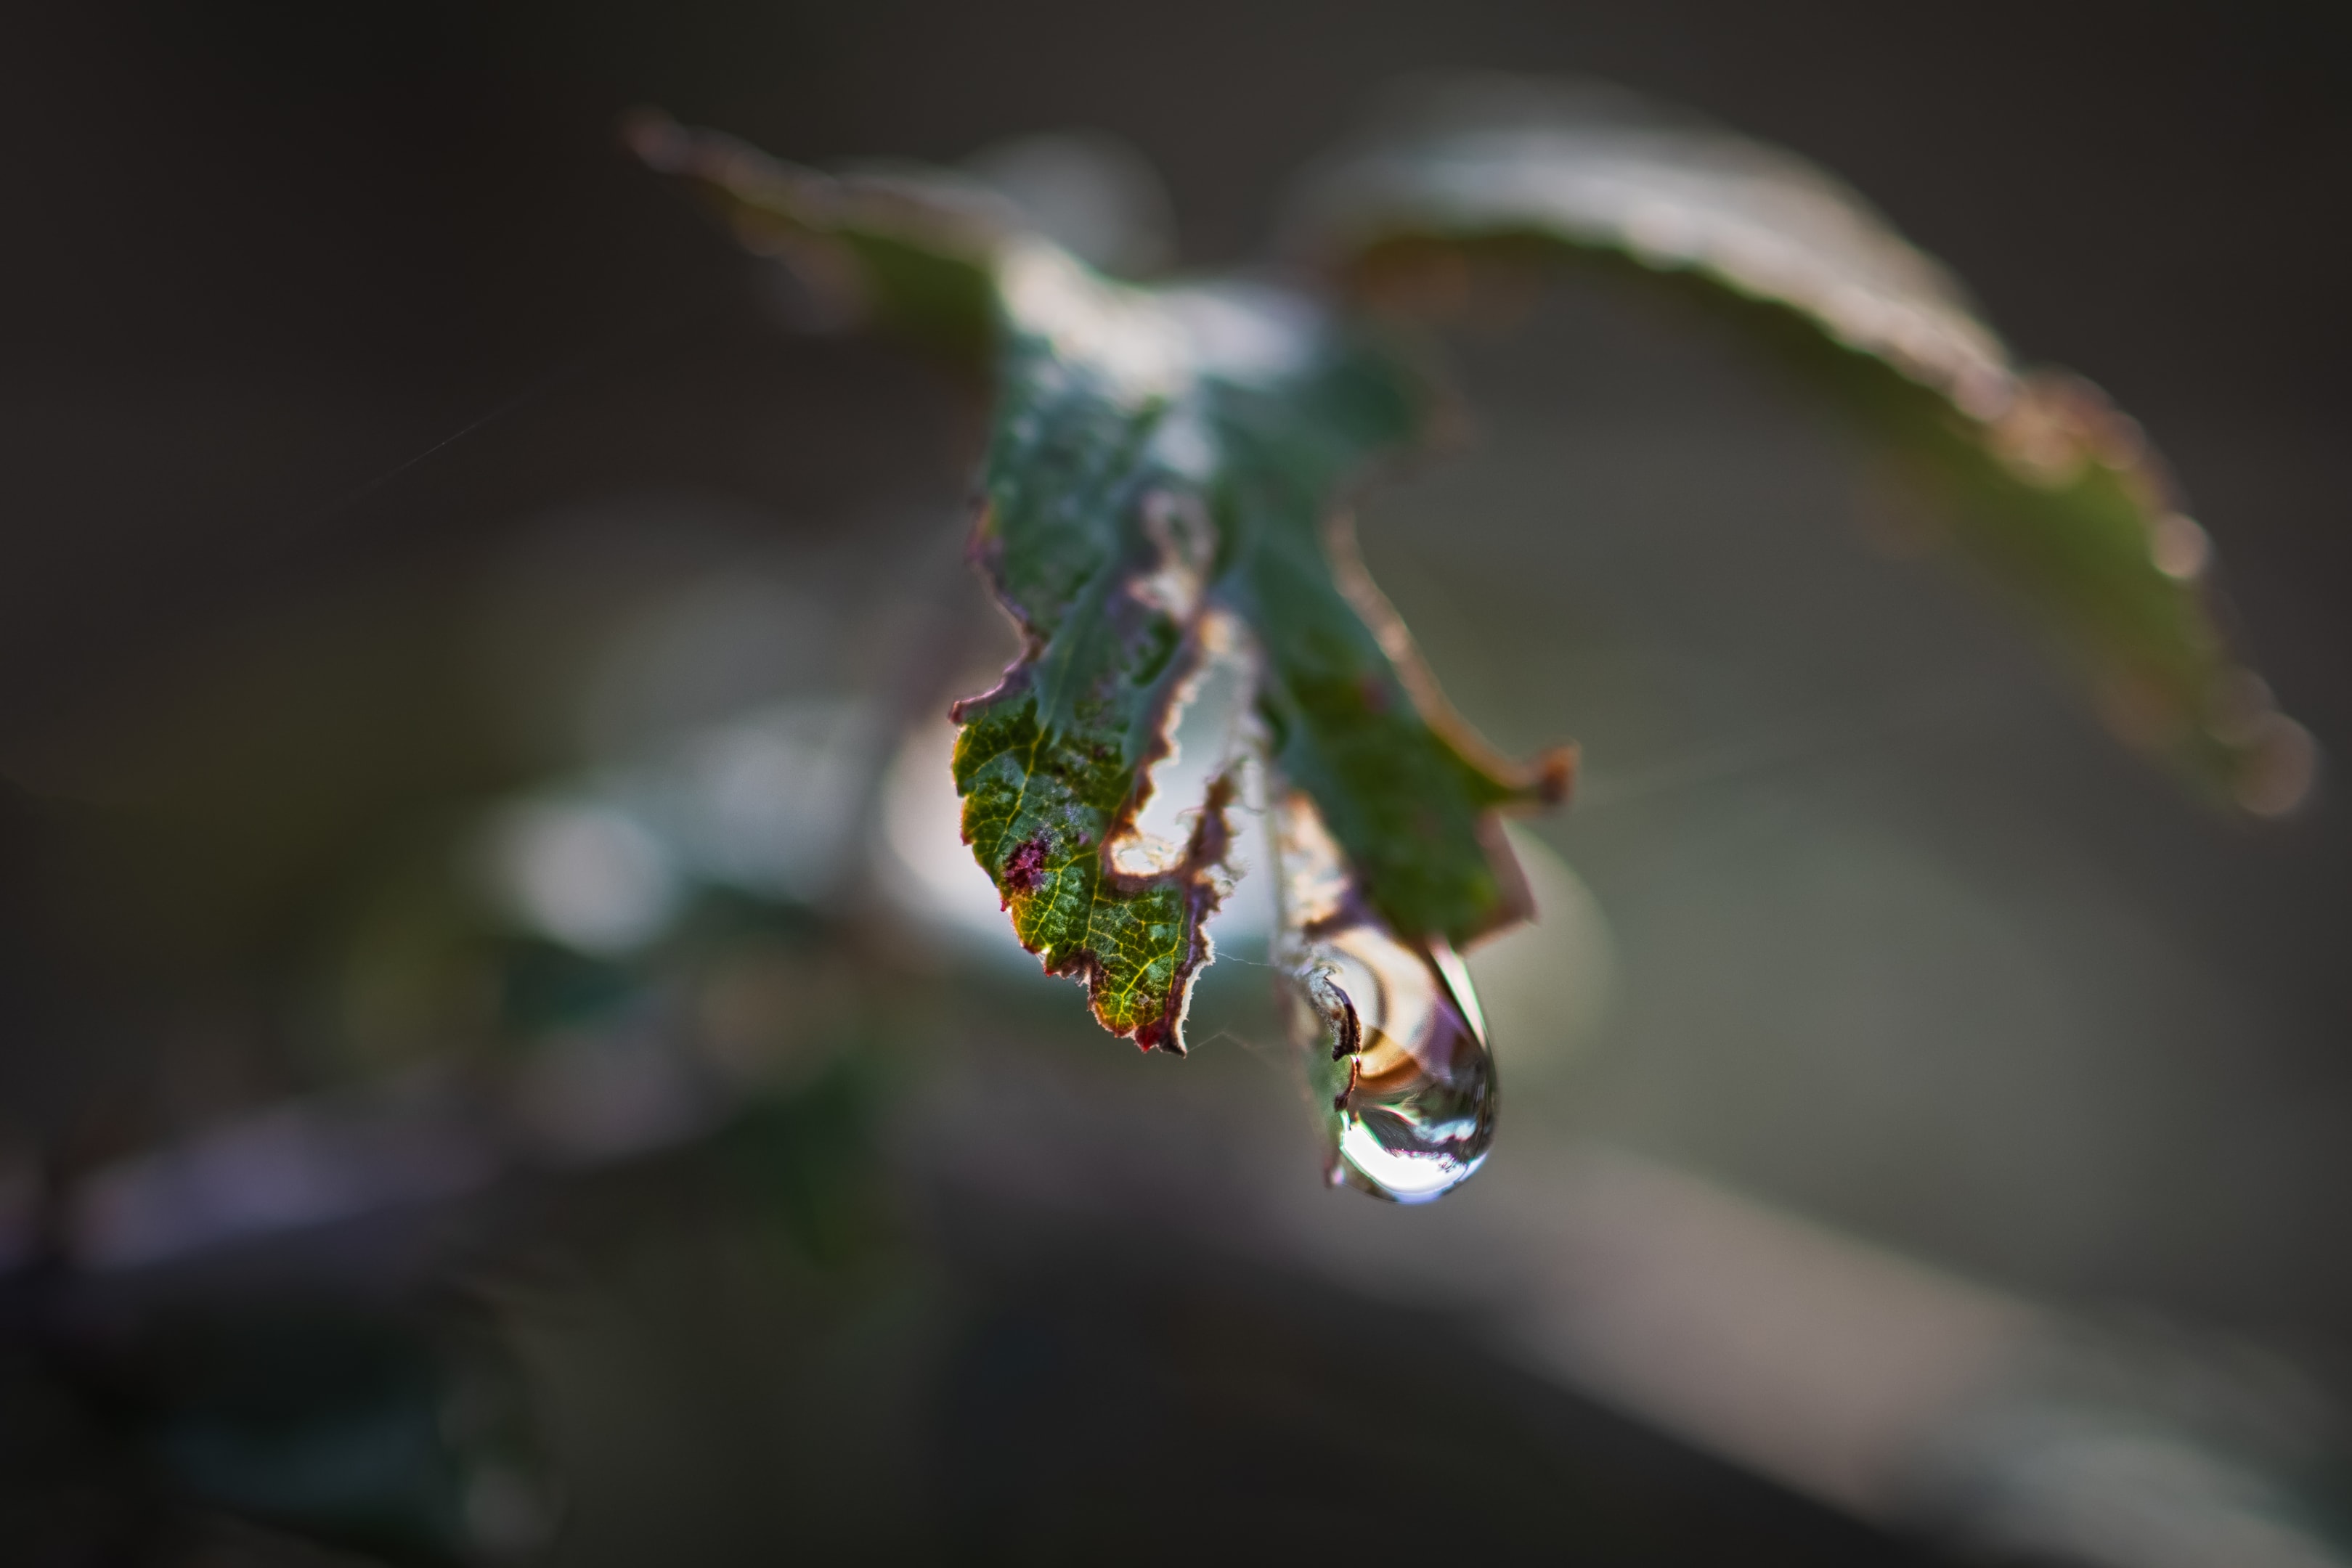
Soft lighting

Soft light diffuses the light source, creating gentle shadows that lead to smooth transitions between light and dark areas.
This technique is good for subtler images, instead of more dramatic ones, with harsh contrasts. If you looking to photograph portraits or still life, soft lighting can flatter the subjects and create delicate images.
You can use natural lighting on a cloudy day to create soft lighting. A studio has a range of equipment that can create soft light for you. When making soft light, remember to have an even light source.High key lighting (popular in portrait photography) also falls under this category because it uses gentle, even light to create bright, low-contrast images with minimal shadows.
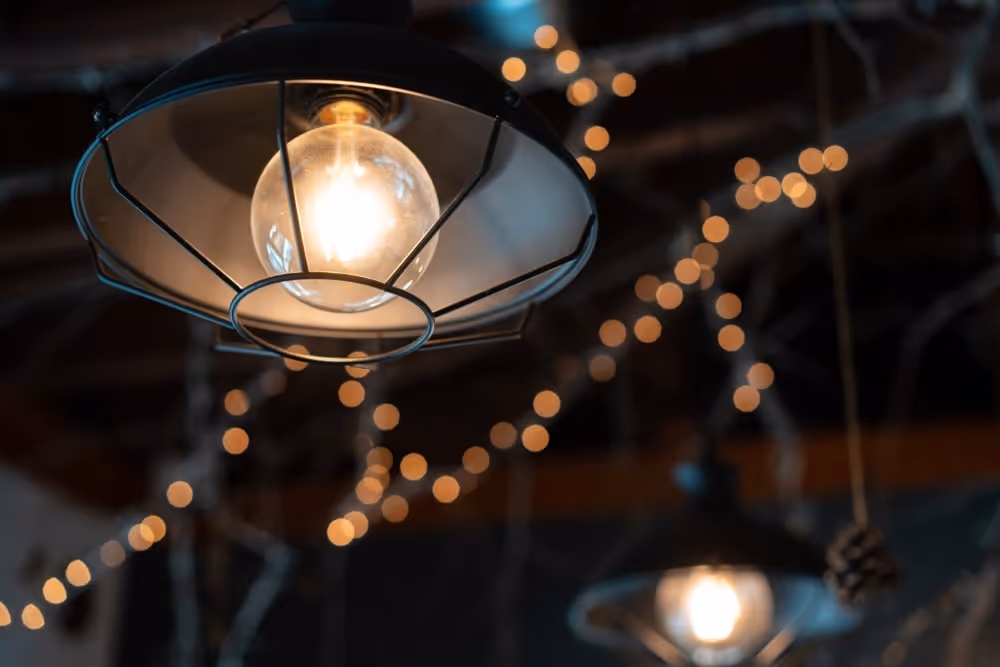
Hard lighting

The opposite of soft light, hard light uses strong, directed light to create sharp, deep shadows. This makes a picture with high contrast between the light and dark parts of the photograph. If you want to emphasise certain features, hard light can use light to draw attention to a part of a photograph, whilst also creating a dramatic effect.

Outside of a studio, you could use things like the midday sun, or a small light source like a lightbulb. What you're looking for is a small, but intense light. Hard light creates powerful images by highlighting the shape and details of a subject, creating stunning visuals.
Be careful when using hard light, however, as you could just as easily draw attention to the wrong parts of an image, making people notice imperfections. It could also result in shadows being too prominent and harsh.
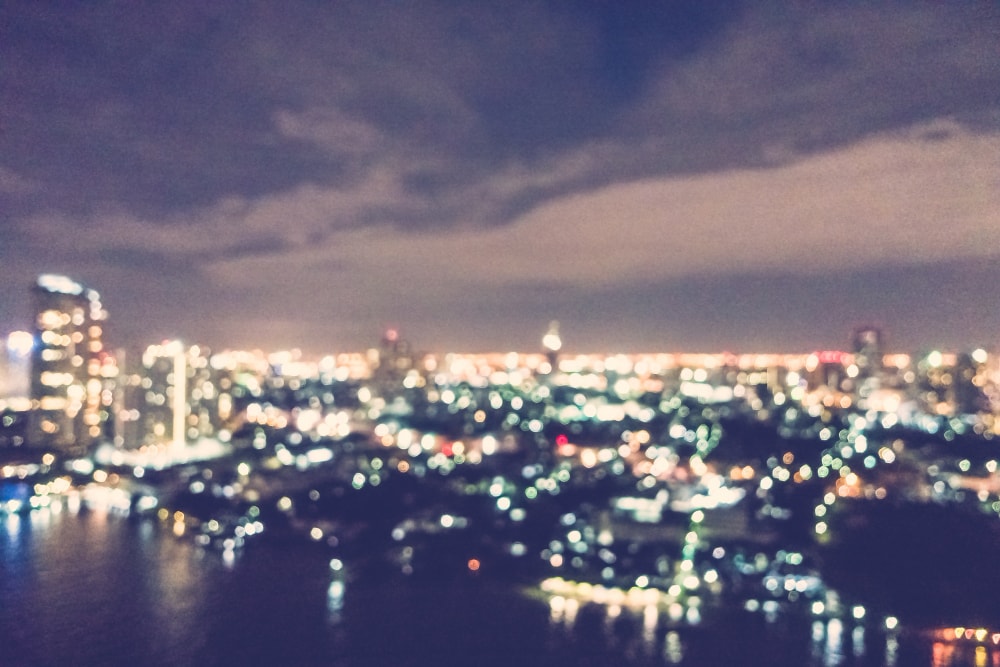
Ambient lighting
Natural light and ambient light are similar, but natural light typically refers to sunlight. Ambient light is the existing light in a photograph that hasn't been added by the photographer. Streetlights and lighting that was already in place can be ambient lighting.
Ambient light is subtle, giving you a gentle, even illumination that creates a natural and relaxed atmosphere. This type of lighting is usually soft, making it ideal for capturing moments that are organic and candid.
The main issue with ambient light is, that as it's not your lighting, it can be difficult to control. Adjust your camera settings and be ready to experiment.
Creative lighting techniques

Artificial light offers photographers full control over their lighting setup. Studios are great for all kinds of light thanks to their closed-off environments and range of lighting equipment.
Whether you're using continuous lights, camera flashes, or off-camera flash units, it allows you to create the exact look you want, regardless of the time of day or weather conditions .Studio lighting is useful for product photography, fashion shoots, or any scenario where consistent lighting is crucial.
If you're wanting to give your creativity something new, as well as gain new skills, you should try out new techniques. Experimenting with these different lighting techniques that can help with everything from still-life to portrait photography.
It might push you out of your comfort zone, but it could lead to some truly amazing results. Here are a few creative lighting techniques to try:
- Spotlight – Focusing a narrow beam of light on a specific part of your subject can draw attention to particular details, creating a dramatic effect. This technique is great for highlighting the most important parts of your photo.
- Neon lighting – Utilising neon lights or other colourful light sources can add a vibrant, urban feel to your photography. This type of lighting works well for street photography or creative portraits, adding a modern look to your images.
- Split lighting – Split lighting has half of the subject's face in shadow, creating a dramatic and moody effect.
- Loop lighting – Loop lighting creates a small loop-shaped shadow under the subject's nose, adding depth and flattering facial features.
- Rembrandt lighting – Named after its namesake. This is a type of portrait photography that is similar to split lighting, except the shadowy part of the face has a triangle of light under the eye.
- Butterfly lighting – Butterfly lighting, also known as Paramount lighting, is a portrait technique where the light source is placed above and in front of the subject. With this, you create a small, butterfly-shaped shadow under the nose.
Conclusion
Lighting is one of the most powerful tools in photography, capable of transforming an ordinary scene into something extraordinary.
By understanding and experimenting with different types of lighting, you can create images that truly captivate and tell a story. Whether you’re using natural light to capture the warmth of a sunset or artificial light to control every detail in a studio, mastering these techniques will help you bring your creative vision to life.
TYX Photography Studios London

At TYX London Photography Studios, we understand the importance of good lighting in capturing professional-quality photos and videos. Our state-of-the-art studios are equipped with top-notch lighting and filming gear, ensuring that your work is illuminated in the best possible way.
Moreover, our photography services (including professional guidance and editing) will help your shots make n impact. Whether you’re recording a podcast or shooting a music video, we’ve got you covered.
Contact us today to learn more about how we can support your creative projects!
Frequently Asked Questions
Yes, TYX Studios provides a selection of professional photography equipment for rent. Please contact us for a detailed list of available gear and rental terms.
Our photo studios cater to a variety of photography needs, including fashion shoots, product photography, portrait photography, and more. Whatever photo shoot you have in mind, our facilities are equipped to support diverse creative projects.
Soft light is a good choice if you're just starting out. It can easily be used to create even photographs that can still stand out. Soft light can also easily be emulated with household lighting. You could also use natural or ambient light for an easy-to-use light source that can create a variety of unique photographs
4-point lighting is the same as 3-point lighting, except it has an additional backlight. Instead of using this backlight to illuminate the subject, or create rim light. This backlight is used to illuminate the background, bringing out details that might've been lost in the shadows.
Key light, fill light and backlight are the 3 lighting techniques to keep in mind. Each lighting method is its own lighting source. This is also known as 3-point lighting.Key light is the primary light source. It's used for the overall exposure of the image.Fill light fills in the shadows left by the key light, creating a brighter image.Backlight is a light source coming from behind the subject. This can be used to create a rim of light for added effect.