7 Low Light Photography Ideas—Capture Stunning Shots
Discover how to unlock your creative potential in low light photography. This guide explores innovative techniques, from mastering long exposure to utilising natural light and dramatic shadows, to create stunning photos. Perfect for hobbyists and professionals alike, these low light photography tips will help elevate your skills.
Table of contents
Low light photography is both a challenge and an opportunity for creativity. It forces photographers to think beyond traditional lighting setups and explore artistic methods. This blog offers a comprehensive guide to creative low light photography ideas, equipping you with the skills to capture breathtaking images in dim conditions.
Understanding the basics of low light photography

Low light photography involves capturing images in environments where light levels are limited. To excel in these conditions, understanding exposure, aperture, and ISO settings is crucial. These factors determine how much light enters your camera and affects the final image.
Exposure is the foundation of photography and is determined by three elements: aperture, shutter speed, and ISO. Aperture controls how much light enters the lens, shutter speed dictates how long the camera sensor is exposed to light, and ISO adjusts the sensor's sensitivity.
Together, these settings allow photographers to adapt to low light conditions.
When shooting in low light, balancing these elements can prevent camera shake and image noise.
For instance, using a wide aperture lets in more light, while slower shutter speeds can help capture dim scenes without requiring excessively high ISO levels.
A tripod is essential for stability when using slower shutter speeds.
Additionally, consider the colour temperature of your light source and adjust your white balance settings accordingly.
Whether you're working with natural light, artificial light, or mixed sources, accurate white balance ensures your photos reflect true-to-life colours.
Essential equipment for low light shooting
Choosing the right camera and lens

- Mirrorless cameras – Known for their excellent performance in low light situations, mirrorless cameras often have advanced ISO settings and larger sensors. These features make them highly effective for capturing sharp and detailed images in dim environments.
- Fast lens – A lens with a wide aperture (e.g., f/1.8 or f/2.8) allows more light to enter, making it ideal for shooting low light photos. Wide apertures are particularly useful for achieving shallow depth of field and isolating your subject from the background.
- Full frame cameras – These cameras provide better sensitivity to light, ensuring high-quality images in low light conditions. Their larger sensors capture more light, resulting in reduced image noise and greater dynamic range.
Accessories that make a difference

- Tripod – A sturdy tripod helps reduce camera shake when using slower shutter speeds. This is especially important for long exposure photography or shooting in extremely dim light.
- Remote shutter release – Minimises vibration when taking pictures, ensuring sharper images.
- LED lights – Portable light sources can add more light to your scene if needed. Adjustable LED panels allow you to control the intensity and direction of the light for creative effects.
- Lens hoods and filters – A lens hood can prevent unwanted glare from stray light sources, while neutral density filters help control exposure during long exposure shots.
Creative ideas for low light photography
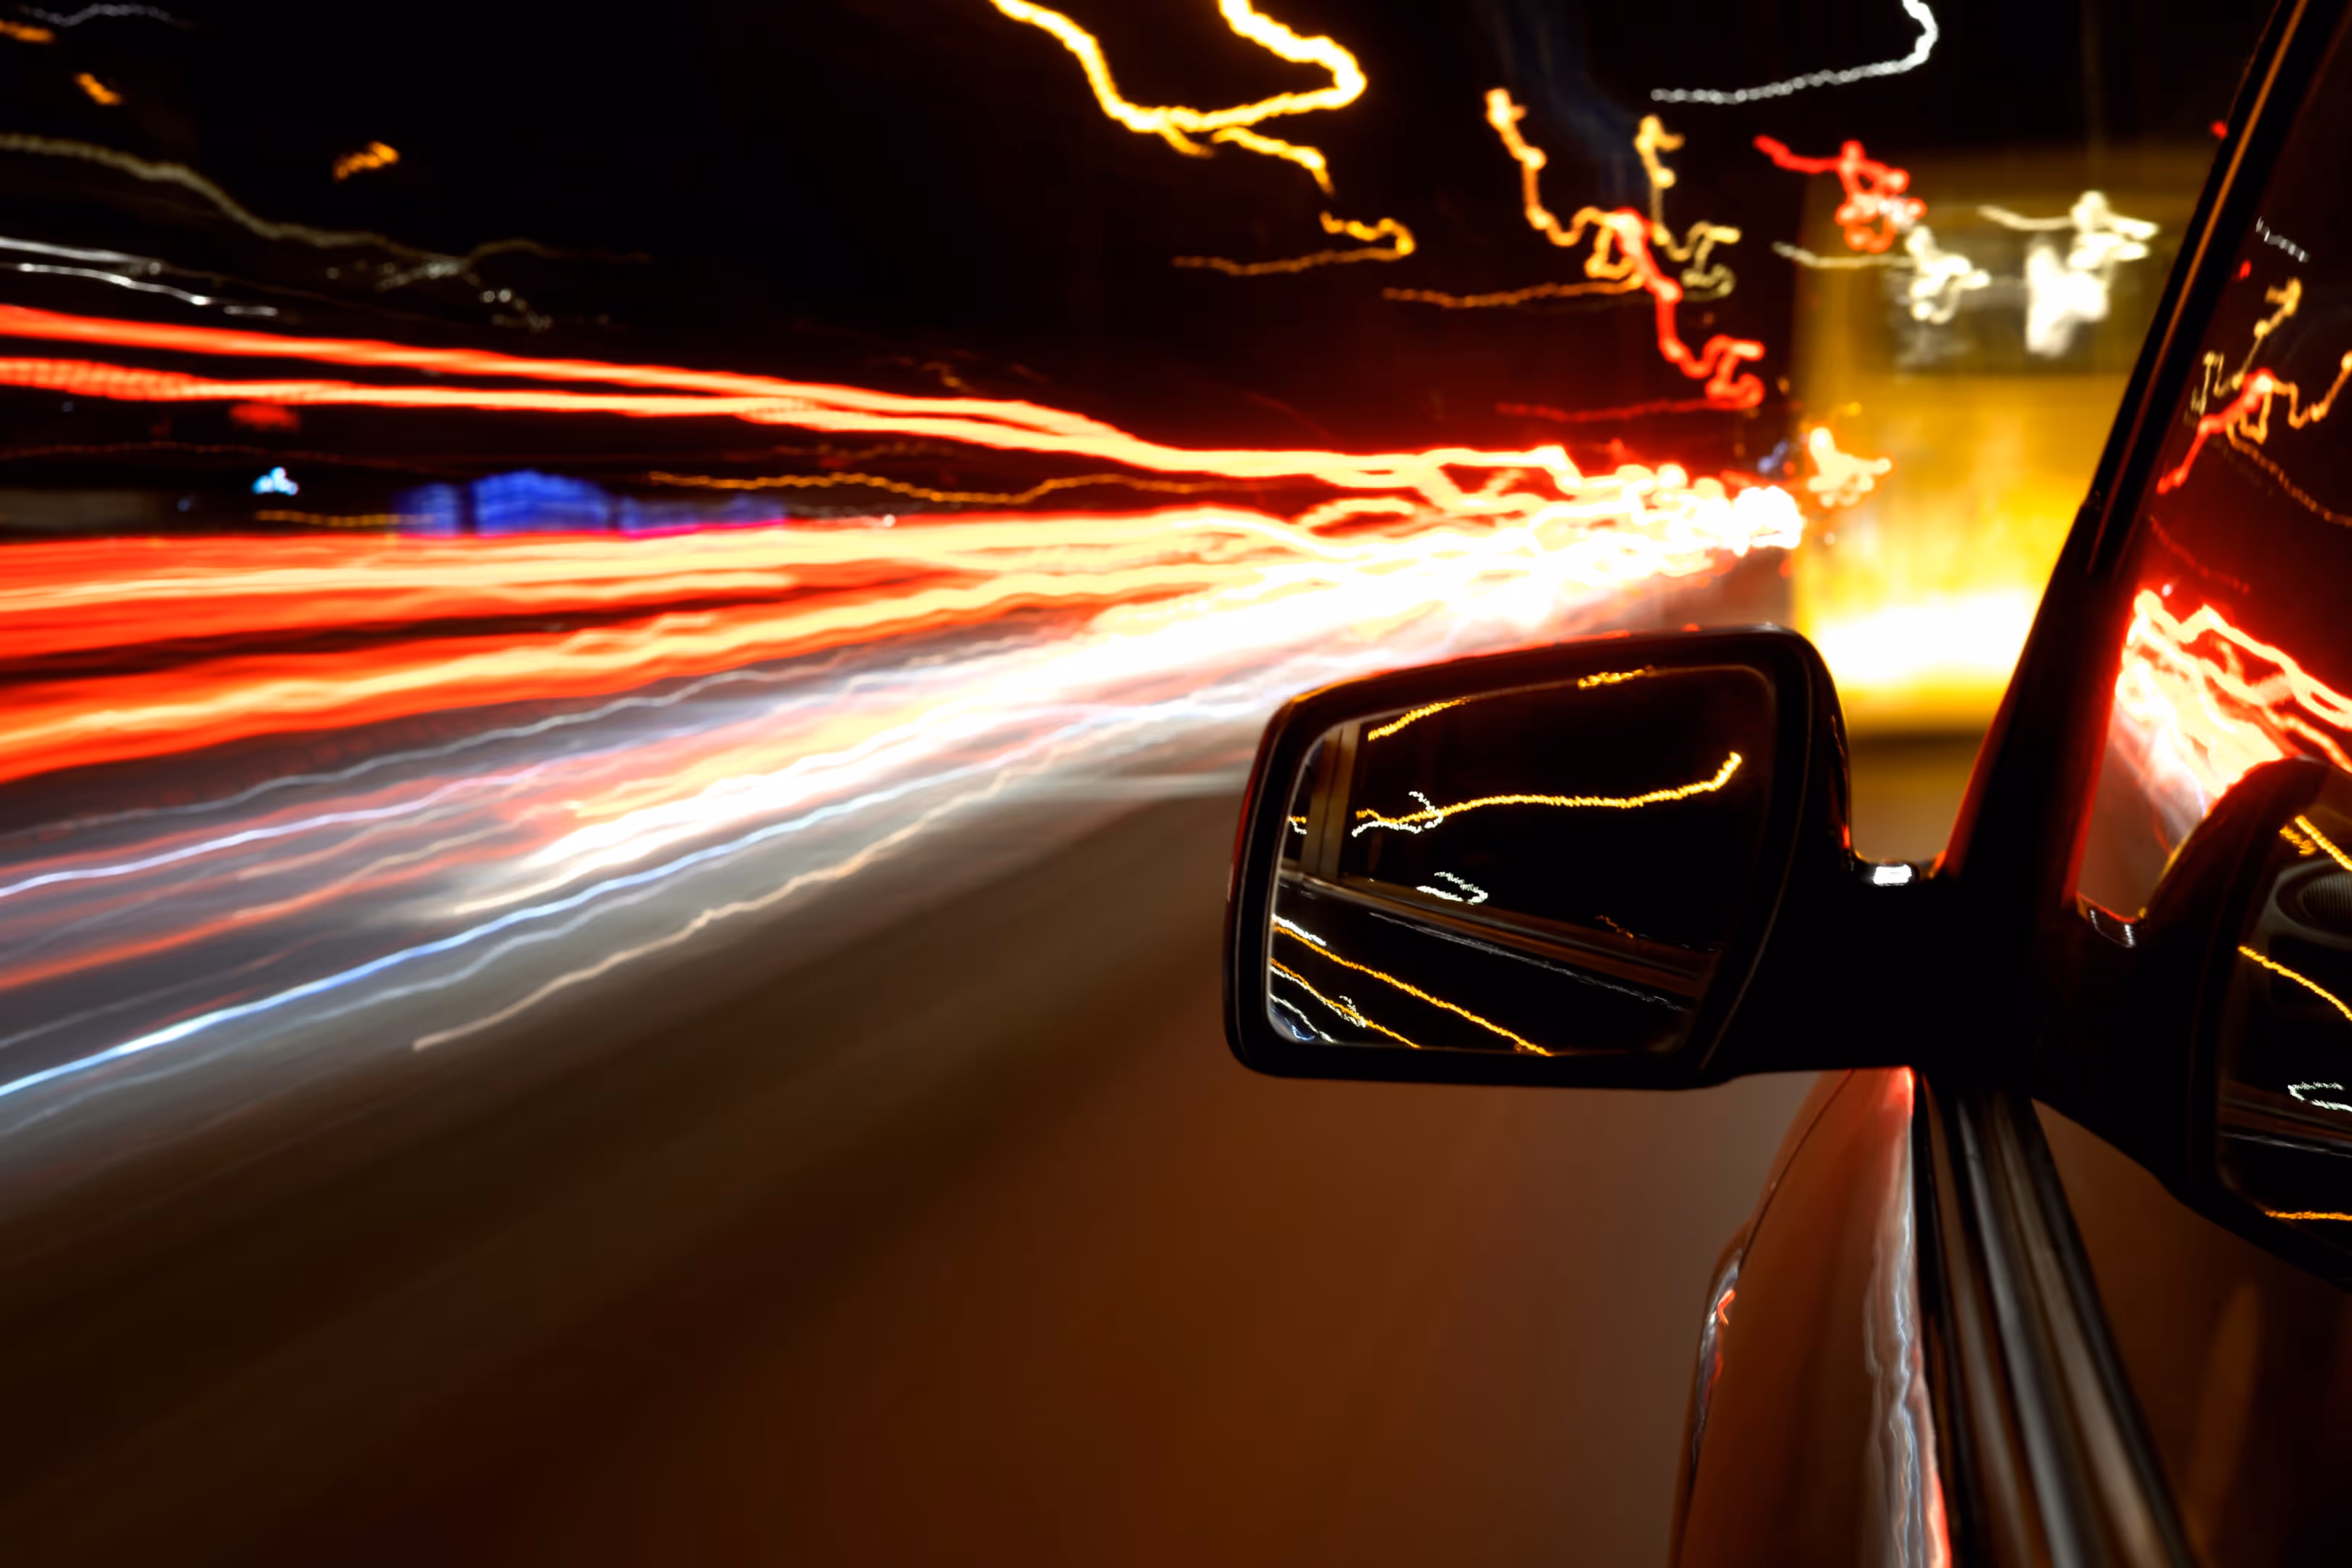
Using long exposure for dramatic effects

Long exposure photography is a powerful tool for creating visually stunning effects in low light situations. By leaving the camera’s shutter open for several seconds or more, you can capture the passage of time in a single frame.
This technique is ideal for photographing subjects like moving traffic, star trails, or flowing water.
When shooting long exposure photos, stabilise your camera using a sturdy tripod to prevent motion blur from unintended movement. Use slower shutter speeds to allow as much light as possible to reach the camera sensor.
Experiment with exposure times ranging from a few seconds to several minutes, depending on the desired effect.
Combine long exposure with other techniques, such as light painting, where you use a handheld light source to "draw" patterns, capturing light trails or illuminating parts of the scene.
This adds an artistic dimension to your photos and can result in a unique, ethereal look.To enhance the composition, use leading lines or frame your subject against contrasting light and dark areas.
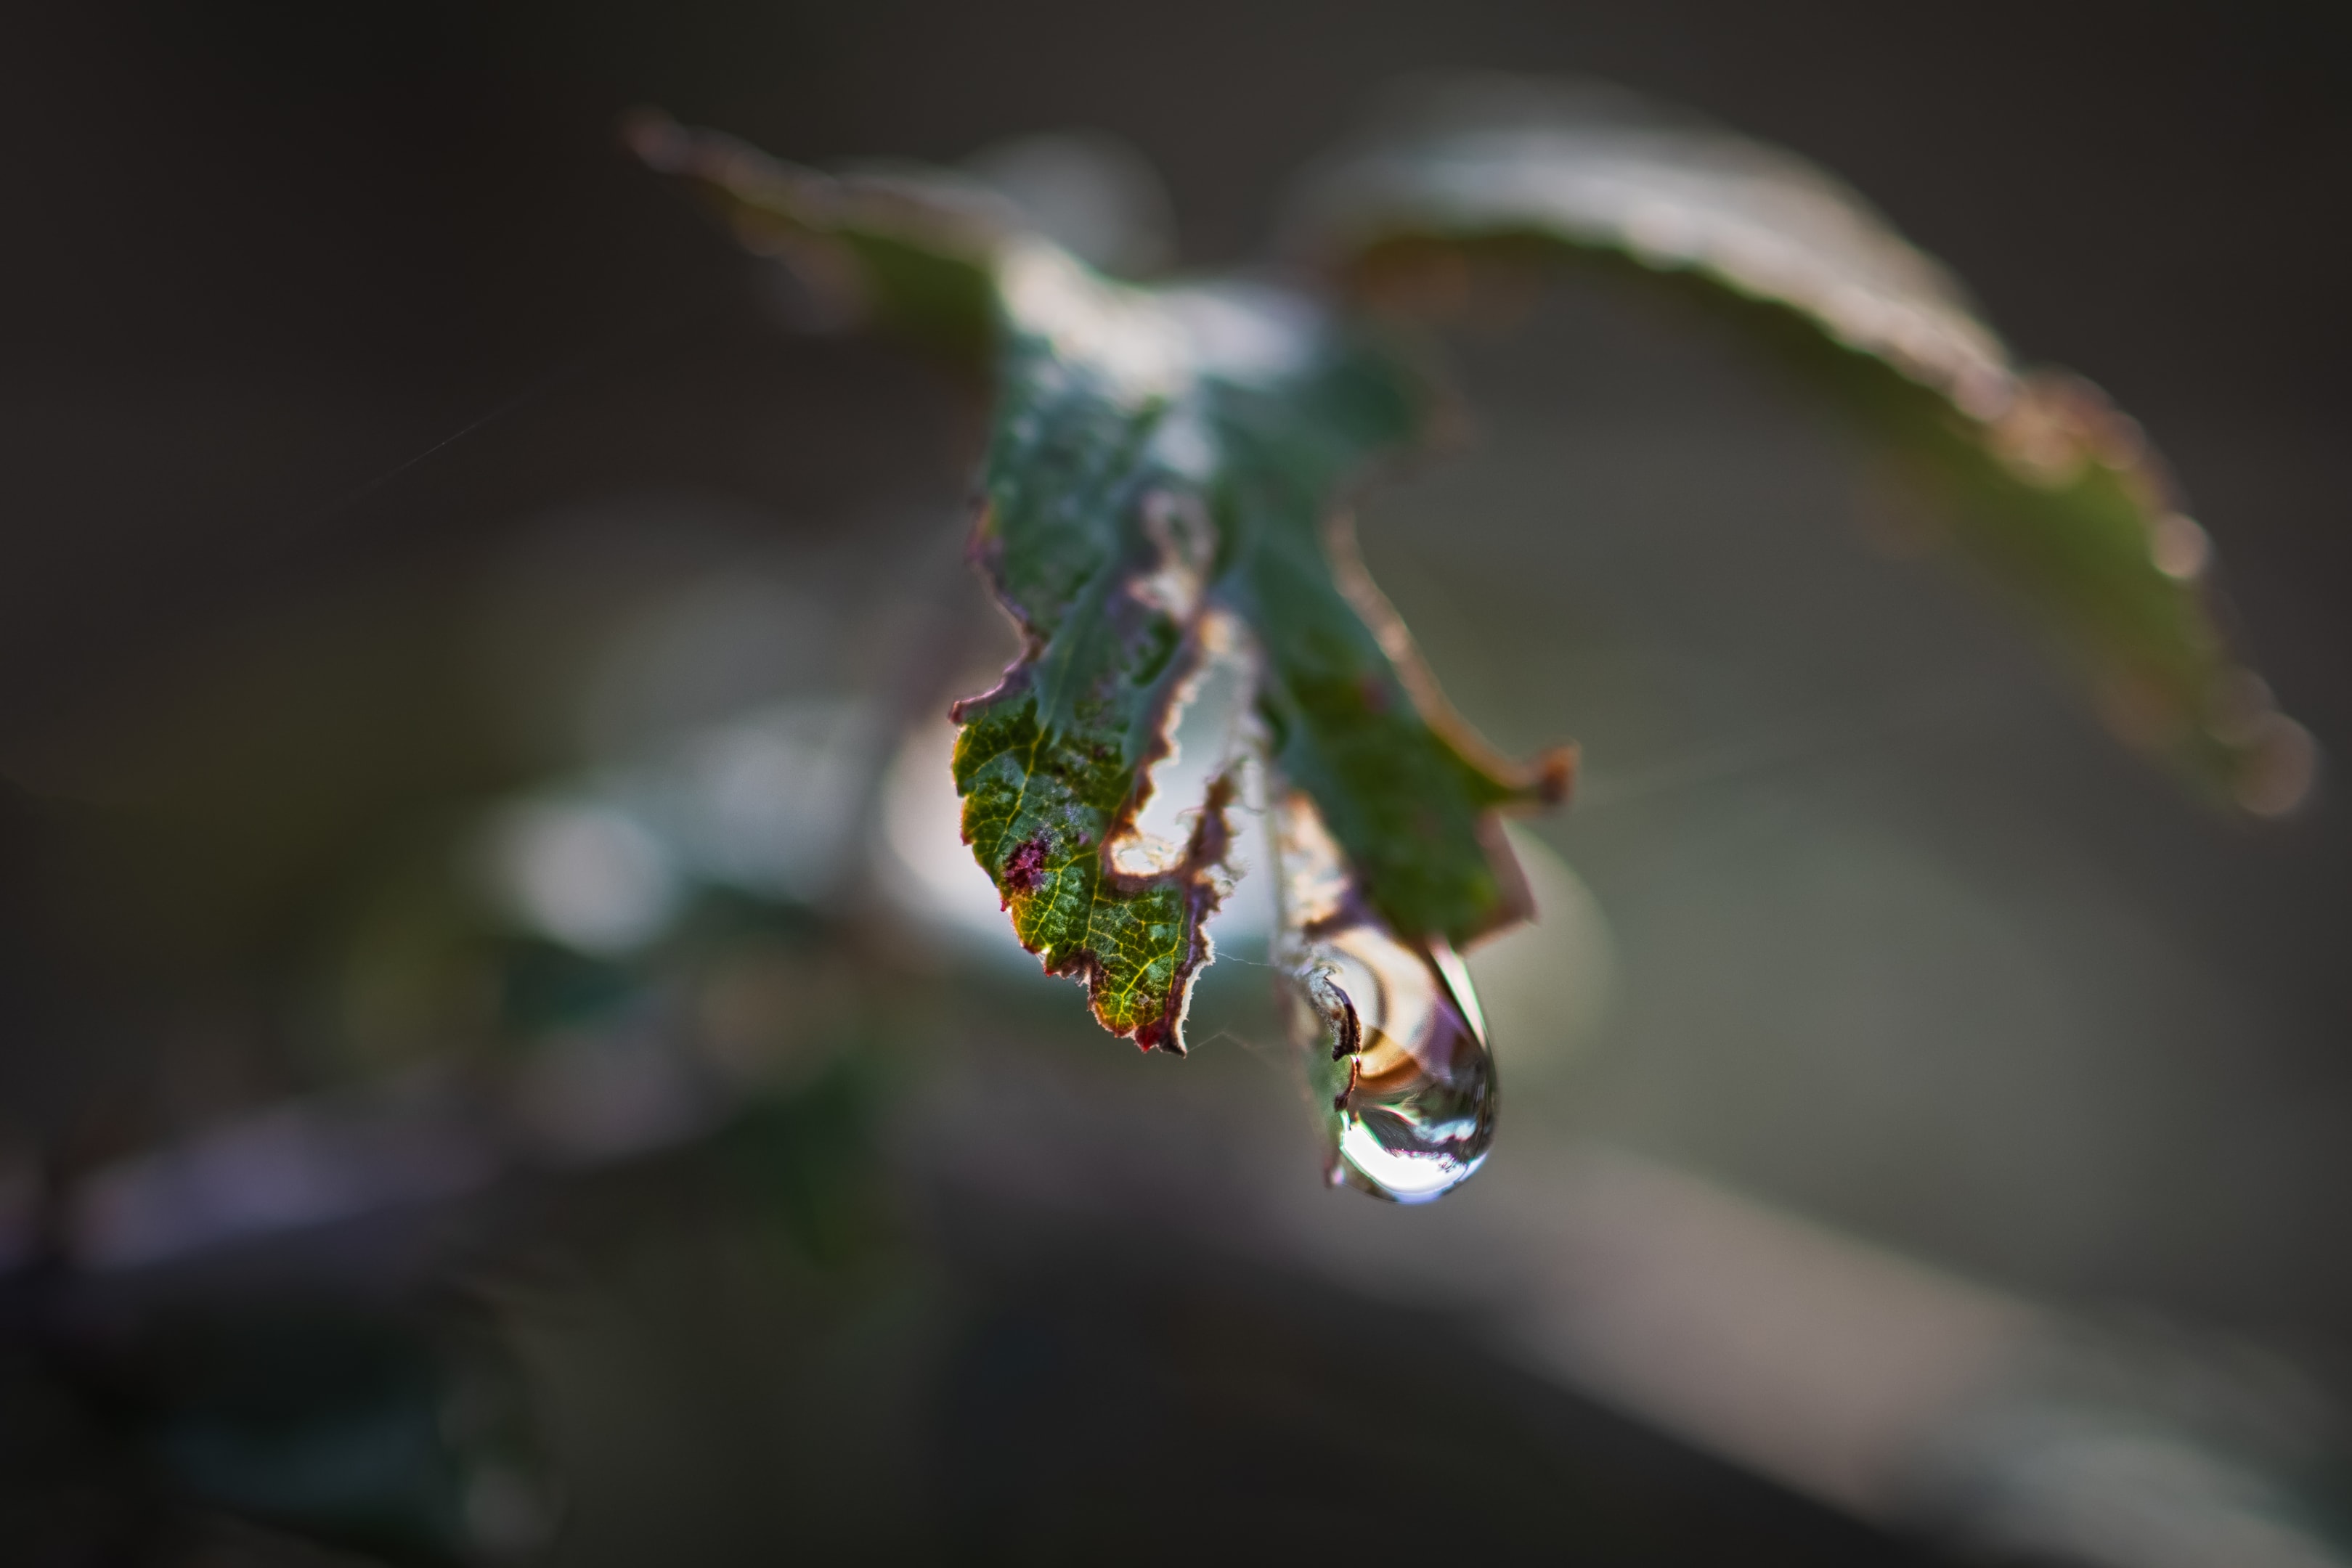
Exploring shadows and silhouettes

Shadows and silhouettes are excellent for adding mystery and depth to your low light photos. Position your subject against a brighter light source to create a strong silhouette effect.
This technique works well in settings like urban streets illuminated by city lights, or natural landscapes during sunrise or sunset.
To maximise the impact of shadows, pay attention to the direction and intensity of your light source. Side lighting or backlighting often produces the most dramatic results, highlighting textures and creating a sense of three-dimensionality.
Incorporating shadows into your composition can also lead to abstract and artistic imagery
.Silhouettes can be enhanced by focusing on clean, recognisable shapes. Use a wide aperture to separate your subject from the background and manual focus to ensure sharp edges.
Experiment with focal length to control the scale and prominence of your silhouette in the frame.
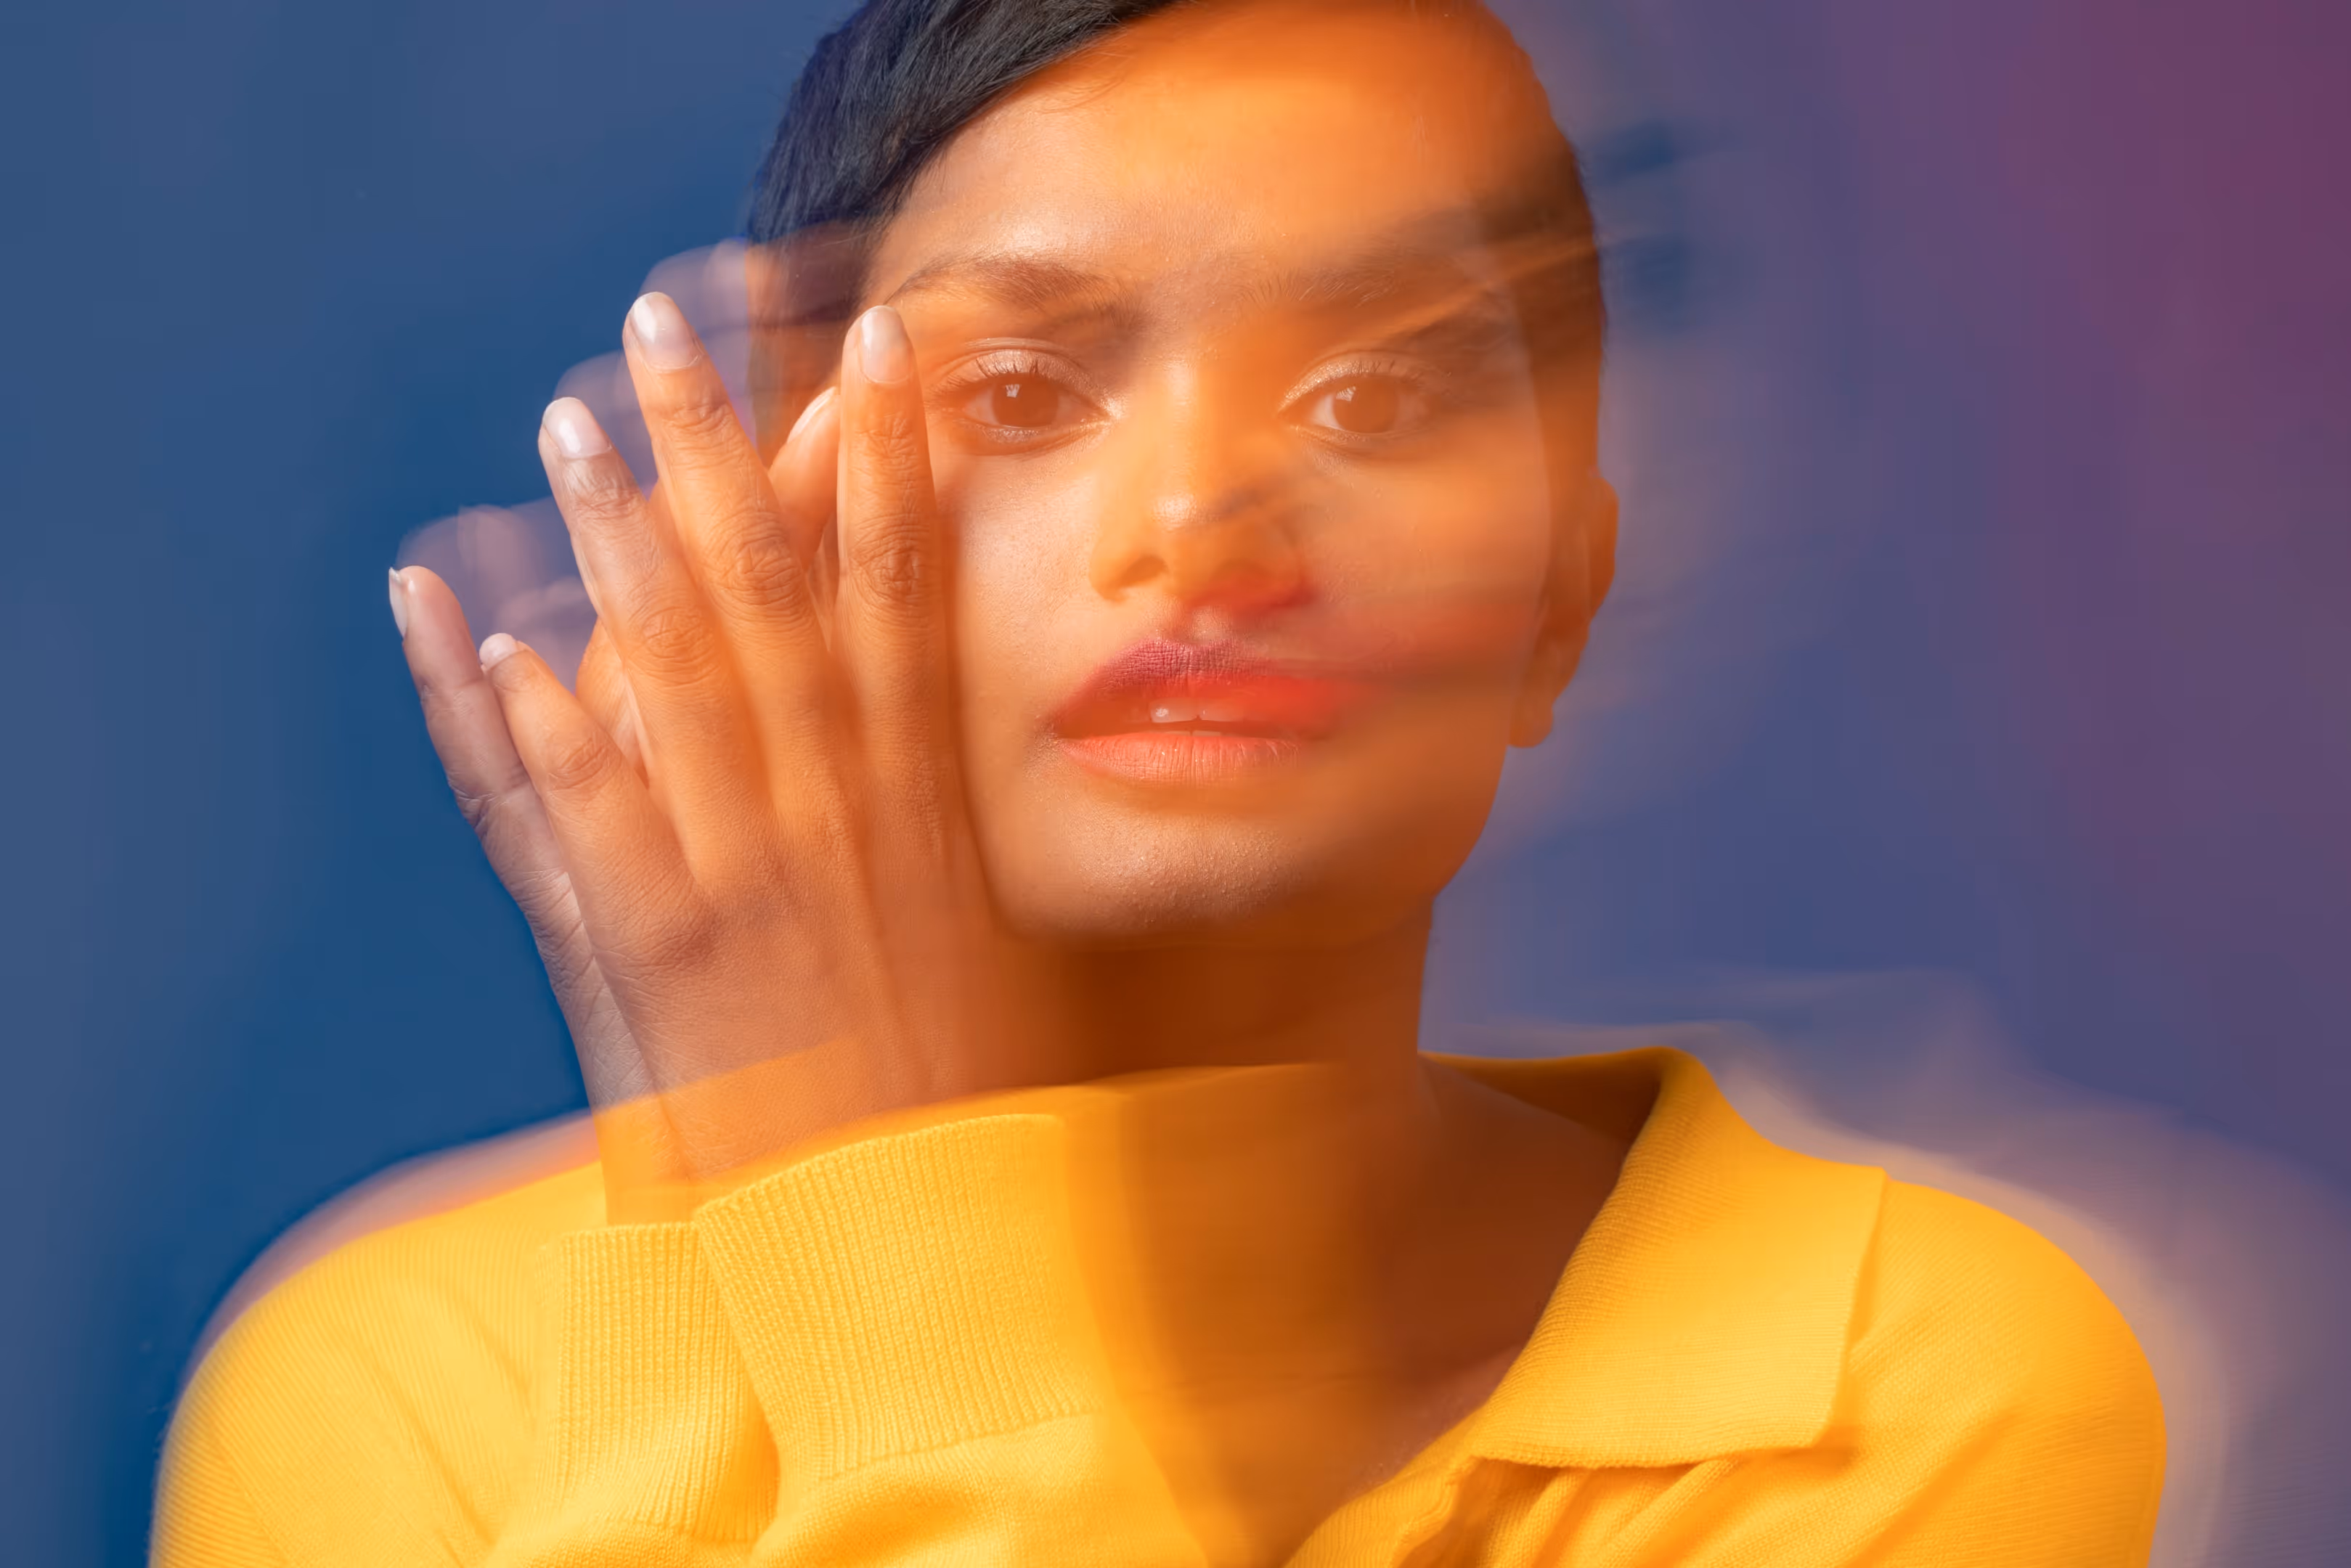
Capturing low light portraits

Low light portraits offer a chance to experiment with moody atmosphere and dramatic lighting. Use a fast lens with a wide aperture to achieve beautiful skin tones and a shallow depth of field.
Soft, directional light sources, such as candles, fairy lights, or even a smartphone screen, can add a warm and intimate quality to your photos.
When capturing low light portraits, position your subject close to the light source to highlight their features and create a natural glow. Pay attention to shadows on the face, using reflectors or additional light sources if needed to balance the exposure.
Adjust the white balance to ensure accurate skin tones and enhance the overall mood.
Incorporating bokeh effects can elevate your portraits. Use a lens with a wide aperture and position your subject against distant light sources, such as streetlights or festive decorations, to create blurred, out-of-focus highlights in the background.
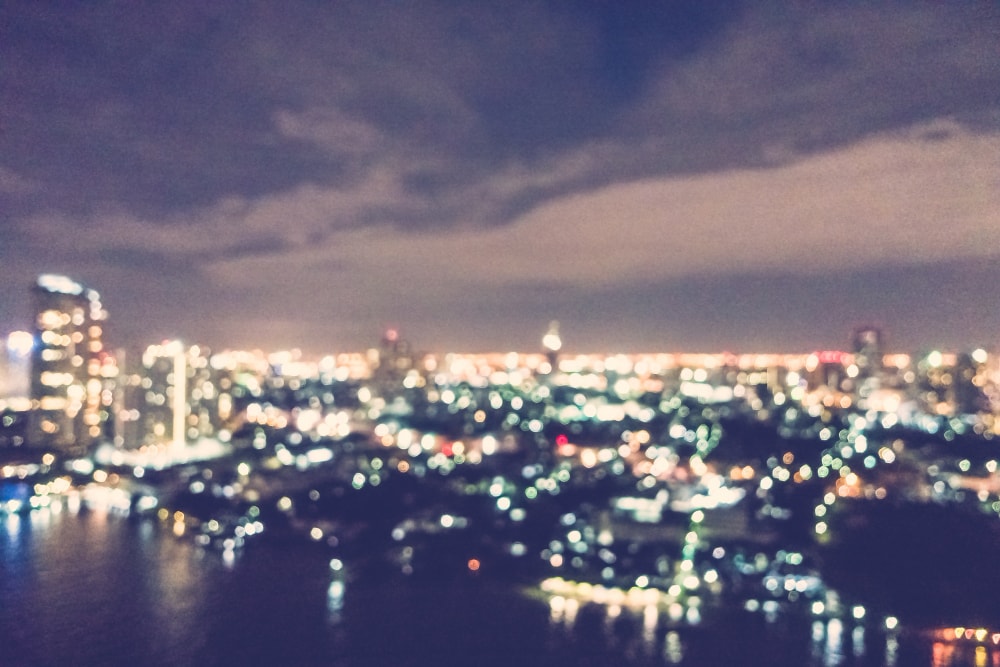
Shooting city lights and urban landscapes

City lights are a vibrant subject for low light photography, offering endless opportunities to experiment with colour, reflections, and patterns. Night photography in urban settings allows you to capture the dynamic energy of cityscapes, from glowing skyscrapers to bustling streets.
Use long exposure to create light trails from moving vehicles, giving your photos a sense of motion and life. Reflections on wet pavement or glass surfaces can add depth and interest to your compositions.
Experiment with different focal lengths to highlight specific details, such as neon signs, or capture expansive views of the city skyline.
Spot metering is a useful technique when shooting city lights, as it ensures your main subject is correctly exposed. Combine this with manual focus for sharp results, especially when photographing distant lights or intricate details.
To add more contrast and drama, shoot during the blue hour, just after sunset, when the sky retains a deep, rich colour.
Experimenting with reflections and motion blur
Reflections and motion blur are creative ways to add intrigue and movement to your low light photos. Look for reflective surfaces like water, glass, or polished metal to incorporate into your compositions.
Reflections can double the impact of your light source, creating a symmetrical or abstract effect.
To capture motion blur, use slower shutter speeds to convey the movement of your subject. This works well for photographing crowds, flowing water, or spinning lights.
Pairing motion blur with a static background creates a striking contrast, drawing attention to the dynamic elements of the scene.
For maximum impact, shoot at an angle that emphasises the reflection and adjust your focal length to frame the shot effectively.
Use a polarising filter to reduce glare and enhance the clarity of your reflections. Experiment with different exposure times to achieve the desired level of blur or sharpness in your images.
Creating abstract images with intentional camera movement
Intentional camera movement (ICM) is a creative way to produce abstract and artistic images in low light. This technique involves deliberately moving your camera during the exposure, resulting in unique patterns and streaks of light.
ICM works particularly well when photographing city lights, neon signs, or colourful scenes.
Experiment with different motions, such as panning horizontally, tilting vertically, or rotating the camera in a circular motion. Use slower shutter speeds, such as 1/10 seconds or longer, to give yourself enough time to execute the movement.
The key to successful ICM is to practice and refine your technique, as the results can vary significantly with each attempt.
Incorporating starbursts in night photography

Starbursts are a striking effect achieved by using a small aperture (e.g., f/16 or f/22) to capture light sources as radiant points.
This technique is perfect for low light photography involving streetlights, festive decorations, or any bright light source.
To create starbursts, stabilise your camera with a tripod and use manual focus to ensure sharpness. Adjust your exposure settings to balance the brightness of the light source with the surrounding environment.
Starbursts can add a magical quality to your photos, making them stand out with a professional touch.
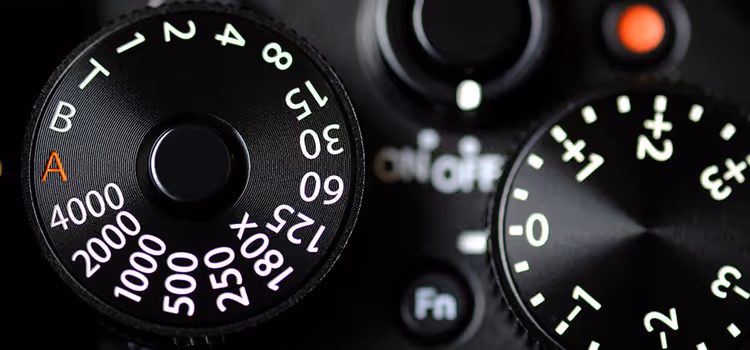
Camera settings for shooting in low light
Mastering your camera settings is key to successful low light photography. Each setting—aperture, shutter speed, and ISO—plays a crucial role in achieving the right exposure and minimising common issues like image noise and camera shake.
Aperture: letting in more light

A wide aperture, such as f/1.8 or f/2.8, is essential for low light photography. It allows more light to reach the camera sensor, making it easier to shoot in dim conditions without increasing ISO excessively.
Wide apertures also create a shallow depth of field, which is ideal for isolating your subject and adding a professional touch to portraits and close-ups.
When shooting landscapes or scenes that require greater depth of field, balance your aperture with a slower shutter speed or higher ISO
.Use aperture priority mode if you want the camera to adjust other settings automatically while maintaining your chosen aperture.
Shutter speed: balancing light and motion

Shutter speed determines how long your camera sensor is exposed to light. In low light situations, slower shutter speeds are often necessary to capture enough light. However, they can also introduce motion blur if your subject or camera moves
.For static subjects, use a tripod to stabilise your camera and experiment with slower shutter speeds, such as 1/15 or 1/30 seconds.
For moving subjects, a faster shutter speed, like 1/125 seconds, can help freeze motion while still allowing adequate light. Adjust your ISO accordingly to maintain proper exposure.
ISO: managing sensitivity and noise
ISO controls your camera sensor’s sensitivity to light. In low light photography, increasing the ISO is often necessary to achieve a well-exposed image.
Modern cameras handle high ISO settings well, but it’s important to strike a balance to avoid excessive image noise.
Start with an ISO of 800 and gradually increase it as needed, depending on your camera's capabilities and the lighting conditions.
Use noise reduction tools during post-processing to clean up any grainy areas in your photos.
Additional settings and techniques
- White balance – Adjust your white balance to match the colour temperature of your light source. For example, use the tungsten setting for indoor lighting or the daylight setting for natural light.
- Manual focus – Autofocus can struggle in low light situations, so switching to manual focus ensures sharper results. Use your camera's focus peaking feature if available.
- Metering modes – Experiment with spot metering to expose your main subject accurately, especially when there are strong contrasts in the scene.
By mastering these settings and understanding their interplay, you’ll be well-equipped to tackle any low light conditions with confidence.
Tips for reducing camera shake and image noise

Camera shake and image noise are common challenges in low light photography. To reduce camera shake, use a tripod and a remote shutter release. If these are unavailable, activate your camera’s vibration reduction feature or stabilise your camera on a solid surface.
Image noise can be minimised by keeping your ISO setting as low as possible while maintaining proper exposure. Post processing tools like Adobe Lightroom can help remove noise without compromising image quality.
When shooting in RAW format, you retain more data, allowing for better noise reduction during editing.
Another tip is to use your camera's built-in timer to avoid introducing motion when pressing the shutter. Additionally, practise good hand-holding techniques, such as bracing your arms against your body, to keep the camera steady.
Post-processing techniques for low light photos
Post processing is crucial for enhancing low light photos. Start by adjusting exposure and white balance to correct any discrepancies in the original shot. Photo editing software like Adobe Lightroom or Photoshop offers tools to refine your images and bring out details hidden in shadows.
- Noise reduction – Use noise reduction features to clean up image noise without losing too much detail.
- Contrast and highlights – Increase contrast and adjust highlights to add depth and dimension to your photos.
- Colour grading – Experiment with colour tones to create a moody atmosphere or enhance the natural colours in your image.
- Sharpening – Apply selective sharpening to emphasise key details in your photo.
When editing, aim to preserve the integrity of the original image while making enhancements. Subtle adjustments often yield the best results, especially when working with dramatic lighting or low light portraits.
Conclusion
Low light photography challenges photographers to think creatively and push their skills. By understanding your camera settings, experimenting with various techniques, and mastering post-processing, you can produce stunning low light photos.
Embrace the dim light and explore its artistic potential to transform ordinary scenes into extraordinary images.
TYX Photography Studio

At TYX Photography Studio in London, we know that capturing the perfect shot is just as important as having the right concept. That’s why we provide professional-grade services to ensure your photos make a lasting impression, whether for personal projects, professional portfolios, or commercial campaigns.
Whether you’re shooting for a fashion editorial, creating content to elevate your brand, or capturing cherished moments, our expert team is here to bring your vision to life.
Get in touch today to book your session and make your next project truly unforgettable.
Frequently Asked Questions
Our photography services start at £150 per session, with pricing tailored to the type of shoot and any additional requirements. Contact us for a personalised quote.
Yes, all photography sessions are fully tailored to your requirements. From creative direction to post-production, our services are designed to align with your unique vision and deliver results that suit your goals.
TYX Studios provides state-of-the-art equipment, including full frame cameras and fast lenses, perfect for low light situations.
Use a tripod and remote shutter release to stabilise your camera. Enabling vibration reduction on your lens can also reduce camera shake effectively.
Opt for a wide aperture and high ISO setting to let in more light. Adding an external light source, like LED panels, can also enhance your shots.