How to Record Bass Guitar Like a Pro
Learn how to record bass guitar with repeatable DI, miked amp, and amp simulator workflows that translate on any system. We cover gain staging, mic placement, phase, EQ, compression, and editing used daily at TYX to deliver tight, musical low end.
A solid bass performance anchors the record. Get it right at the sound source, and the mix flows.
At TYX Recording Studios in London, we record bass guitar every week across a range of genres, including pop, rock, hip-hop, jazz, and classical music crossover.
This guide shows how to record bass guitar from setup to print in home studios and large rooms.
Decide the role of the bass in this song
Define the job before setup. If the part carries melody, protect mid frequencies. If it glues the groove, it protects low frequencies and a stable bass signal.
In sparse arrangements, let the line bloom. In dense tracks with other instruments, focus the note so it avoids the vocal lane.
For classical music-influenced work, aim for a natural sound with less distortion and a wider frequency response.
Playing style changes the result. Fingers soften the attack. A pick adds bite and a brighter bass tone. Slap needs fast transient capture and clean headroom. Choose the style early so you chase the right sound.
Prepare the instrument so it sounds like a record
Fresh strings add upper harmonics that small speakers decode. Check intonation and action against the playing style.
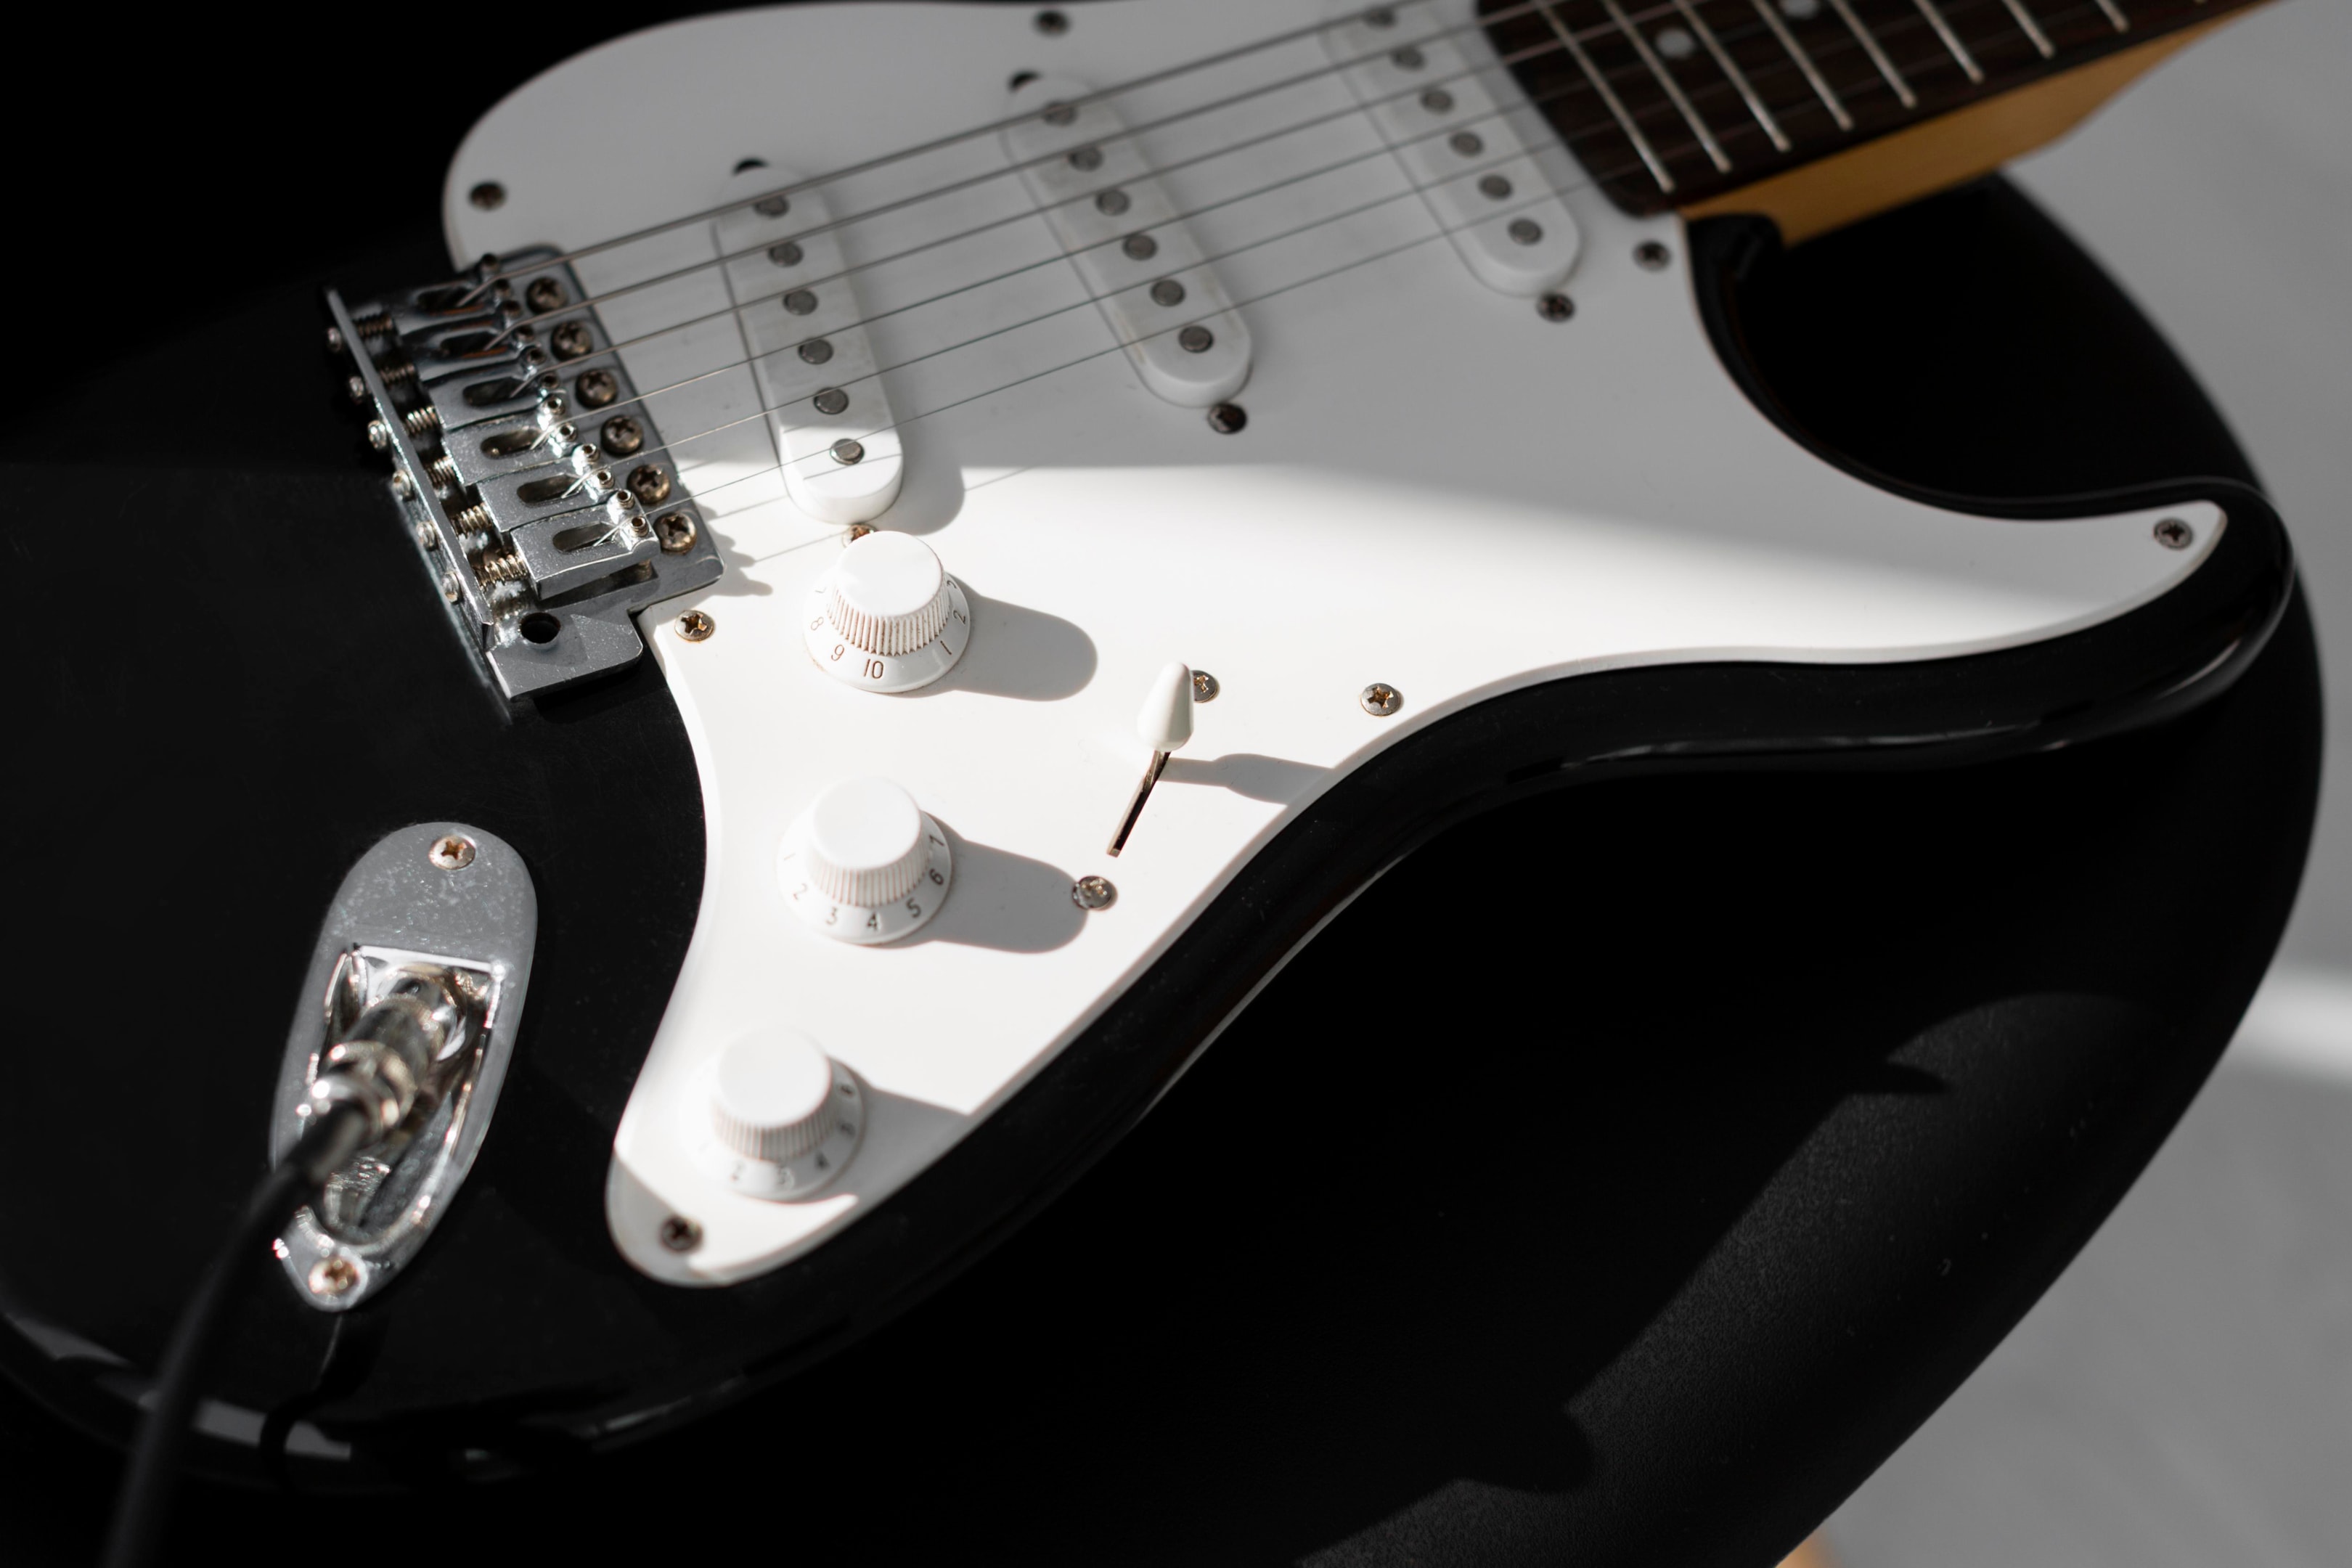
Active pickups can overload some preamps. Lower the bass output or pad the input if you clip.
Passive pickups are gentler but can dull with very old strings. Tune every take. Track one clean pass and, if needed, a second with character so you can blend.
By recording bass direct into the interface, you can apply amp modelling and effects of choice in your DAW, and tweak your sound exactly the way you want to hear it.
Understand bass frequencies and how they sit with drums

Bass and kick drums often share the same fundamental frequencies. Decide who owns the true sub. If the kick takes it, give the bass more first overtone.
If the bass owns it, clear a little room at the kick fundamental. Use frequency ranges, not single points. Note identity rides on harmonics above the fundamental frequencies, so keep them readable.
If you try a kick drum mic on a cabinet for weight, shave any upper click so it does not read like extra kick in the bass track.
Build a clean, quiet signal path

Your audio interface is the front door. Plug into the instrument input for DI. Trim so hard notes peak around minus twelve and never clip.
If you need a longer run, use a DI box near the player. The DI stands for direct injection. It turns a high impedance instrument feed into a low impedance mic level feed that travels long cables with a flat frequency response.
Use a passive DI with active pickups. Use an active unit with passive pickups. Keep cables short. Power the bass amp and the interface from the same block to reduce hum.
Solo the DI and listen for unwanted noise. Label the clean capture di signal. This is your safety and edit anchor.
Choose your recording technique by goal
Recording technique should match the room, the style, and the deadline. You have three core options that cover most sessions.
Method 1: Recording bass directly
Patch the bass to a DI box. Send the XLR to the preamp. Send the through to a small amp for feel if needed. Print clean with headroom. Recording bass directly suits small rooms, late nights, and remote dates. Keep the DI even if you plan to apply amp modelling or reamp later.
Pros
- Fast setup and low noise.
- Tight timing and easy edits.
Cons
- Can feel sterile without processing. Use amp simulators or reamp to add character.
Method 2: Miked amp for character
A miked amp captures air and power supply sag.
Start by placing the cabinet where the room is. Use dynamic mics close to the speaker cone for punch and spill control. Shift off centre to soften grit.
Pull back to add room sound and a more natural sound. If you want a brighter tone, lift the cab off the carpet or aim a touch nearer the cone centre. Broadcast style dynamics that radio announcers use, such as the EV RE20 or Shure SM7B, are commonly used on bass cabinets and kick drums.
Add condenser mics further back if the room is kind and the part is lyrical. Focus on the sound coming out of the cabinet instead of gear lore.
Kick drum mic trick
As a starting point, aim a kick drum mic just off centre. Begin roughly two to four inches away, then adjust by ear. If it gets scooped, add a second mic with a flatter frequency response and blend.
This YouTube video shows how to best place your microphone.
Method 3: Blend DI and amp or sims
Record DI and a miked amp. Align polarity. Slide by ear in mono until lows add, not cancel. The DI gives a definition. The miked amp adds growl.
You can also blend DI with amp simulators and amp modelling. With smart cabinet choices and a little grit, you can get very convincing results without any room noise.
If deadlines are tight, run amp modelling on the DI for recall, then reamp later if the client wants a different colour. This keeps the bass guitar recording flexible.
Amp simulators and when to use them
Amp simulators are solid music technology, not a compromise. They let you audition cabinets, mics, and rooms inside the DAW.
They are quiet, fast, and consistent across studios. They shine in a home studio with neighbours. Pair a modelled cabinet that rolls the top with a parallel clean path for punching.
Add a touch of saturation so the line reads on phones. Use them like a real rig. Find the right sound at the model input, not by stacking fixes.
You can run amp modelling on the DI and keep the raw DI muted for safety.
Step by step: a repeatable tracking workflow
- Define the part: Agree on the playing style and the role with the drums.
- Prep the chain: Fresh strings. Spare lead. di box ready.
- Set the room: Kill rattles. Close doors. Add soft treatment where needed.
- Gain stage: Plug into the Hi‑Z input on the audio interface. Leave headroom.
- Track a DI: Name it di signal and use it as a reference point in edits.
- Add an amp path: Bass amplifier or load plus cab sim. Place mic off the speaker cone centre.
- Check polarity and phase: Listen in mono.
- Record three takes: One pocket. One energetic. One controlled.
- Back up: Label clearly so the mixing stage starts clean.
Microphones, placement, and practical setups

There are two microphone options to choose from: Dynamic mics handle high SPL and reject spill, so they are ideal for close work and live sound; condenser mics give reach and detail when the room is quiet.
Use microphone techniques that balance isolation and tone rather than chasing brands. Start simple with one dynamic close. Add a second mic only if it adds something you cannot get with placement.
Mic position rules
- Closer is tighter and drier. Further is wider and airier.
- The centre is brighter. Edge is rounder.
- Move the mic, not the EQ, until it already sounds good.
Tone at the source beats fix in the box
Do not stack fixes. Get the right sound before you roll. A centimetre at the speaker cone can mean sound great or cardboard.
If you need a brighter tone, move a little toward the centre or raise the presence a touch. If the part needs to hug the groove, use fingerstyle or add a gentle compressor on the way in with a slow attack.
When it sounds good, print it. This approach helps bass recording deliver great sound with fewer moves.
Editing and the mixing stage

Clean edits and steady time create weight without chasing volume. Use the DI to line note starts. Crossfade by ear. In the mixing stage, work with intent.
- EQ: Decide who owns the very low frequencies between bass and kick. If the kick owns sub, lift the first overtones on the bass so notes speak. If the bass owns a sub, ease a slice from the kick fundamental.
- Compression: Slow attack for groove. Faster attack for bed. Release settings should return in time for the next note.
- Saturation: Add harmonics so lines read on small speakers. Focus mid frequencies. Keep subs tight.
- Ducking: If you sidechain from the kick, keep the movement subtle.
Recording audio is about decisions, not plug-ins. Capture choices reduce the mix labour.
Reamping and creative options
A clean DI lets you send the part to another rig later. Reamping gives the cabinet air without new performances.
You can also split the DI into two amp simulators. One clean and wide, the other one gritty and mid-focused.
For fast and recallable results, you can blend for depth.
Troubleshooting the common problems
- Hum or buzz: Share power between amp and interface. Lift the ground on the di box only if needed. Rotate the player and move wall warts.
- Boom and mud: Move the mic off the centre of the speaker cone. Pull back two inches. High-pass any room mic.
- Hollow lows with DI and amp: Flip polarity on the amp channel. Nudge a few samples by ear.
- Clipping: Active pickups can overrun a preamp. Pad the input or back off the bass output.
- Player feel: If DI feels stiff, feed a small amp quietly or a low-latency model for feel.
Home studio templates that translate
- Minimalist DI chain: Bass into a passive DI box, then into the mic pre. Add cabinet IR, slow attack compression, and light tape-style drive. Silent and fast. These bass recording choices prioritise speed.
- Room-friendly amp chain: Bass into pedalboard. Through to di box for a clean signal. Output to a small bass amp positioned in a friendly corner. One dynamic close to the speaker cone. Add a condenser a foot back only if the room sound is kind. Align polarity and print.
- Hybrid modern chain: Bass into the DI box. Split to interface and to a load with cabinet simulation. Track both. Add amp simulators if you need colour. This approach delivers recall and speed and often sounds great on day one.
Mic and cabinet choices in context
You do not need a boutique locker. One tough dynamic gets you most of the way. Condenser mics expand the picture when the room behaves.
The key is placement and song needs. Learn your cabinet. Sweep from centre to edge with your ear to map tone, then aim the mic at the best balance.
The same habits transfer when recording guitar, as it follows the same logic in general. Move the mic, listen, and log the move. Keep electric guitar parts from trampling the bass lane by planning parts, not just EQ.
How to make bass speak on small speakers

Phones and laptops cannot reproduce deep sub. Use harmonics so notes read. Add a mild saturator or amp simulators that lift mids.
Tilt a presence band so the line cuts without harshness. Keep low frequencies tight so they translate to big systems.
Reference to small speakers while you work. If it disappears, add a little more harmonic content or raise the focus band.
This tutorial from Joe Glider shows how you can make the most out of the speakers you have at home.
Real-world examples from TYX engineers
- Pop single: DI with amp sims for character. Slow attack compression for groove. Release settings matched to the sixteenth movement. Presence lift in the upper mids for note identity. Punchy, modern bass sound under a bright vocal.
- Rock trio: DI, a miked amp with a kick drum mic close, and a condenser back for space. Multiple mics aligned in mono. The blend delivers weight and air. DI added in choruses for definition.
- Jazz leaning session: Flatwounds and passive pickups into a passive DI box. Light compression only. No amp. Natural sound that sits under the piano and rides.
Context with the rest of the band
Bass does not live alone. Arrange and record with other instruments in mind. If the electric guitar is dense, carve a lane for bass, higher or lower. If keys stack low octaves, shift the left hand. Decide which source owns the sub. Smart arrangement choices remove the need for aggressive EQ.
Gear notes that saves headaches
Keep simple music gear ready. Spare strings. A reliable tuner. Two extra leads. A known good di box. A power conditioner. These small items save sessions. Recording audio is about clear choices, not only plug-ins or myths.
When a single mic is not enough
Multiple mics can solve problems and add flavour. A close dynamic gives focus. A second mic on another speaker cone thickens notes.
A third mic in the room adds depth if the room is kind. Keep distances intentional. Sum to mono often and commit only when the blend helps the song.
Safety takes and versioning
Always print one steady take that focuses on time and consistency. This can anchor comps if the showier take gets messy.
Name bass tracks clearly with song, tempo, date, and chain notes. These habits protect the record and speed recalls.
Conclusion
Recording bass guitar is about balance: capturing the low-end power while keeping definition and clarity.
Whether you use a DI box, a mic on an amp, or a blend of both, the key is experimenting with placement, tone settings, and gain staging until the sound fits the track.
Always listen in the context of the full mix, not just solo, to make sure the bass supports rather than overwhelms.
With practice, you’ll find the right workflow that delivers a tight, punchy, and professional low end every time.
Record bass that translates with TYX Recording Studios
-p-2000.jpg)
Get a low-end product that survives every system. Track DI, miked amp, or reamp in our Red Studio with classic cabinets, or build tones quietly with premium amp simulators.
Check translation in our Dolby Atmos Studio when the mix needs space, then finish with online mastering for punch and consistency.
Every session includes world-class DI boxes, bass amps, cabs, microphones, acoustically treated rooms, and engineers who understand phase, gain staging, and how bass shares space with the kick.
Whether you are refining a single or finishing an album, we help you capture the right sound at source and deliver mixes that travel.
Book your session today and hear the TYX difference.
Frequently Asked Questions
Aim peaks around minus twelve. Leave headroom and avoid any red lights.
No, but DI plus a miked amp or amp simulators gives options. If the room fights you, go DI and add colour later.
Use dynamic mics for close work and spill control. Use condenser mics when the room is quiet and you want a wider picture. Place by ear.
Use 48 kHz if you work with pictures. Use 44.1 kHz for CD or projects that target that rate. Otherwise, use the native project rate for music and avoid unnecessary sample‑rate conversion. Always use 24‑bit or 32‑bit float for recording.
Adjust technique and action. Track with fresh strings, then tame top end with mic position or a darker cabinet model.
Add gentle saturation to lift harmonics. Balance around the mid frequencies and keep subs tight.

How to Record Vocals Like a Pro
Discover how to record vocals like a pro. Build a reliable signal path, treat your room, position your mic stand, and coach confident performances. With the right setup and workflow, you’ll capture clear, high-quality vocals ready for mixing.


