


How to Improve Mic Quality—Comprehensive Guide
In this guide, we'll outline the practical steps and considerations to improve mic quality. Our aim is to help you get the most optimal results you can. Let's dive in!
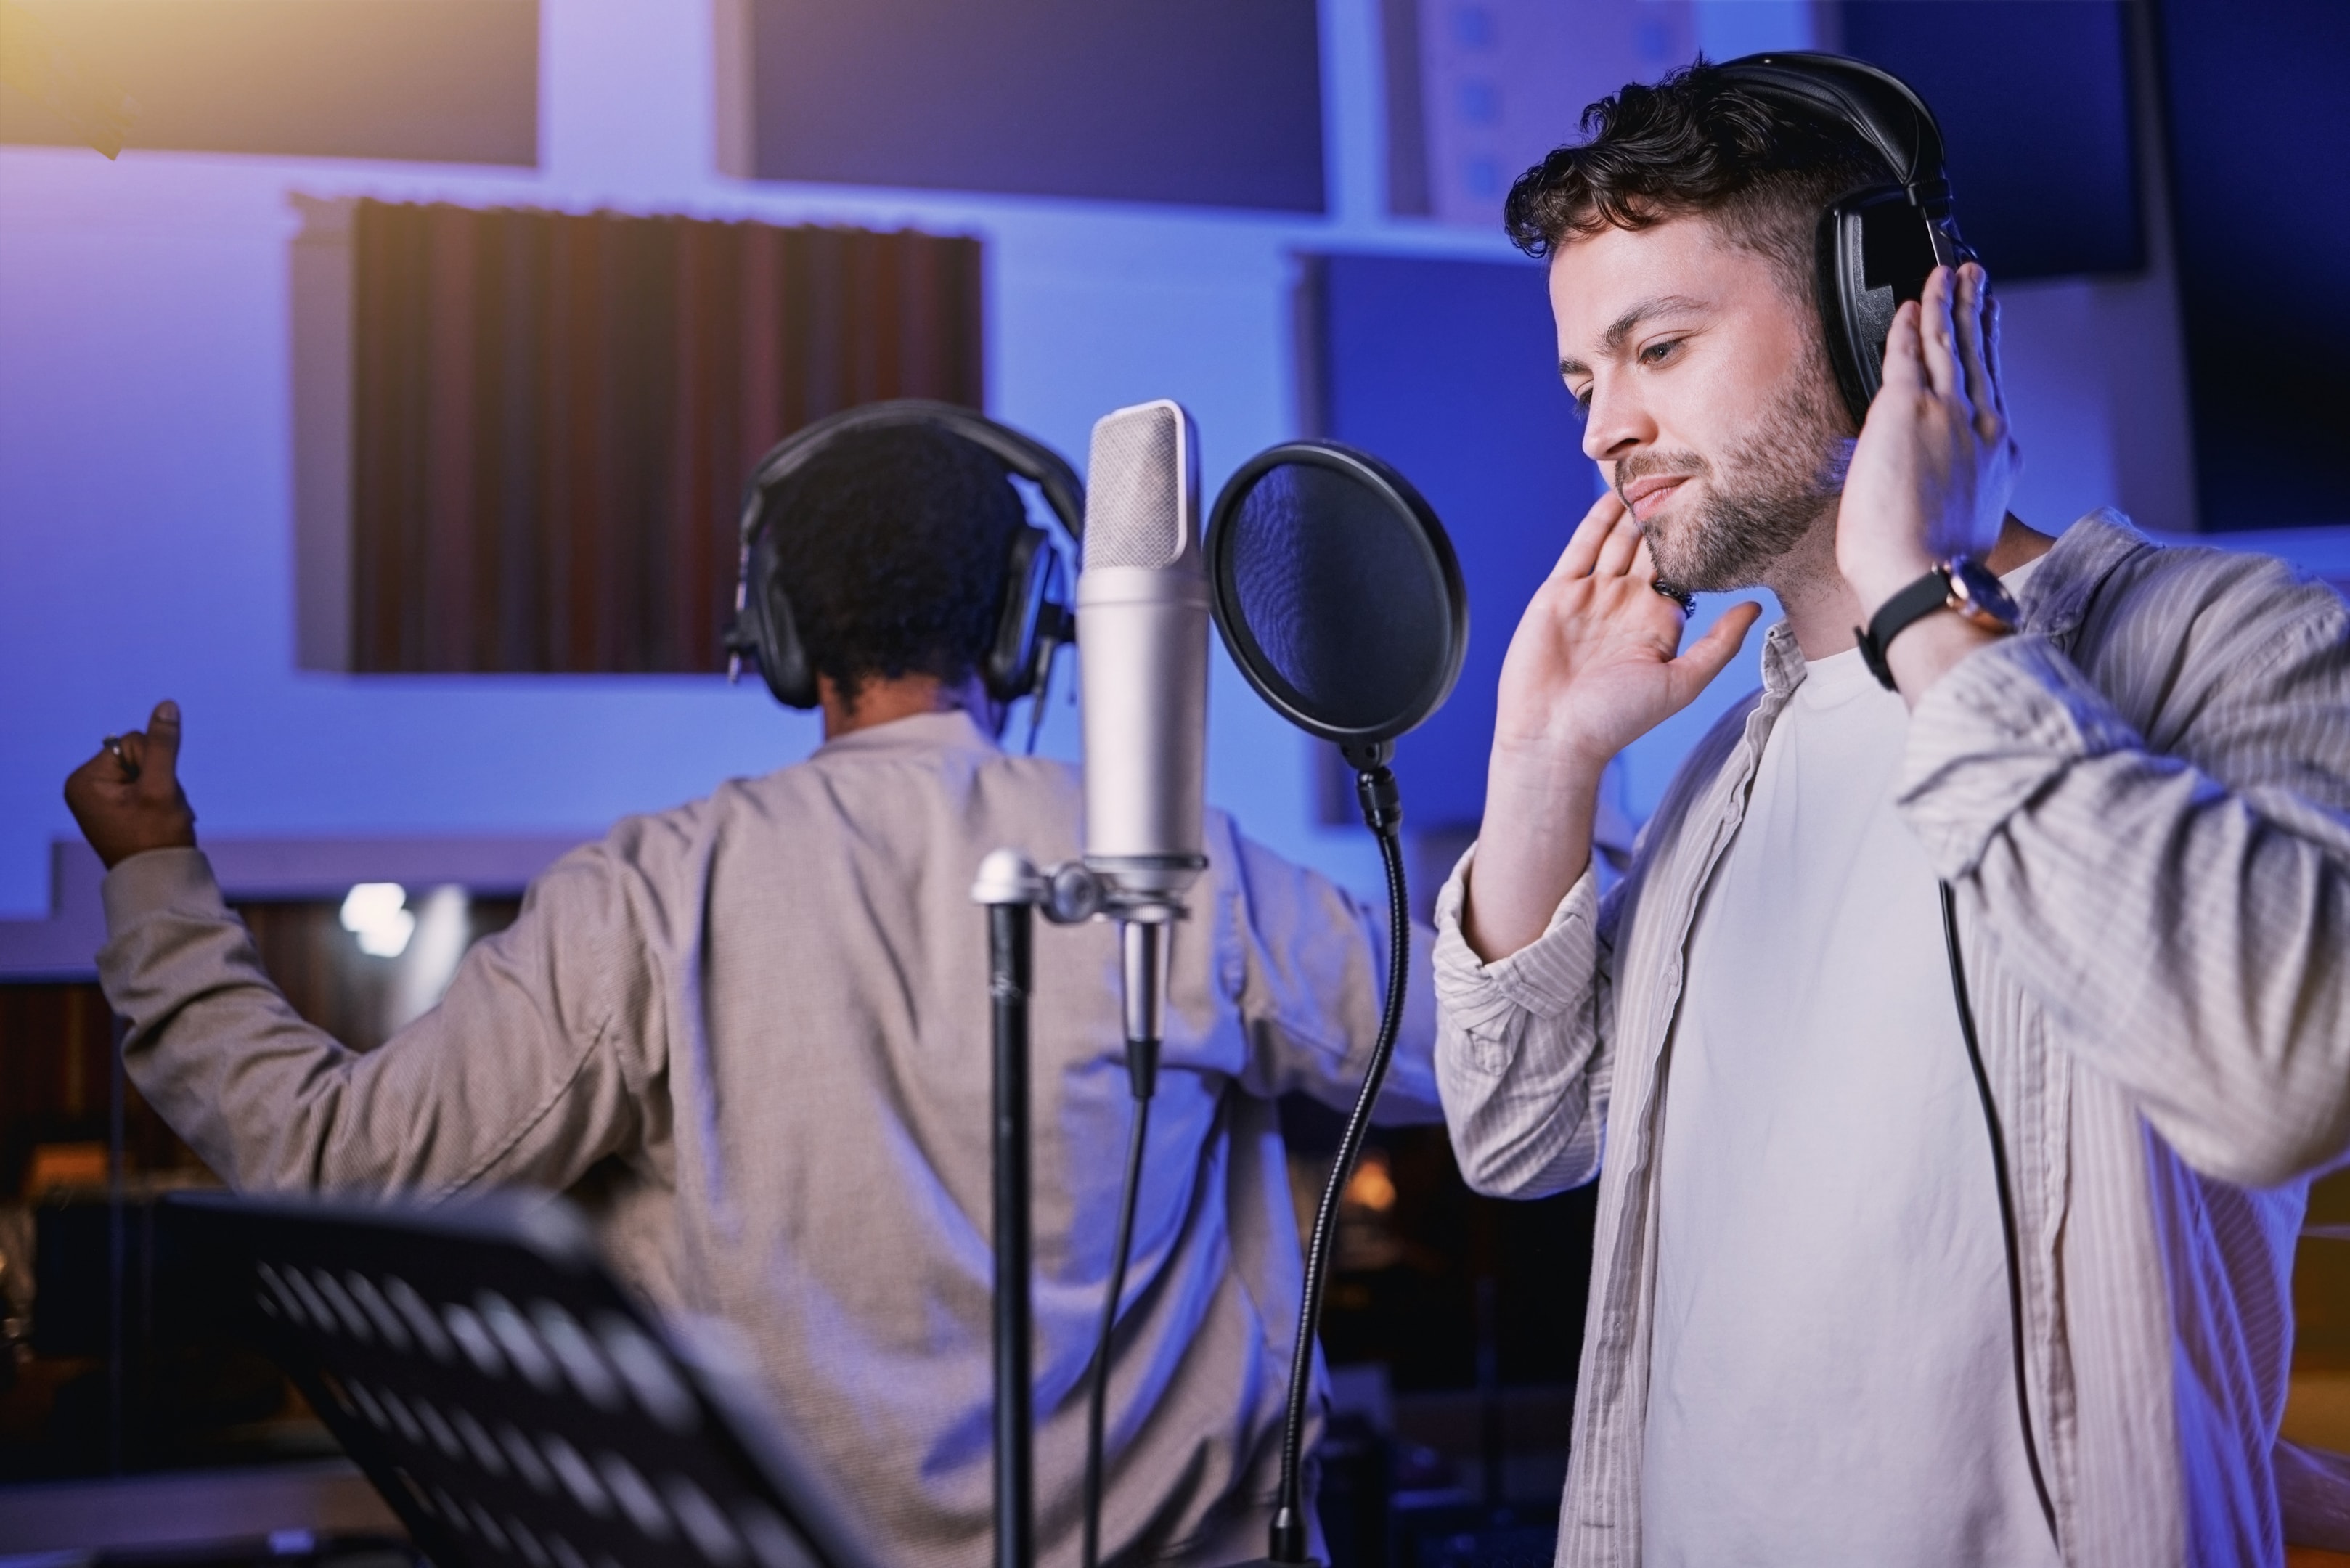
Good microphone quality can transform your audio projects, enhancing both professionalism and engagement. Whether you're recording music, voiceovers, or podcasts, the right techniques and tools can make all the difference.
Table of contents
Understanding microphone basics
Types of microphones
Choosing the right microphone for your recording needs is critical for achieving high-quality sound. Here’s a detailed look at the main types of microphones, their uses, and examples of industry-leading models for each.
Dynamic microphones

Dynamic microphones are known for their durability and versatility. They are excellent at handling high sound pressure levels, making them ideal for live performances, broadcasting, and recording loud instruments like drums and electric guitars.
Their robust design means they are less sensitive to environmental noise and more resistant to wear and tear, making them a reliable choice for various settings.
Best options for dynamic microphones
- Shure SM58 – A world-renowned microphone perfect for live vocals and speeches due to its clear sound and rugged build.
- Electro-Voice RE20 – Popular for podcasting and radio broadcasting, offering a warm and natural sound with minimal distortion.
- Sennheiser MD 421-II – Exceptional for recording drums and guitars, featuring a five-position bass roll-off switch for added versatility.
Condenser microphones

Condenser microphones are highly sensitive and deliver detailed audio capture, making them the go-to choice for studio recording. They excel in picking up subtle nuances in vocals and acoustic instruments, which is why they are widely used in professional music production, voiceovers, and podcasting.
However, they require phantom power, often provided through an audio interface, and are better suited for controlled environments due to their sensitivity to background noise.
Best options for condenser microphones:
- Audio-Technica AT2020 – An affordable yet high-quality choice for beginners, offering clear and balanced sound for vocals and instruments.
- Neumann TLM 103 – A premium option renowned for its ultra-low self-noise and precise audio capture, suitable for high-end studio work.
- RØDE NT1-A – Known as one of the quietest microphones, ideal for detailed vocal and acoustic recordings.
For a deeper dive into the differences, check out our article on dynamic vs condenser mics.
USB microphones
USB microphones are perfect for beginners and casual users, offering plug-and-play functionality without requiring additional hardware like an audio interface. They are commonly used for podcasting, gaming, video conferencing, and entry-level music recording.
While they may not match the precision of professional-grade microphones, USB mics are a practical and affordable option for those just starting.
Best options for USB microphones
- Blue Yeti – A popular choice for podcasting and streaming, featuring multiple polar patterns and onboard gain control.
- HyperX QuadCast – Designed with gamers and streamers in mind, this mic offers excellent sound quality with built-in noise suppression.
- Samson Q2U – A hybrid microphone offering USB and XLR connectivity, making it versatile for different setups.
XLR microphones
XLR microphones are the professional standard in audio recording and live sound reinforcement. Unlike USB microphones, XLR mics require an audio interface or mixer to operate, providing greater control over sound quality and audio channels.
They are highly versatile and deliver superior audio clarity, making them a favourite among professionals in music, video production, film, and broadcasting.
Best options for XLR microphones
- Shure SM7B – A legendary microphone used by podcasters, vocalists, and broadcasters, offering exceptional sound clarity and noise isolation.
- AKG C414 XLII – A multi-pattern microphone ideal for studio recording of vocals and instruments, known for its detailed and transparent sound.
- RØDE Procaster – A dynamic XLR microphone designed for broadcasting, featuring a rich and warm sound profile.
The role of mic settings
Mic settings play a crucial role in achieving the best audio quality. Gain level adjusts the strength of the microphone signal, while mic level ensures the audio is neither too soft nor too loud. Input volume level, accessible via the control panel or settings app, lets you fine-tune the microphone's sensitivity.
Properly adjusting these settings can minimise sound distortion and maximise clarity.
Experimenting with these parameters in your audio settings will help you achieve a balanced audio signal for your recording projects.
Optimise your recording space
Reducing background noise
Background noise can disrupt the clarity of your recordings, but it is manageable with proper preparation. Start by selecting a quiet environment for your recordings. A room with minimal external sound sources—like traffic or machinery—works best.
To further reduce noise, close windows and doors, and turn off appliances that generate hums or vibrations. Investing in a noise gate can also help filter out unwanted sounds during post-production.
Leveraging soft surfaces

Hard surfaces, such as tile floors and walls, reflect sound, creating echoes and reverb. To counteract this, introduce soft surfaces like carpets, curtains, and fabric furniture. These materials absorb sound waves, reducing unwanted reverb effects.
Acoustic foam panels are another effective solution. These are designed to absorb mid- to high-frequency sounds, helping you achieve the perfect sound balance. Placing foam on walls, ceilings, and other hard surfaces can dramatically improve the recording environment.
Choosing the right microphone for your needs

Dynamic microphones are ideal for robust, low-maintenance recording. They’re often used in live performances due to their ability to handle high sound pressure levels without distortion.
Condenser microphones, however, shine in controlled environments, capturing subtle nuances in voice or music.
When selecting a microphone, consider whether you need versatility or sensitivity. If you work in various recording environments, a dynamic microphone might suit your needs better.
For studio work, a condenser microphone offers precision and clarity, making it the best choice for achieving top-tier microphone sound.
The advantages of external microphones

Built-in microphones on devices like laptops or smartphones lack the sophistication needed for high-quality recordings. External microphones, such as USB or XLR options, deliver significantly better microphone sounds.
These devices often include features like adjustable mic levels, multiple audio channels, and noise suppression capabilities.
Upgrading to an external microphone is especially beneficial for gamers using a gaming headset or those relying on their phone's microphone. The improvement in sound quality is immediate and substantial.
Using essential accessories
The importance of a microphone stand

A microphone stand is more than just a support—it ensures consistent positioning, which directly impacts mic sound.
By maintaining the right distance between the microphone and the sound source, a stand minimises handling noise and prevents accidental changes in headset microphone' position that could compromise recording quality.
Adjustable stands are particularly useful, allowing you to tailor the setup for different recording scenarios, from vocal work to instrumentals. Investing in a sturdy stand is a simple yet effective way to improve audio quality.
How pop filters reduce plosives
Pop filters are an affordable accessory that can significantly enhance microphone sound. These filters prevent plosive sounds—sharp bursts of air caused by consonants like “P” and “B”—from reaching the microphone.
Without a pop filter, these sounds can create distortions that are challenging to remove in post-production.
Pop filters are easy to attach to any microphone stand and are a must-have for anyone looking to improve recording quality.
Adjusting audio settings and equipment
Balancing mic level and gain level
Balancing mic level and gain level is a critical aspect of audio recording that can significantly affect the clarity and quality of your sound.
Understanding the difference between these two concepts and how to adjust them correctly ensures you capture audio with the perfect dynamic range while avoiding noise or distortion.
What are mic level and gain level? Why is balancing important?
Mic level refers to the strength of the signal coming directly from the microphone. This signal is typically quite weak and needs to be amplified to reach a usable level for recording or playback. Adjusting the mic level helps ensure the sound is neither too faint nor overwhelming.
Gain level is the process of amplifying the input device or mic's signal so that it is strong enough for processing, recording, or playback. Gain increases the input signal's volume without altering the final volume of the output device.
Too much gain can result in distortion, while too little can make your recordings too quiet and introduce noise when amplified later.Properly balancing mic level and gain level ensures:
- Clear sound – Prevents distortion caused by overloading the input signal.
- Reduced noise – Eliminates the need to over-amplify in post-production, which can introduce unwanted background noise.
- Optimal dynamic range – Maintains a balance between the softest and loudest parts of your recording.
Steps to balance mic level and gain
1. Set the mic level first
- Start by setting your microphone's input and output volume to an appropriate level.
- For USB microphones, adjust the input volume in your computer’s control panel or settings app.
- For XLR microphones, use the gain knob on your audio interface or mixer.
- Speak or play your instrument at the loudest expected level while monitoring the signal to avoid clipping.
2. Adjust the gain level
- With the mic level set, fine-tune the gain to amplify the signal without introducing distortion.
- Most audio interfaces have a peak or clip indicator to show when the signal is too strong. Aim for the signal to stay within the green or yellow range, avoiding red.
- Use your DAW’s level meters to ensure the recording remains consistent without spikes.
3. Monitor with headphones
- Real-time monitoring with high-quality headphones helps you hear the nuances of the audio signal and identify potential audio issues, like distortion or noise.
Recommended headphones:
- Audio-Technica ATH-M50X – Known for accurate sound reproduction.

- Beyerdynamic DT 770 PRO – Ideal for detailed monitoring.
4. Use a limiter or compressor
- A limiter prevents the signal from exceeding a certain threshold, while a compressor balances the dynamic range by reducing the loudest parts of the recording.
- Set a compressor to tame peaks without overly flattening the sound.
- Apply a limiter to ensure the loudest parts do not cause distortion, especially in music or live recording.
Common challenges and solutions
1. Clipping or distortion

If your recording has clipping or distortion, it usually means the gain level is too high. Reduce the gain until the audio signal remains clear and within the acceptable range.
2. Weak signal with excessive noise

A weak signal is often caused by setting the mic level too low. Increase the mic level and ensure the microphone is positioned correctly for optimal capture of the sound source.
3. Balancing multiple audio sourcesWhen working with multiple microphones or instruments, balance each input independently to ensure all audio sources are consistent. Use your audio interface or mixer to manage audio channels from different devices and their respective gain levels.
The right equipment can make balancing mic and gain levels easier and more precise. Here are some recommendations:
Audio interfaces
- Focusrite Scarlett 2i2 – A reliable choice for home studios with intuitive gain controls and clear signal indicators.
- Universal Audio Apollo Twin – High-end interface offering advanced signal processing and pristine sound quality.
Dynamic processors:

- DBX 286s Microphone Preamp and Processor – Combines a preamp with a compressor, de-esser, and enhancer for superior control.
- Warm Audio WA76 – A premium compressor inspired by vintage designs, ideal for studio use.
Meters and monitors:

- TC Electronic Clarity M – A visual audio meter for precise monitoring of levels and dynamic range.
Balancing mic level and gain level is both an art and a science, requiring careful listening and the right tools.
By taking the time to set these levels correctly, you can achieve a polished, professional sound suitable for any recording project.
The role of an audio interface
An audio interface is an essential tool for professional audio recording. It connects your microphone to your computer, converting analogue signals into digital formats that can be easily edited.
Audio interfaces often come with preamps, which boost microphone gain without adding noise, and they allow for precise control over audio channels.
If you’re serious about recording music or podcasts, investing in a quality audio interface will ensure the best sound quality for your projects.
Post-recording enhancements
Using noise suppression tools
Even with the best setup, some background noise may sneak into your recordings. Noise suppression tools, available in software like Audacity or Adobe Audition, can eliminate these unwanted sounds.
A noise gate is particularly useful for cutting out other sounds just below a certain threshold, ensuring a cleaner audio signal.
Employing audio enhancement features
Audio enhancement features can take your recordings from good to professional. These include tools for balancing volume levels, reducing sound distortion, and removing reverb effects.
Programmes like iZotope RX offer advanced features for polishing recordings, making them sound as refined as possible.
Post-recording enhancements should complement, not replace, a good initial recording. Always aim to capture the best sound possible during the recording phase.
Historical perspective on microphone technology
The microphone is one of the most transformative inventions in the history of sound technology, revolutionising the way humans capture and reproduce audio.
Its development has spanned centuries, with each breakthrough pushing the boundaries of communication, music, and entertainment.
Understanding the evolution of microphones offers valuable insight into their capabilities today and how we can use them to achieve the best audio quality.
The early beginnings: Acoustic amplification

The concept of sound amplification dates back to ancient times when Greeks and Romans used acoustic resonators in theatres to amplify voices.
These early methods relied on the natural properties of hard surfaces and shapes like amphitheatres to project sound to larger audiences. However, true electronic amplification did not emerge until the 19th century.
The invention of the carbon microphone
The first practical microphone, the carbon microphone, was invented in the late 19th century. In 1876, Emile Berliner and Thomas Edison independently worked on devices that could convert sound waves into electrical signals using carbon granules.
- Key features – The carbon microphone used a diaphragm pressed against carbon particles. When sound waves hit the diaphragm, the pressure on the carbon particles varied, modulating the electrical signal.
- Applications – Carbon microphones became the standard for early telephones and radio broadcasting due to their simplicity and durability. However, they had limited frequency response and introduced noise to recordings.
The ribbon and dynamic microphones
In the 1920s and 1930s, advancements in electromagnetic technology led to the development of ribbon and dynamic microphones.
- Ribbon microphones – Introduced by RCA in 1931, ribbon microphones used a thin metallic ribbon suspended in a magnetic field to capture sound. They offered exceptional sensitivity and warm sound, making them popular in recording studios.

- Historical example: The RCA 44 ribbon microphone was an industry favourite for radio and studio recordings, known for its rich tonal quality.
- Dynamic microphones – Dynamic microphones, like the Shure 55 Unidyne (1939), used a moving coil mechanism that was rugged and suitable for live performances. These microphones were ideal for public address systems, stage performances, and outdoor events.
The condenser microphone revolution
The 1940s and 1950s saw the rise of condenser microphones, which offered a higher frequency response and improved clarity compared to earlier models. German engineer Georg Neumann played a pivotal role in this development.
- Key features – Condenser microphones use a capacitor system where a diaphragm vibrates against a backplate. They require external power, such as phantom power, to operate.
- Historical example – The Neumann U 47, introduced in 1947, became a legendary condenser microphone, widely used for recording vocals and orchestral music. Its precise sound reproduction made it a staple in professional studios worldwide.
The birth of wireless microphones
In the 1950s, the advent of wireless microphones eliminated the constraints of cables, offering performers and broadcasters greater mobility. Companies like Sennheiser and Shure pioneered these innovations.

- Historical example – The Sennheiser SK 1002 (1957) was one of the first wireless microphones, opening new possibilities for live performances and television broadcasts.
Modern advancements: Digital and USB microphones

The late 20th and early 21st centuries introduced digital microphones and USB technology, catering to a growing market of home studio enthusiasts, podcasters, and content creators.
The rise of AI and smart microphones

Today, microphones are integrating artificial intelligence and smart features for enhanced functionality. Noise suppression, voice over, automatic gain adjustment, and directional sound capture are increasingly common.
Common mistakes to avoid
- Using the wrong microphone – Choose a microphone suited to your specific needs, whether it's a dynamic mic for live events or a condenser mic for studio work.
- Neglecting audio settings – Improper gain or mic level settings can result in poor recording quality. Take the time to optimise these parameters.
- Skipping accessories – Tools like pop filters and microphone stands are inexpensive yet essential for improving mic quality.
- Ignoring the environment – Recording in a space with excessive noise or hard surfaces can degrade sound quality.
- Over-relying on software fixes – While post-production tools are helpful, always aim to capture the best raw audio possible.
Conclusion
Improving mic quality is a blend of selecting the right tools, creating a controlled environment, and understanding audio settings.
By addressing each of these aspects, you can achieve professional-grade results and elevate your audio projects to new heights.
TYX Recording Studios
At TYX Studios in London, we understand that the right release day is just as important as creating a great track. That's why we provide professional-grade services to ensure your music sounds its best when it’s time to release it to the world.
Whether you’re recording music for an upcoming festival gig, releasing an album or a single to climb the Billboard charts, or want to capture the perfect vibe, our expert team is here to support your journey.

Get in touch today to book a session and make your next release unforgettable.
Frequently Asked Questions

How to Record Vocals Like a Pro
Discover how to record vocals like a pro. Build a reliable signal path, treat your room, position your mic stand, and coach confident performances. With the right setup and workflow, you’ll capture clear, high-quality vocals ready for mixing.

How to Record Bass Guitar Like a Pro
Learn how to record bass guitar that locks with drums, translates on small speakers, and needs less fixing later. Use this checklist-driven guide and work faster. This bass recording guide preserves the original flow and adds precise updates where needed.