Latest Insights from
TYX Studios
Explore a wealth of insights, tips, and inspiration tailored for today's creators.
Whether you're a musician, podcaster, photographer, or content producer, our blog offers expert advice, industry trends, and practical guides to help you elevate your craft.
Stay informed and inspired with TYX Studios.
Blog posts
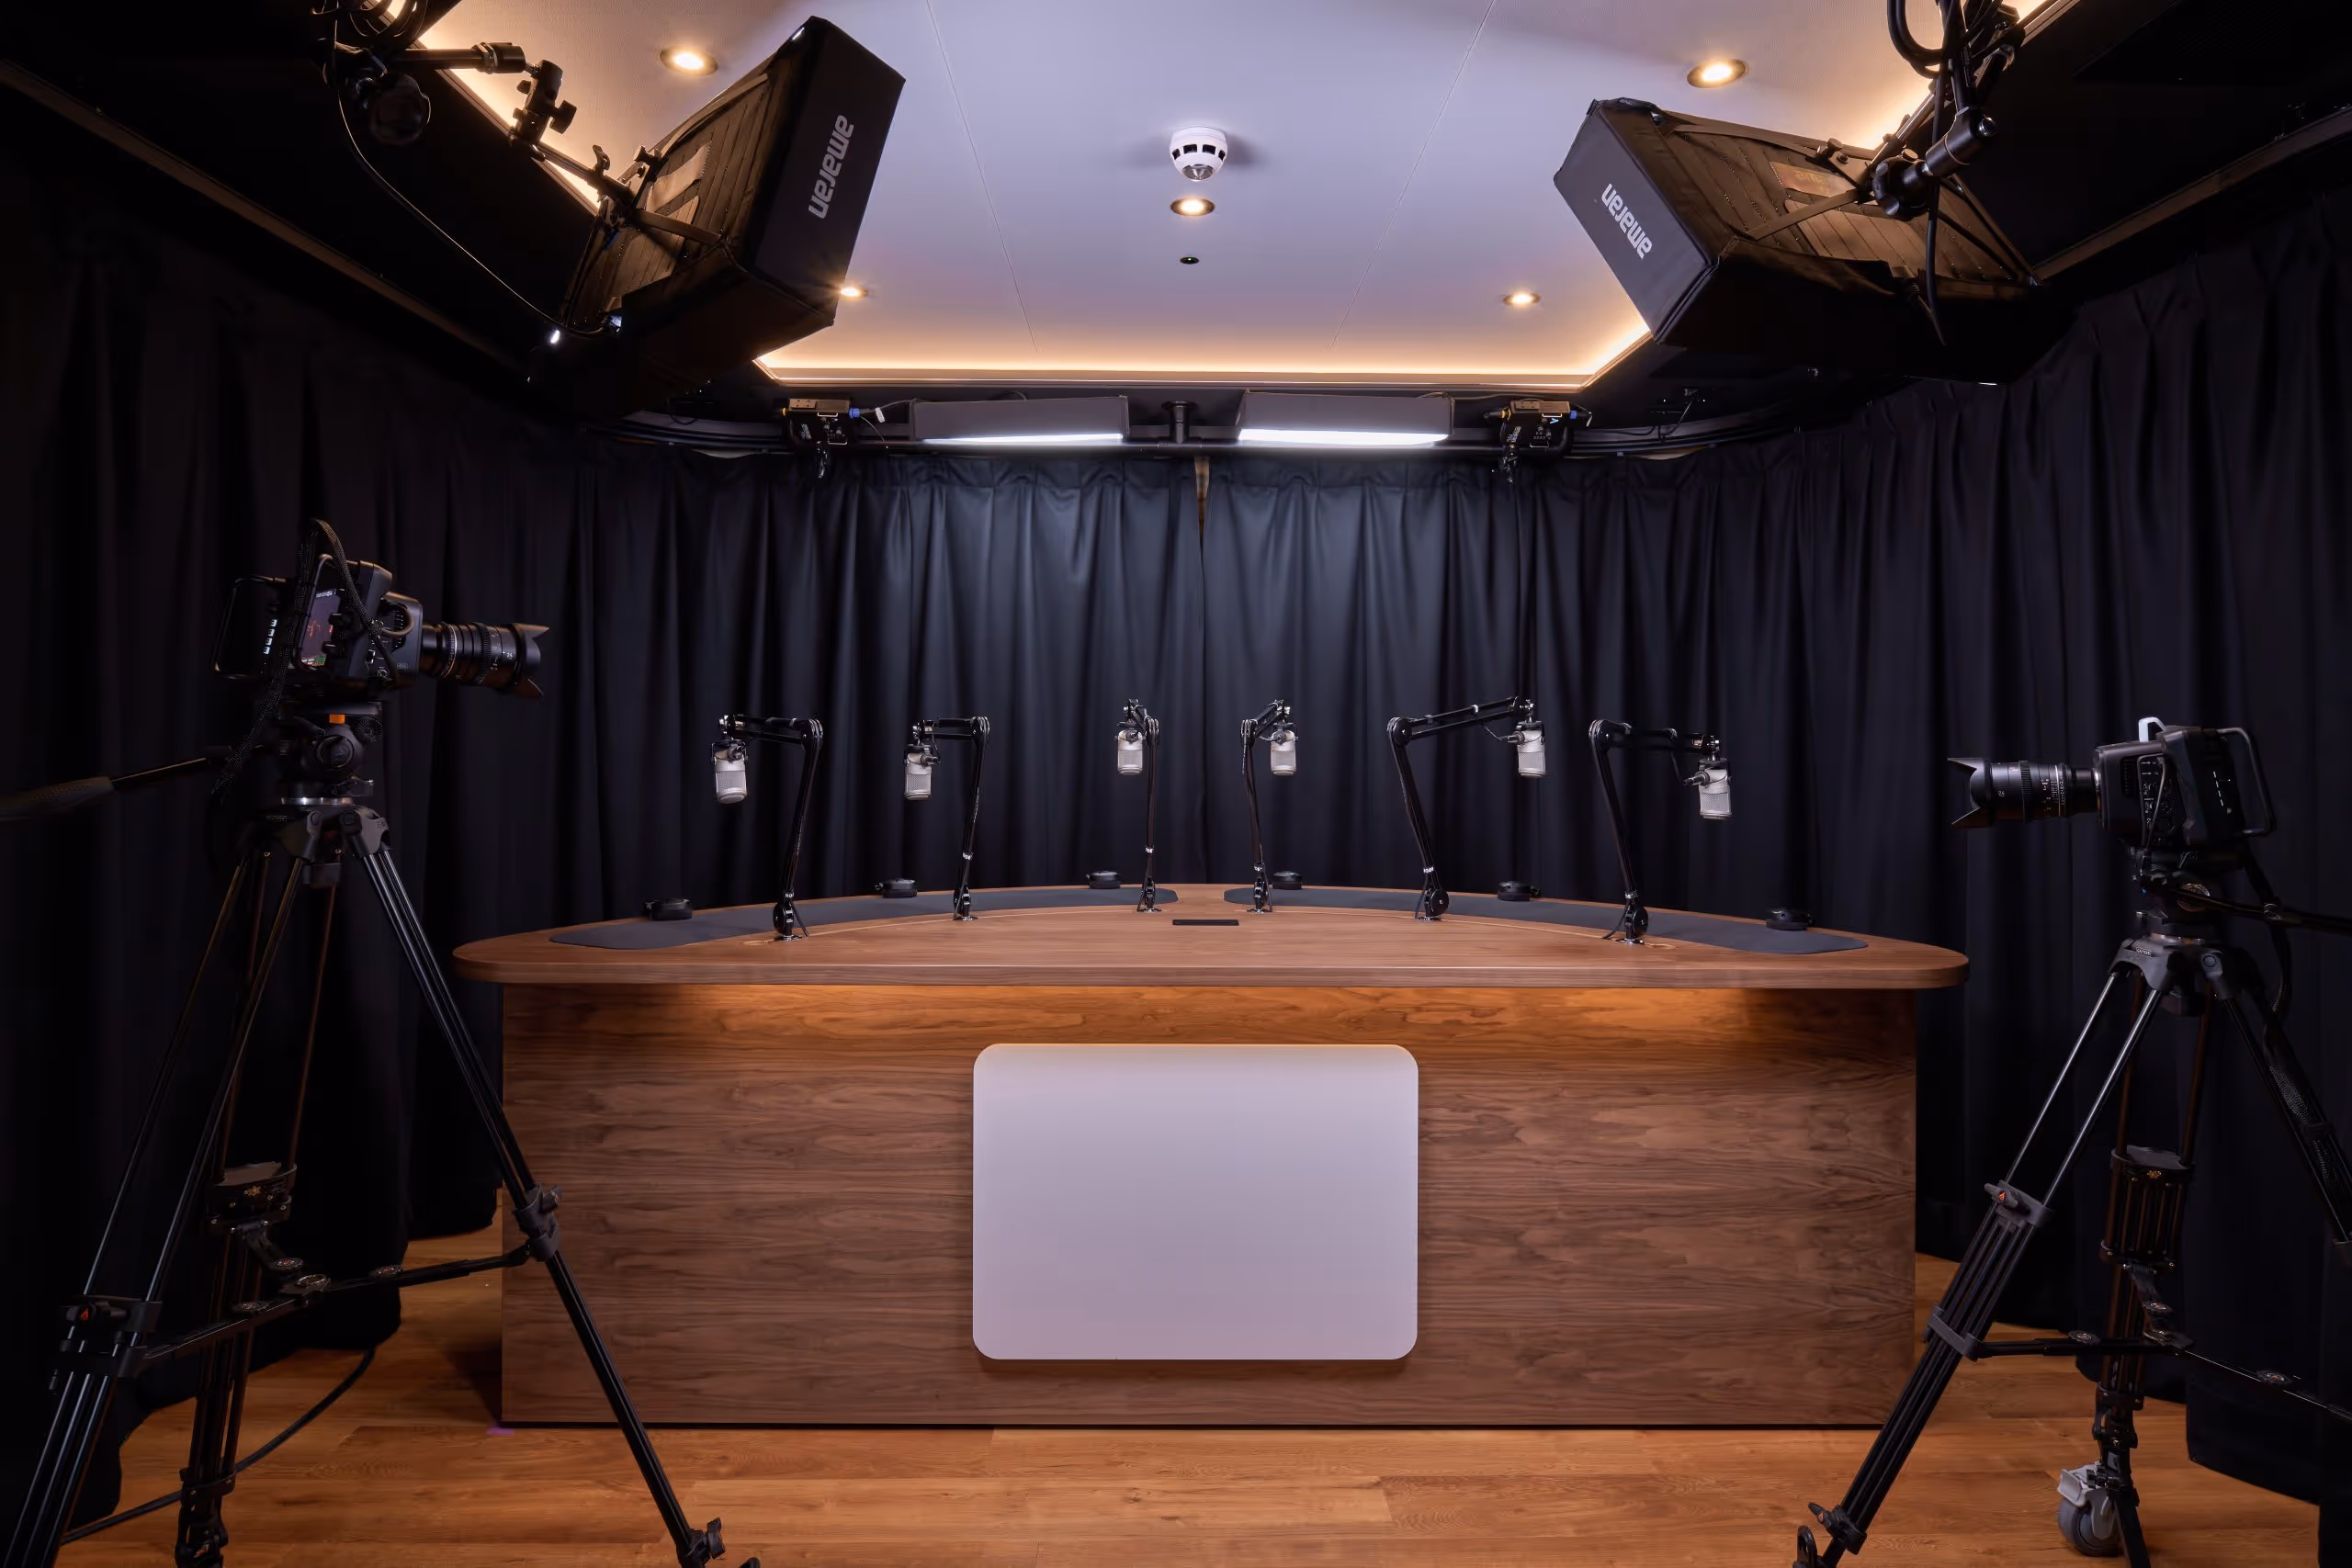
How to Start a Podcast in 2026: Full Step-by-Step Guide
Learn how to create a podcast in 2026 with a practical, step-by-step system for planning, recording, hosting, editing, and launching across audio and video.

What is a podcast RSS feed?
In this guide, we explain how a podcast RSS feed works, where to find your feed URL, and how to submit and validate it across platforms.
All Blogs
How to Start a Podcast in 2026: Full Step-by-Step Guide
Learn how to create a podcast in 2026 with a practical, step-by-step system for planning, recording, hosting, editing, and launching across audio and video.
All Blogs
How to Start a Podcast on YouTube in 2026
A practical, studio-tested guide to launching a YouTube podcast: planning, setup, equipment, publishing, SEO, promotion, and analytics.
All Blogs
.avif)
How to Make Money Podcasting in 2026
Real-world guide to podcast income in 2026. What to charge, when to start, and which platforms matter.
All Blogs

What Is Foley? Guide to Foley Sound Effects & Process
Foley is the performance of everyday sounds, recorded live to picture. This guide shows how Foley artists work and how to brief, budget and deliver with confidence.
All Blogs

Acoustic Treatment Guide by Experts, for Beginners
This guide shows you how to use acoustic treatment to calm unruly rooms, improve sound quality, and make confident mix decisions at home.
All Blogs
.avif)
What’s the Best Microphone for Singing?
Choosing the perfect microphone for singing can be tricky. Read our guide to find the best microphone that suits your track or performance.
All Blogs

How Long Does it Take to Make an Album?
Most albums take 6–12 months from idea to release. See the real timeline from writing and pre-production to studio time, mixing and mastering.
All Blogs

What is a Model Release Form? Complete Guide with Free Templates
A clear model release form protects your rights and your subjects. Use this guide to decide when you need one, what to include, and grab free templates.
All Blogs
What Is an ISRC Code? Structure, Rules, and How to Embed It
An ISRC code is the global ID for each master you release. Use it to keep credits, ownership, and reporting aligned across platforms.
All Blogs
.jpg)