Beginner's Guide to Photography—Leading Lines, Camera Settings, & Perspective
Want to become a professional photographer or capture better photos? TYX has you covered. This guide to beginner photography will equip you with essential knowledge and practical tips. From leading lines to camera settings to different photography genres, we'll equip you with the knowledge to snap up a storm!
"Photography is the story I fail to put into words." – Destin Sparks
Having run one of London's premier photography studios for many years, we know a little about capturing the perfect image. Let’s dive into our ultimate guide to photography!
Table of contents
- How does a camera work?
- The exposure triangle
- Composition and framing rules
- How to use leading lines in photography
- Depth of field
- Understanding and utilising light
- Exploring perspectives and angles
- What camera should you buy? Six popular options
- What are the best settings for each type of photography?
- Don't be afraid to experiment with camera settings!
- Ensure proper camera handling and maintenance
- Do plenty of practice assignments
- Patience is a virtue!
- Get to grips with editing basics
- Additional resources
How does a camera work?

Cameras capture images by allowing light to enter through a lens onto a light-sensitive surface inside the camera (the camera's sensor). This is either film in traditional cameras or a digital sensor in digital cameras. When you press the camera's shutter button, the shutter opens and exposes the film or digital sensor to light that has passed through the lens.
The lens focuses the light to form an image, and the amount of light allowed in is controlled by the aperture and shutter speed settings. The resulting image is then saved onto film or as a digital file.
The exposure triangle

Mastering the exposure triangle will help you control the look and feel of your photographs. This basic concept involves three camera settings—aperture, shutter speed, and ISO. These work together to influence exposure and image quality.
Understanding the balance and interaction of these factors is crucial for creative freedom and technical precision in photography. Let's explore each component to see how they contribute to capturing the perfect shot:
Aperture

Aperture refers to the opening in your lens through which light passes to enter the camera. Think of it like the pupil of an eye, adjusting size based on light levels. This setting is crucial because it affects the depth of field—the extent of the scene in focus. A wide aperture (a low f-stop number) creates a shallow depth of field, beautifully blurring the background to focus sharply on your subject. This is ideal for portrait photography where you want your subject to stand out from the background.
Shutter speed

This determines how long the sensor is exposed to light. It’s measured in seconds or fractions of a second. A fast shutter speed freezes without motion blur, perfect for capturing the hustle of street photography or fast-moving wildlife.
Conversely, longer shutter speeds can create a blur effect, which adds a sense of movement and dynamism to shots like flowing water or cityscapes at night.
ISO

ISO controls the camera's sensitivity to light. Higher ISO settings are used in low light conditions to brighten your photos but can introduce more digital noise, which affects image quality.
Understanding how to balance ISO with aperture and shutter speed is a key element to capturing high-quality images in a variety of situations.
Composition and framing rules

Image from Institute of Photography showing The Rule of Thirds. Leading and Converging Lines. Triangles. The Rule of Threes.
Composition is arranging elements within your frame to create a visually appealing photograph. The rule of thirds refers to dividing the frame into nine equal segments. You would place your subject along these lines or at their intersections.
This method often results in a more engaging composition than centring the subject. Additionally, incorporating leading lines (paths that guide the viewer's eye towards the main subject) can help to enhance your images.
How to use leading lines in photography
Leading lines are a powerful compositional tool in photography, guiding the viewer's eye through the image and toward the main subject. They can shape how the viewer experiences the photograph, influencing both the narrative and visual impact.
Horizontal Lines
Think of the horizon in a landscape or a pathway stretching across the frame—these are your horizontal lines. They impart a sense of stability and are fundamental in landscape photography, providing a base for the eye to rest. Care must be taken to prevent these lines from unintentionally drawing the eye out of the frame.
Vertical lines
These lines pull the eye upward or downward, enhancing perceptions of height and depth. Common in urban environments, vertical lines appear in the form of lampposts, skyscrapers, and other elongated features. In fashion photography, they lend a portrayal of power and elegance.
Diagonal lines

Diagonal lines introduce a dynamic element to compositions, often leading from one corner to another. They are less common but effective in creating a sense of movement and guiding the viewer through the scene, enhancing the photo's narrative flow.
Converging lines
Lines that meet or intersect lead to a vanishing point and are excellent for adding depth and perspective. This method is a staple in architectural and street photography, where the convergence of building edges or streets draws the viewer deeper into the image.
Curved Lines
Winding and natural, curved lines are most often found in landscape settings. From river bends to rolling hills, they guide the eye through the image in a smooth, flowing manner. They loop back to emphasise the focal point. This type of line is particularly potent for capturing compelling landscape scenes.
Depth of field

Imagine taking a photo where only your friend's face is sharp and clear, while everything behind them is blurry. That blurry effect happens because of a shallow depth of field, meaning only a small part of the image is in focus.
If everything from your friend to the trees in the background is clear, that's called a deep depth of field because a larger part of the photo is in focus. How deep or shallow the depth of field is can help you tell different stories with your photos.
Shooting portraits
Often uses shallow depth of field meaning the person is in sharp focus, but the background is blurry. This helps the subject stand out and makes the photo look more professional.
Landscapes
Shots of mountains or forests usually want a deep depth of field. This keeps everything from the front to the back of your picture clear and in focus, showing off all the details of the scene.
Sports and action
Ashallow depth of field focuses on the action and the main subject. This means the runner or a football player is in clear focus while the crowd or background stays blurry.
Macro (Close-up) Photography
When you're taking close-up photos of things like flowers or insects, a shallow depth of field can help your subject stand out sharply against a soft, unfocused background.
Street photography
A deeper depth of field keeps multiple subjects in focus at different distances, capturing the full story of the street scene.
Understanding and utilising light
Light is arguably the most important element in photography. It illuminates your subject and shapes the mood of each image. As you practice photography basics, you'll know intuitively how much light is needed for each desired effect.
Soft, diffused light is great for portrait photography for beginners, reducing harsh shadows and giving the skin a gentle glow.
Conversely, harsh light can enhance textures and create dramatic contrasts, ideal for emphasising the ruggedness of landscape photography.
By experimenting with different lighting conditions, you can discover how light affects colours, shadows, and the overall feel of your photos, helping you to choose the best settings for any given scenario.
Check out our guide to high key lighting for more useful tips.
Exploring perspectives and angles
Using different angles can dramatically change the mood and perception of your images. Here are some common angles and how they can impact your photos:
Eye level
This natural angle reflects the usual way we see the world. It creates a straightforward and honest view of the subject, making it great for candid shots and portraits.
High angle
Shooting from above the subject can make the subject appear smaller or weaker, which can be used to evoke feelings of vulnerability or submission. It’s often used in film to show a character feeling overwhelmed or in photography to create an interesting perspective on everyday scenes.
Low angle
Taking photos from below looking up can make the subject look larger and more powerful. It’s great for making a person, building, or monument seem more imposing or significant.
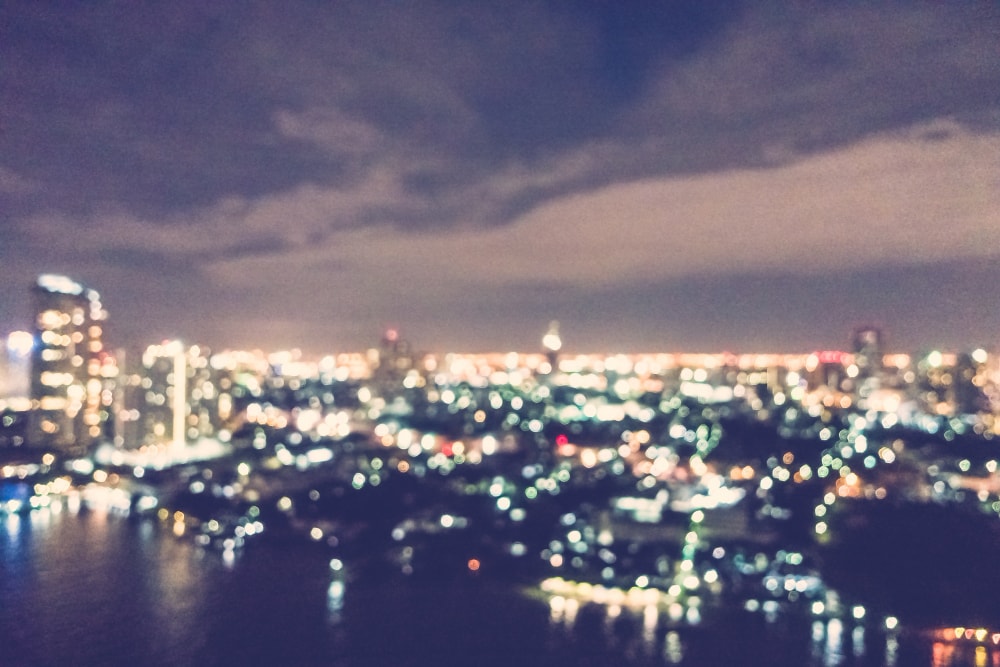
Bird’s eye view
This involves shooting directly downwards from a high elevation. It’s great for capturing landscapes, cityscapes, or any scene where showing the layout or pattern from above can add interest.
Worm’s eye view
This extreme low-angle shot is taken from the ground level, looking up. It’s not only about making subjects look larger but also offers a unique perspective that we rarely see, providing a sense of drama and awe
Dutch angle (tilted angle)
This refers to tilting the camera so the horizon is at an angle. The Dutch angle creates a sense of disorientation or tension within the viewer. It’s often used to portray psychological unrest or an intense moment.
Over-the-shoulder
This angle involves shooting from behind a person looking over their shoulder at what they see. Connecting the subject and the viewer, it's often in narrative and documentary styles to create a realistic perspective.
What camera should you buy? Six popular options
Deciding whether to purchase a mirrorless camera, DSLR, or point-and-shoot? Obviously, your camera choice depends on your specific needs, preferences, and budget. Here’s a breakdown of the popular types of cameras available in the market:
1. DSLR Camera
Strengths – Excellent photo quality, wide range of lenses, optimal for beginners and professionals.
Ideal for – Users looking for versatility, high image quality, and those interested in photography as a hobby or profession.
2. Mirrorless cameras
Strengths – Compact size, lighter than DSLRs, fast shooting speeds, often with advanced video capabilities.
Ideal for: Travelers, vloggers, and those who prefer a lightweight camera without compromising on modern features.
3. Point-and-Shoot Cameras
Strengths – Compact and easy to use, with fixed lenses and automatic systems for focus and exposure.
Ideal for – Casual photographers, everyday use, and those who prefer simplicity and portability.
4. Action cameras
Strengths: Highly durable, waterproof, and typically rugged, designed for capturing high-speed action and adventures.
Ideal for – Adventure sports enthusiasts, outdoor activities, and situations where a traditional camera is impractical.
5. Bridge Camera
Strengths – Combines features of both point-and-shoot and DSLR cameras, often with a long zoom lens.
Ideal for – Hobbyists who want more control than a point-and-shoot without changing lenses like in DSLRs.
6. Medium format cameras
Strengths – Superior image quality with larger sensors than full-frame cameras, high dynamic range, and detail.
Ideal for – Professional photographers and serious enthusiasts in fields like fashion, portrait, and landscape photography.
What are the best settings for each type of photography?
Different photography styles demand various camera controls and specific settings to capture their unique qualities. Below is a rough guide to all the main settings for portrait, landscape, and wildlife photography.
Still life photography
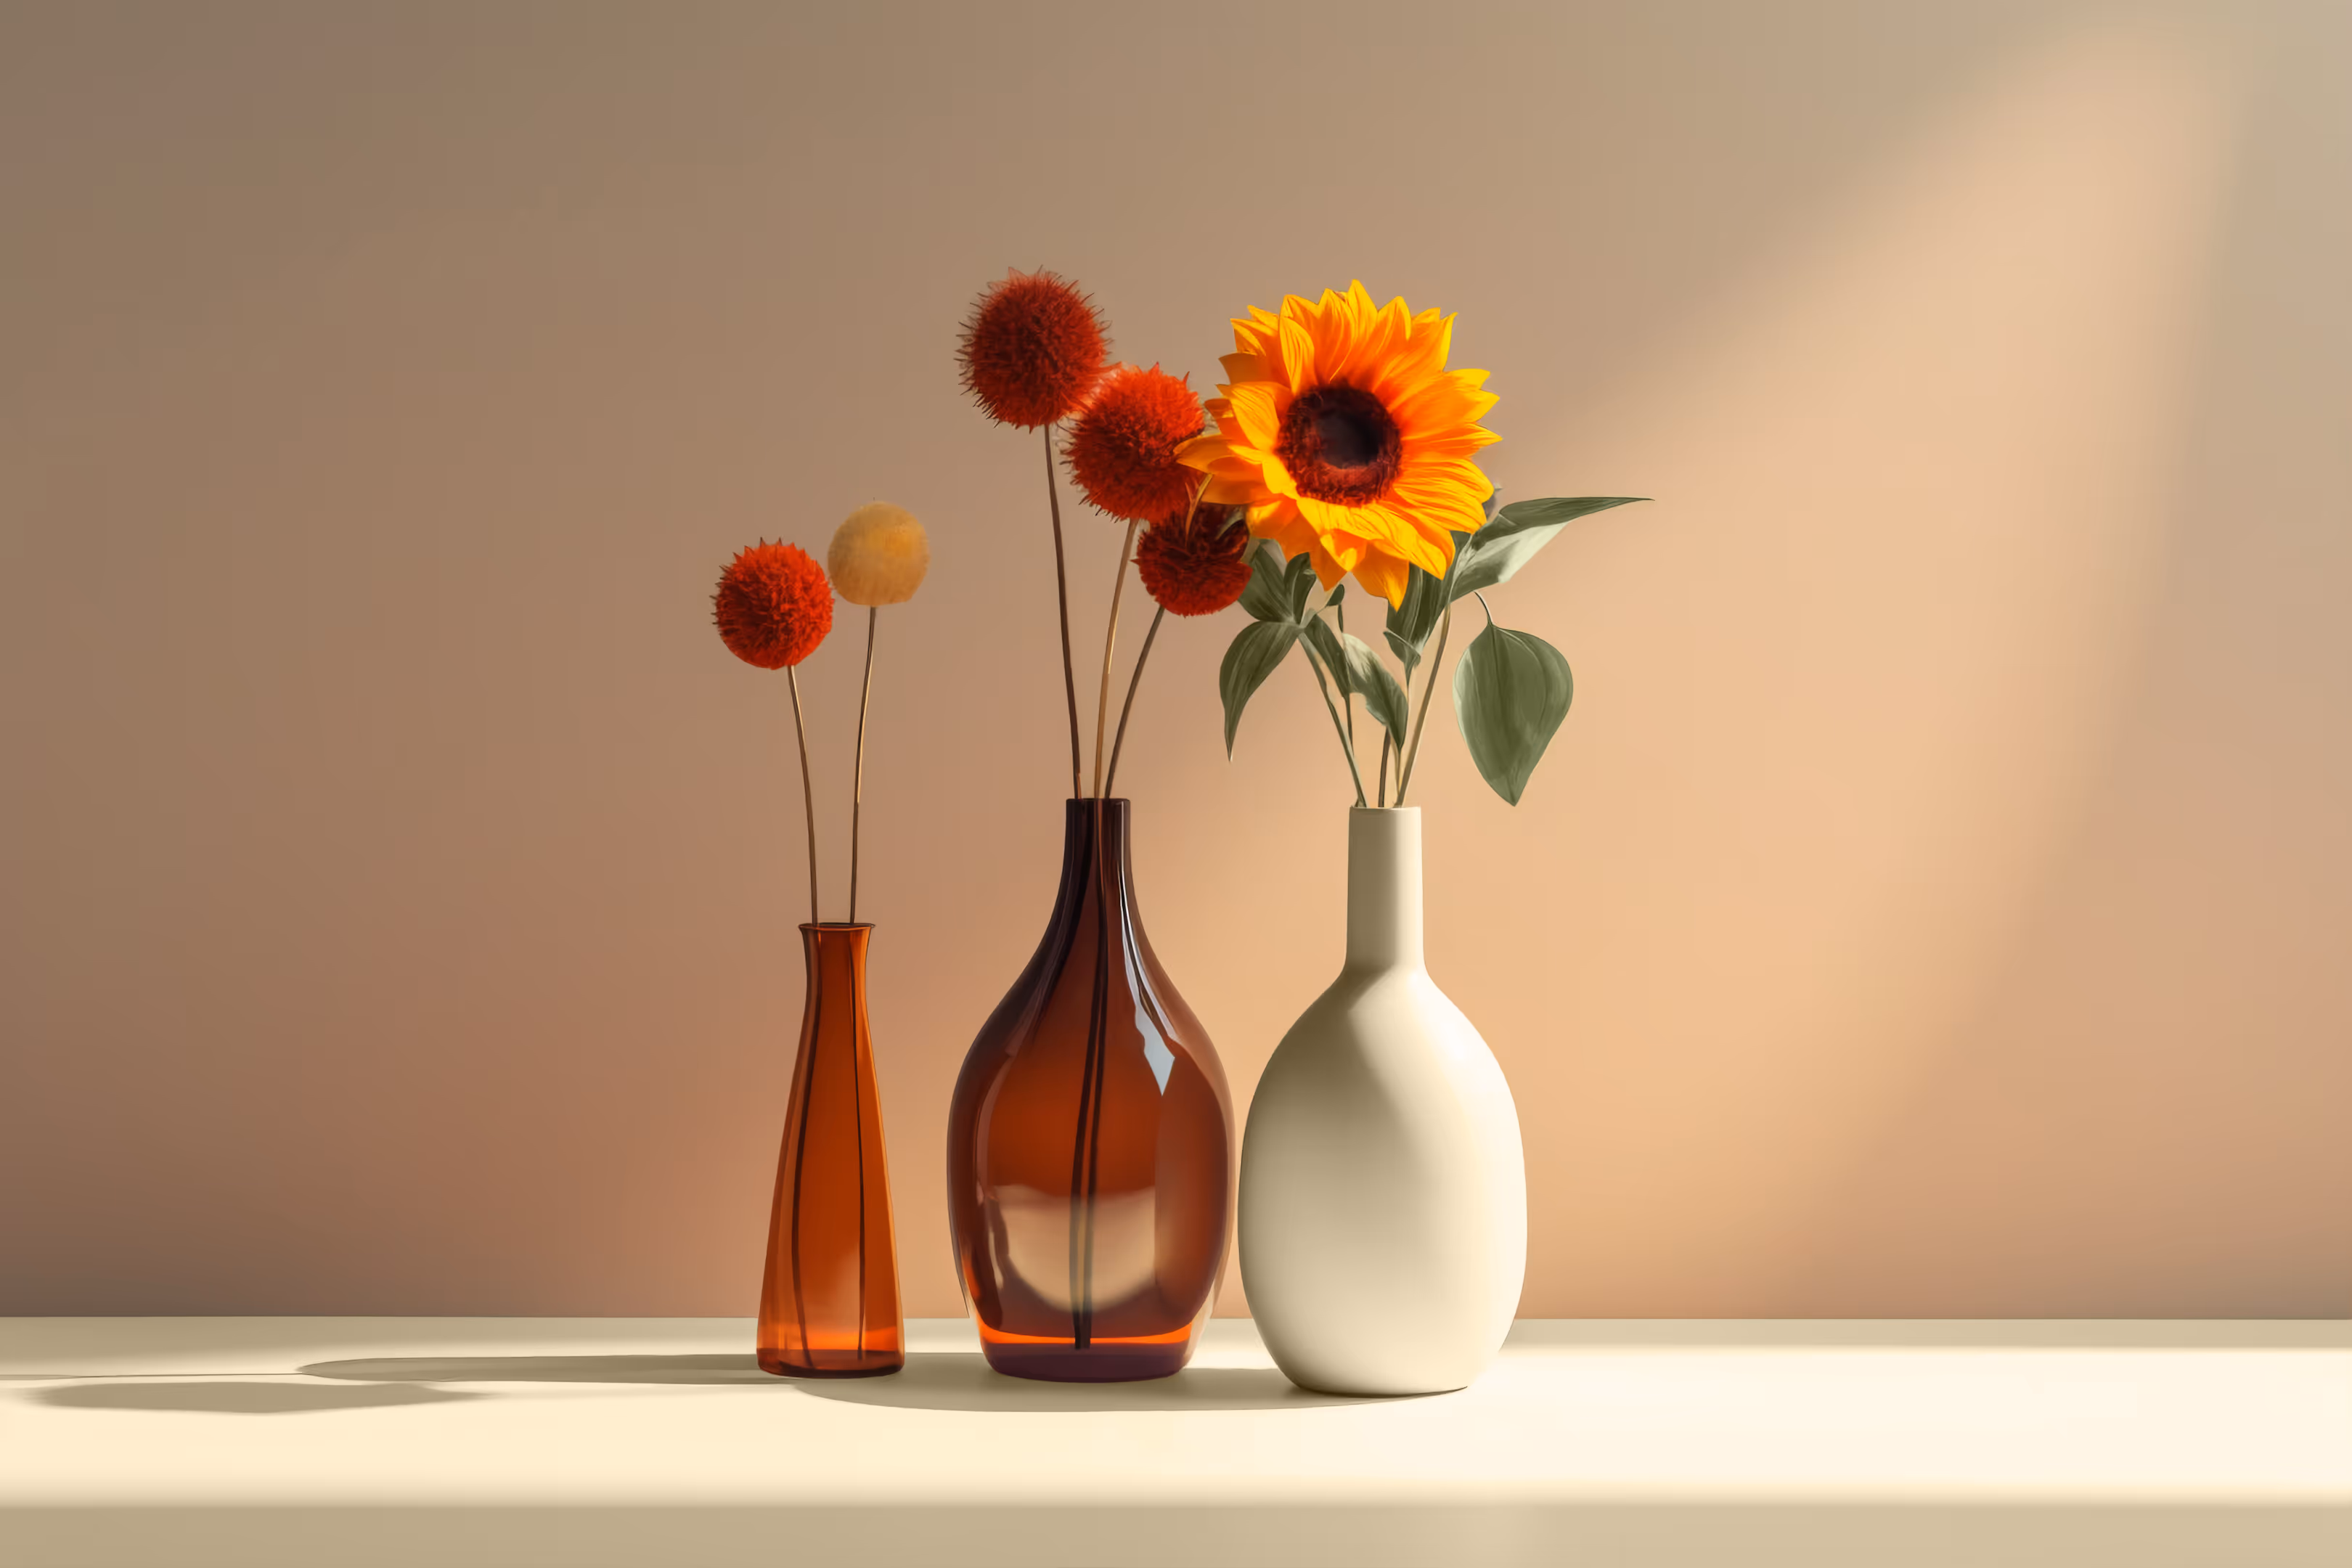
Aperture controls – Use a prime lens with a narrow aperture (high f-stop value) like f/8 or higher to ensure a deep depth of field, keeping the entire subject in focus.
Shutter – Opt for a slower speed since still-life photography subjects don't move. Ensure the camera is stable to avoid camera shake.
ISO – Keep the ISO as low as possible to minimise digital noise and maximise image quality.
Lighting – Soft, diffused lighting works best to avoid harsh shadows and highlight details.
Tripod – Use a tripod to stabilise your camera, especially in low light conditions or when using slow shutter speeds.
Portrait photography
Aperture – Use a wide aperture (low f-stop value, e.g., f/2.8) to create a shallow depth of field, which blurs the background and focuses attention on the subject.
Shutter – Ensure it's fast enough to avoid blur, typically around 1/200th of a second or faster.
ISO – Keep it low to maintain image quality, adjust higher only if needed for lighting conditions.
Lighting – Soft, diffused lighting is ideal to flatter the subject's features.
Landscape photography
Aperture – Use a smaller aperture (high f-stop value, e.g., f/11 to f/16) for greater, shallow depth of field to keep the entire scene in focus.
Shutter – Can vary; use a slower speed for capturing motion in elements like water or clouds.
ISO – Keep as low as possible to ensure the highest quality.
Tripod – Recommended to stabilise the camera, especially for longer exposures.
Wildlife photography
Aperture –Wide aperture (e.g., f/4 to f/5.6) to focus on the animal and blur the background.
Shutter –Very fast (e.g., 1/1000th of a second or faster) and longer shutter speed to make full-frame cameras freeze all the detail and motion of the wildlife.
ISO – Adjust according to the lighting conditions; may need to be higher in dimmer environments or for a faster shutter speed.
Focus – Use continuous autofocus (AF-C) mode to make focus points keep moving subjects sharp.
Don't be afraid to experiment with camera settings!
Entry-level cameras feature a range of shooting modes that cater to different situations, from portrait photos to landscape shots. By switching between these modes, you’ll see firsthand how aperture, shutter speed, and ISO work together to affect exposure and image sharpness. This hands-on approach is invaluable as you begin to find your unique style and preferences in digital photography.
Here's a breakdown of common shooting modes that are useful for beginners and seasoned photographers alike:
Auto Mode (AUTO)
The camera automatically selects the aperture, shutter speed, and ISO based on ambient lighting conditions. It's ideal for beginner photographers just starting out.
Program Mode (P)
Similar to auto, but gives you slightly more control over some other settings like flash and white balance.
Aperture Priority Mode (A or Av)
You choose the aperture (f-stop), and the camera selects the shutter speed. Aperture Priority Mode lets you better control the depth of field when taking photos.
Shutter Priority Mode (S or Tv)
Useful for capturing motion in a controlled way, such as freezing action or creating blur.
Manual Mode (M)
Most cameras give you full control over manual focus, including shutter speed, aperture, and ISO. This mode offers the greatest creative control, allowing you to adjust all exposure settings to match your vision.
Utilise the focus ring to manually adjust the focus on a single focus point, ensuring that your subject is sharply defined, which is crucial for optimising the camera sensor.
Advanced Camera Settings and Techniques
Understanding your camera's capabilities and how to manipulate its settings is pivotal in your photography journey. This section delves into several key areas that every beginner photographer really should master:
Focal Length and Lenses
Focal length, measured in millimetres, determines the lens's angle of view and magnification. Wide angle lenses, with focal length often less than 35mm, are ideal for landscape photography because they capture a broader scene.
In contrast, longer focal lengths are preferred in portrait photography to compress and isolate subjects from the background.
Ensure proper camera handling and maintenance
Proper care of your camera ensures that it performs well for many years. Regular maintenance (such as cleaning the sensor and lenses) can prevent common problems like blurry images and dust spots.
For DSLR camera owners, it's crucial to check the mirror and shutter mechanisms periodically. These can gather dust that affect image condition. Always store your camera and camera accessories well in a dry, cool place. This helps to avoid exposure to damp conditions that can lead to fungal growth in lenses.
Do plenty of practice assignments
Explore, experiment, and extemporise! Practical assignments are key to deepening your understanding of photography basics. Below are several examples to inspire you:
- Light and shadow exploration – Capture the same scene at different times of the day to observe how changing light conditions affect your photos. Focus on how shadows and highlights transform the scene.
- Motion freeze and blur – Use shutter priority mode to photograph a moving subject, such as a car or a running stream. Experiment with fast shutter speeds to freeze motion and slow shutter speeds to create a blur effect.
- Depth of field manipulation – Choose a subject and take multiple photos at various aperture settings. This can help you see how depth of field is impacted. Start with the widest aperture and gradually adjust to the smallest. Analyse how the focus on the subject versus the background changes.
- Portrait vs. landscape – Photograph a single subject using both portrait and landscape orientations. Assess how orientation affects the composition and the perception of the scene.
- ISO changes – Take photos of the same subject on a moderately lit day while varying the ISO settings. Start from the lowest ISO and increase to see how it affects the noise and brightness of your photos.
- Focal length comparison – If you have a zoom lens, take photographs of a scene from the same position at different focal lengths. Observe how the angle of view and perspective compression change.
Patience is a virtue!
Remember, great photography isn't just about technical skills. It is an art, after all. Patience is often essential to capture the perfect moment.
For example, this might make night photography require waiting patiently for the right lighting. Moreover, it can help capture the spontaneous interaction between subjects in street photography.
Many photographers attest that some of their best shots are the result of serendipitous moments combined with preparedness and patience.
Get to grips with editing basics
A guide to photography basics wouldn't be complete without a nod to photo editing. Editing software is an essential tool for enhancing your images. Post-processing can correct exposure issues, enhance colours, and crop photos for better composition.
Beginners should start with basic adjustments in their editing software, like Adobe Lightroom, focusing on exposure, contrast, and colour correction. Learning these fundamentals now will greatly improve the quality of your photos and prepare you for more advanced techniques.
Additional resources
For those seeking to deepen their photography knowledge, here are some effective learning avenues:
Online courses and workshops – Platforms like Udemy, Coursera, and CreativeLive offer comprehensive photography courses taught by industry experts.
YouTube channels – Channels such as B&H Photo Video, Fstoppers, and Thomas Heaton provide free tutorials, gear reviews, and photographic inspiration.
Photography blogs and websites – Digital Photography School and The Phoblographer feature regular updates on techniques, gear reviews, and industry news.
Photography magazines – Publications like National Geographic and Outdoor Photographer blend visual inspiration with educational content, covering a wide range of topics from technical advice to creative challenges.
Local classes – Many community colleges and adult education programs offer photography classes that provide hands-on experience and direct feedback.
Photography exhibitions – These can provide invaluable inspiration. London has many on offer this year so be sure to check them out.
Discover TYX Photography Studios London

We hope you found our guide to photography basics useful! Our top-tier London photography studio has all you need to level up your projects. It features state-of-the-art equipment, including 4 Profoto D2 1000 flash heads and a comprehensive set of modifiers.
Our expert team is ready to assist you in achieving optimal brightness and clarity. The studio includes a professional 4x5m infinity cove and a 7m runway leading to the Colorama holder, providing plenty of space to execute your creative ideas.
More than just a studio, TYX is a dynamic hub for creatives, equipped with cosy lounges and a contemporary café ideal for networking. It’s an excellent venue for exchanging ideas, brainstorming for future projects, and connecting with fellow creatives.
Frequently Asked Questions
Aperture, Shutter Speed, ISO, Composition, Lighting, White Balance, and Focusing.
Adding filters, playing with angles and using different techniques can change an ordinary photo into something dazzling!If you feel that your portrait photography is uninspired, or that it's too dull, then using a variety of different camera and lighting techniques could make all the difference you need. A simple change in angle or composition can change an ordinary photo into something breathtaking.Be sure to use all the tools you have available, and don't be afraid to take multiple shots until you the best shot.
Beginners can start by studying basic photography concepts, practising regularly, experimenting with settings, and learning from tutorials, courses, and experienced photographers.
Our photo studios cater to a variety of photography needs, including fashion shoots, product photography, portrait photography, and more. Whatever photo shoot you have in mind, our facilities are equipped to support diverse creative projects.
Yes, we provide dedicated areas for makeup and wardrobe to help you prepare the style of your photo sessions.
Our photography services start at £150 per session, with pricing tailored to the type of shoot and any additional requirements. Contact us for a personalised quote.