What is an Audio Interface? A Comprehensive Guide
Modern audio interfaces provide a gateway to professional-quality sound. This essential device converts analog audio signals into digital format and vice versa, allowing you to record, process, and playback audio with high fidelity.
In this guide, you'll discover the ins and outs of these essential devices, from their basic functions to choosing the right one for your needs.
What is an audio interface?
An audio interface is a crucial component in any recording setup, designed to bridge the gap between your instruments, microphones, and computer. Its primary function is analog to digital conversion. In other words, it converts analog audio signals into digital signals and digital to analog sound.
Common types of audio interfaces include USB, Thunderbolt, and FireWire, each offering different speeds and connectivity options suited to various recording needs.
Key features of audio interfaces

When choosing an audio interface, several key features play a vital role in its performance and suitability for your setup:
Mic preamps
These amplify the signal from microphones to a usable level without adding noise. High-quality preamps are essential for clear, professional recordings.
Bit depth and sample rate
These determine the audio resolution. Higher bit depths and sample rates offer better sound quality. Common settings are 24-bit depth and 48 kHz sample rate.
Input types
Audio interfaces typically offer a range of inputs, including XLR for microphones, 1/4-inch jacks for instruments, and line-level inputs for other audio sources.
Audio output options
Look for interfaces with various outputs like balanced XLR, TRS, and headphone outputs to monitor your recordings. Most interfaces provide multiple channels and dual headphone outputs for flexible monitoring and mixing.
Connectivity options
Ensure compatibility with your computer through USB, Thunderbolt, or FireWire connections. USB is the most common and widely supported.
- USB – The most universal option, USB interfaces are compatible with nearly all computers, offering ease of use and good performance for most home studios.
- Thunderbolt – Offers higher data transfer rates, ideal for professional studios requiring low latency and handling multiple high-definition audio channels.
- FireWire – Less common but stable, suitable for complex setups in some professional environments, though being phased out in favor of newer technologies.
Compatibility
Ensure the interface works with your DAW (Digital Audio Workstation) and operating system. Many interfaces come with bundled software to enhance your recording experience.
How to choose the right audio interface

Selecting the right audio interface depends on your specific needs and setup. Below is a general guide:
Home studio
Look for interfaces with enough inputs for your instruments and microphones. USB interfaces are typically sufficient for home studios due to their ease of use and affordability.
Professional studio
For professional settings, consider interfaces with higher bit depths and sample rates, premium preamps, and multiple input/output options. Thunderbolt interfaces offer low latency and high-speed data transfer, making them ideal for professional use.
Mobile recording
For on-the-go recording, choose a portable, bus-powered interface. These are typically smaller, lightweight, and powered directly by your computer, eliminating the need for an external power source.
How to set up your audio interface
Setting up an audio interface with your computer is straightforward if you follow these steps:
1. Connect the interface: Plug the audio interface into your computer using your FireWire, USB, or Thunderbolt cable.
2. Install drivers: Download and install the latest drivers from the manufacturer's website to ensure compatibility and optimal performance.
3. Configure your dAW: Open your Digital Audio Workstation (DAW) and select the audio interface as your input and output device in the audio settings.
4. Connect your gear: Plug in your microphones, instruments, or other audio sources into the interface's inputs. Connect your monitors or headphones to the outputs.
5. Set levels: Adjust the input gain levels on your interface to avoid clipping and ensure a clean signal.
6. Test your setup: Record a test track to ensure everything works correctly and the sound quality meets your expectations.
Troubleshooting Tips
No sound?: Ensure all connections are secure and the interface is selected in the DAW and computer’s audio settings.
Latency issues?: Adjust the buffer size in your DAW settings. Lower buffer sizes reduce latency but require more processing power.
Driver issues?: Ensure you have the latest drivers installed. If problems persist, check the manufacturer’s support page for troubleshooting advice.
Following these steps will help you set up your audio interface quickly and effectively, ensuring you can start recording with minimal hassle.
Best practices for using audio interfaces
Maintain your equipment: Regularly update your audio interface's firmware and drivers. This ensures compatibility with your digital audio workstation and improves overall performance.
Proper gain staging: Adjust the input gain to avoid clipping and distortion. Use the interface's preamps to set levels correctly, ensuring a clean and strong signal.
Minimise latency: Lower the buffer size in your DAW settings to reduce latency. Keep in mind that lower buffer sizes demand more processing power, so find a balance that works for your setup.
Monitor with headphones: Use the headphone output on your interface for direct monitoring. This helps to eliminate latency issues and ensures you hear the audio signals in real time.
Optimise your workspace: Position your audio interface and connected gear in a convenient, accessible setup. This reduces the need for making multiple trips to adjust settings or reconnect cables.
Use Phantom Power: If you’re using condenser microphones, ensure that phantom power is activated on your interface to provide the necessary voltage for these mics.
By following these guidelines, you can ensure that your audio interface delivers the best possible sound quality and performance during your recording sessions.
Guide to popular audio interfaces

Choosing the right audio interface can be daunting with so many options available. Here are some popular models that cater to various needs and budgets, ensuring you find the perfect fit for your recording setup.
Focusrite Scarlett 2i2
Renowned for its affordability and ease of use, it features two high-quality microphone/instrument inputs with ultra-low-noise preamps and a 24-bit/192 kHz resolution, ensuring excellent audio quality.
The Scarlett 2i2 also includes Focusrite's unique Air mode, which enhances the clarity and detail of recordings. This interface is ideal for home studios and beginners, providing everything needed to start recording, including software bundles like Ableton Live Lite and Pro Tools Artist.
Universal Audio Apollo Twin X
A Thunderbolt interface designed for professional studios. It boasts two Unison-enabled preamps and real-time UAD processing, offering high-quality sound with low latency. The Apollo Twin X supports 24-bit/192 kHz resolution and includes advanced features like built-in DSP for running UAD plugins in real-time.
This makes it a preferred choice for professionals who require superior audio performance and extensive plugin options for their recording and mixing sessions (Crutchfield) .
PreSonus AudioBox USB 96
A budget-friendly USB audio interface, perfect for small home studios. It features two microphone/instrument inputs and a built-in MIDI interface, supporting 24-bit/96 kHz resolution. The AudioBox USB 96 is known for its simplicity and reliability, making it an excellent choice for beginners and those looking for an affordable yet capable recording solution.
MOTU M2
Offers exceptional audio quality and low latency, making it a favorite among users who prioritize performance. This USB interface includes two high-quality microphone/instrument inputs and supports 32-bit/192 kHz resolution, providing clear and detailed recordings. The MOTU M2's advanced features and solid build quality make it suitable for demanding recording tasks in both home and professional environments (Focusrite).
Audient iD4 MKII
A compact and portable USB interface designed for solo musicians and podcasters. The Audient iD4 MKII It features one microphone input and one instrument input, with high-performance converters offering 24-bit/96 kHz resolution. The iD4 MKII is praised for its robust build and superior preamps, making it a great choice for high-quality mobile recording sessions.
Harness industry-level interfaces at TYX Studios

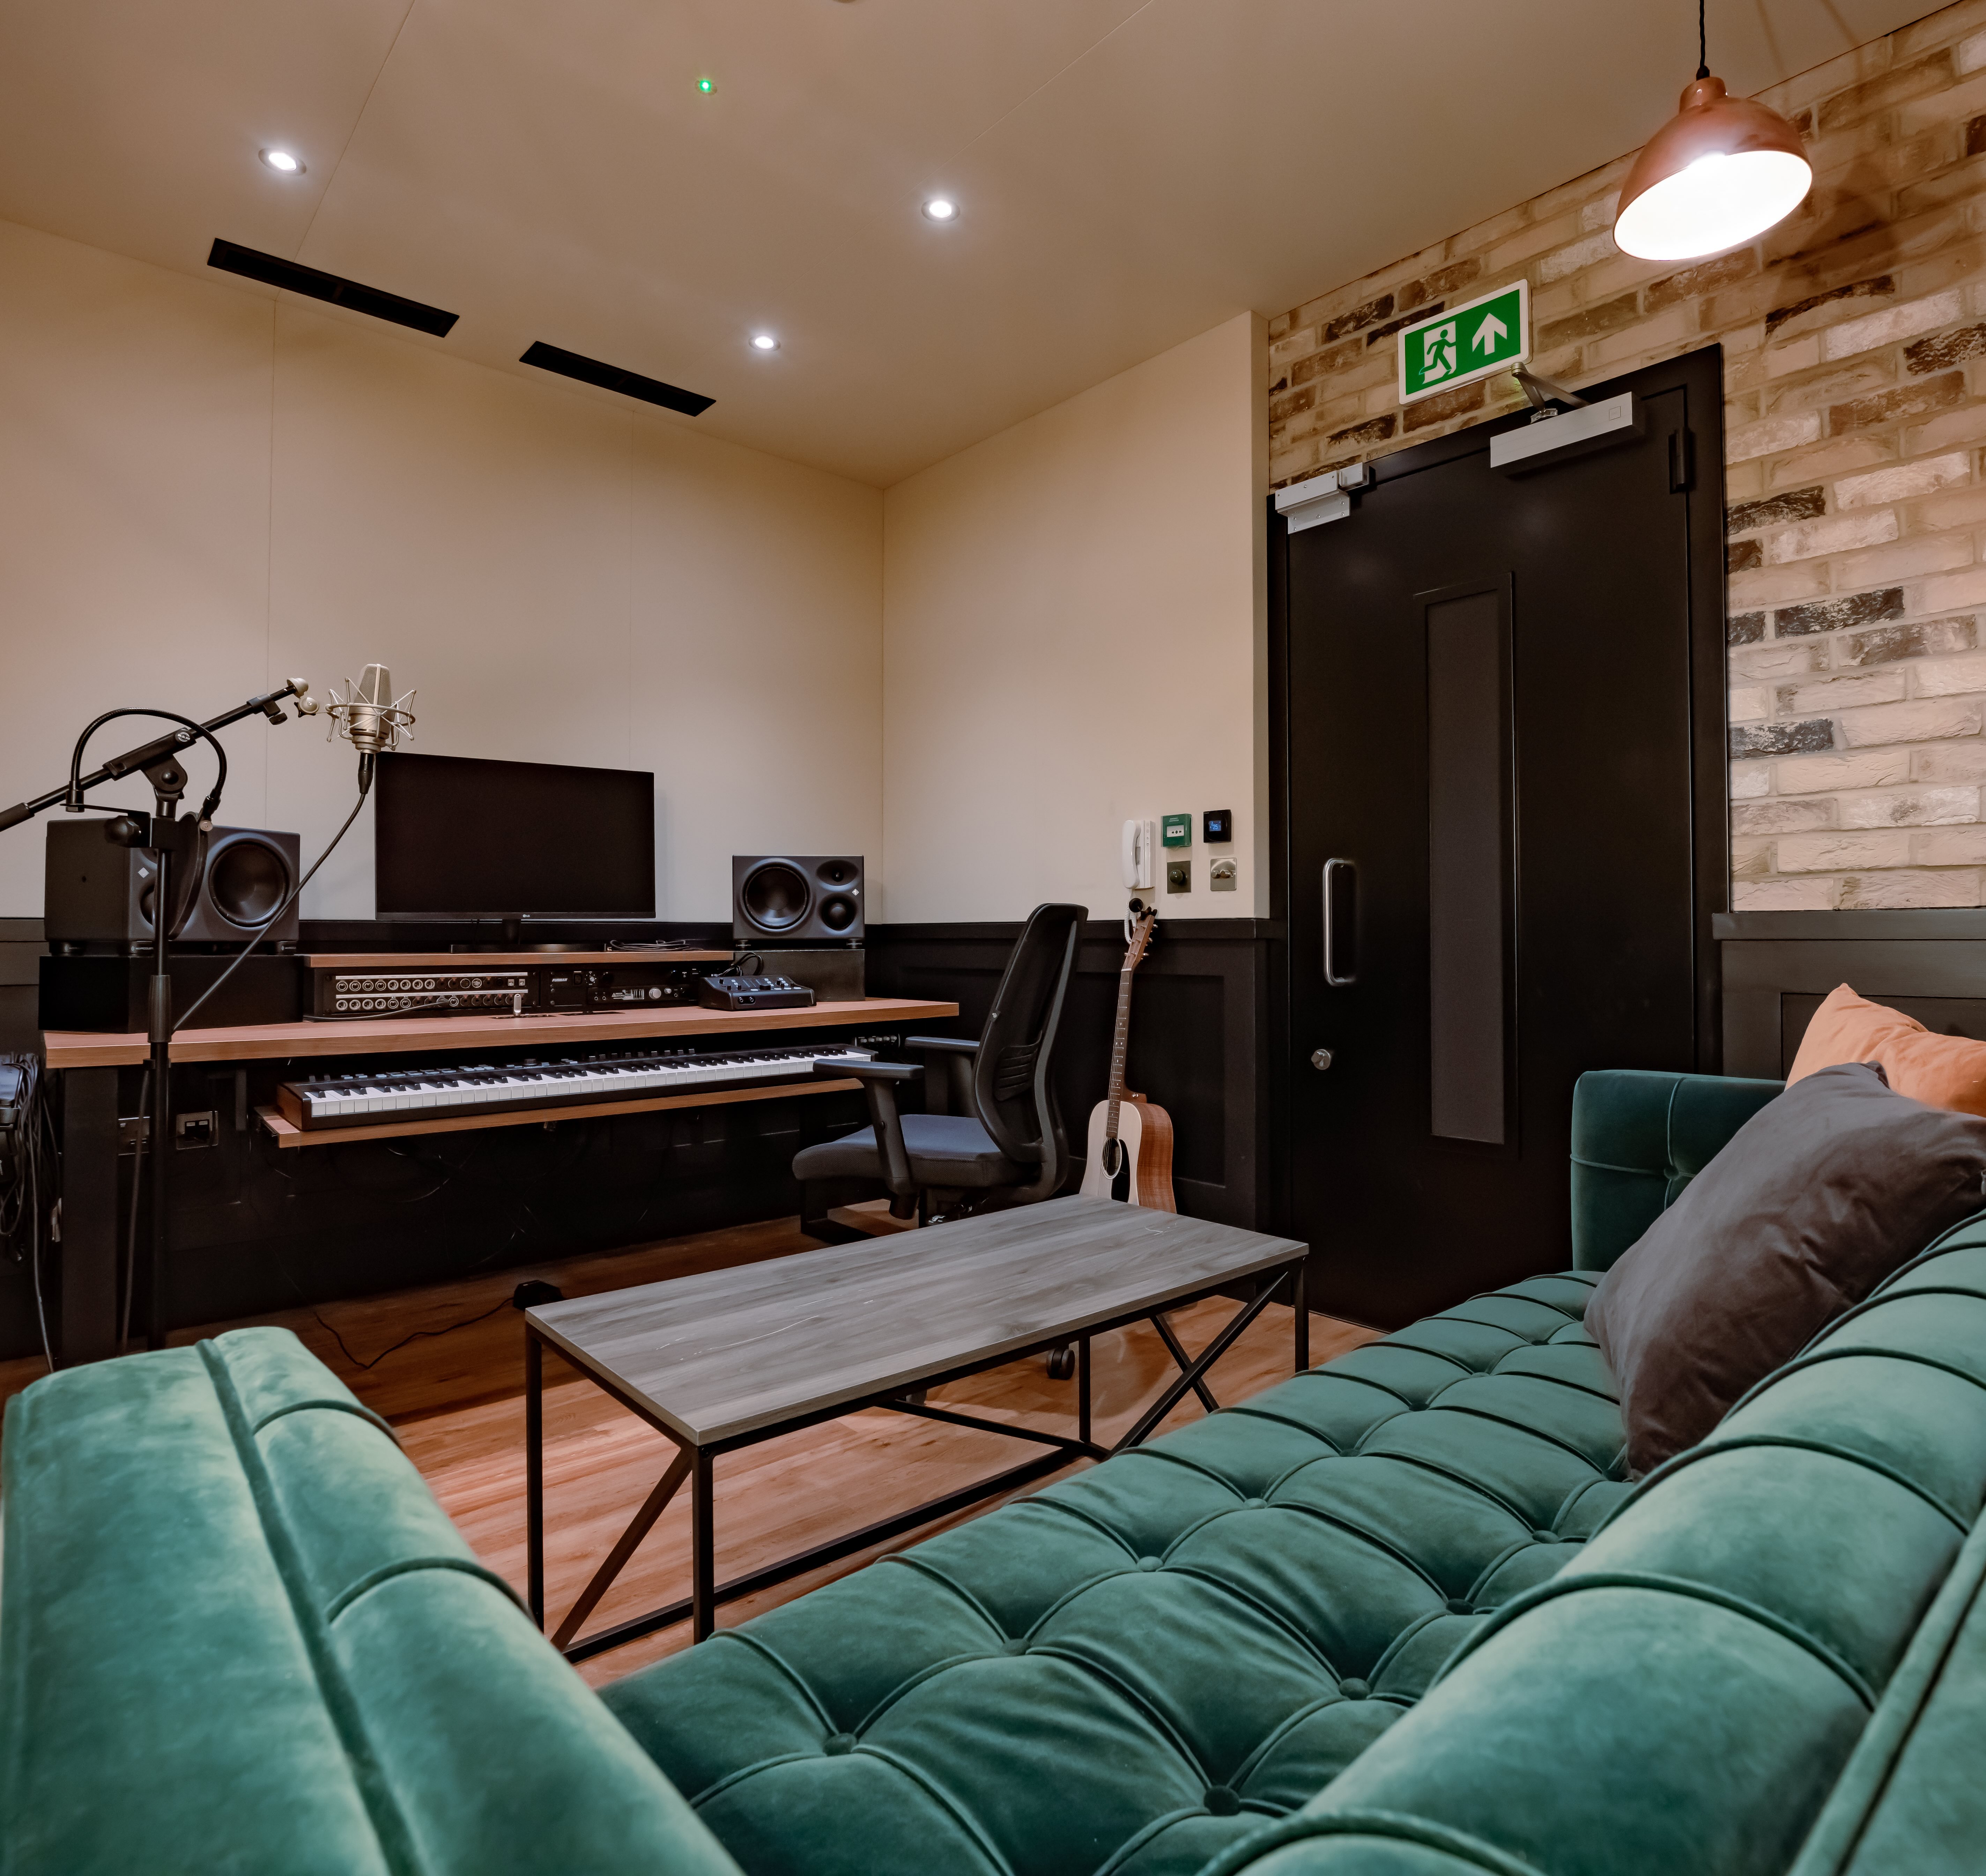
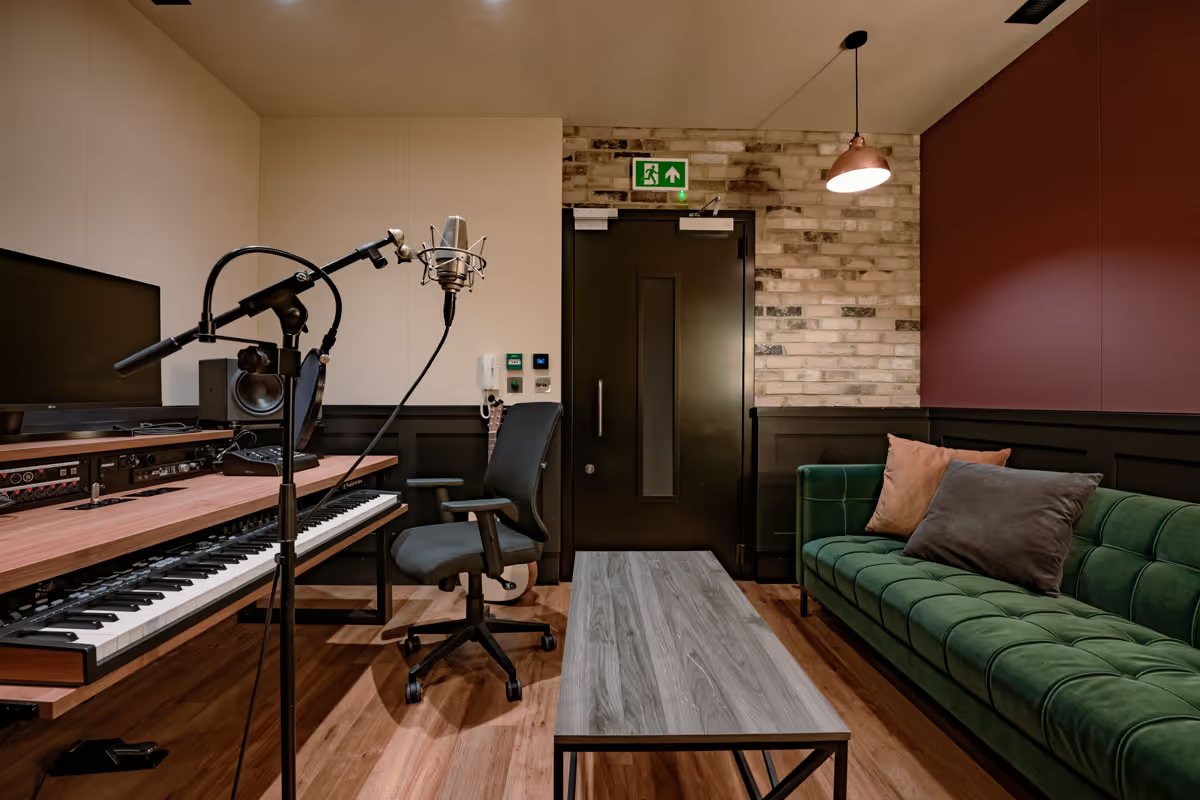
At our tecording studios in London, we use some of the best audio interfaces available. In our Dolby Atmos Studio, we use Neumann audio interfaces which are top-notch for creating really immersive audio experiences.
Over in our Production Studios, the Prism Lyra 2 Audio Interfaces are what we rely on to ensure everything you hear is exactly as it should be—crystal clear and accurate.
Whether you're planning to lay down some tracks, start a podcast, or anything in between, we've geared our studios to make sure you can just plug in and get going without a hitch.
Curious about how it all comes together or just want to chat about what interface might be right for your project?
Enquire today—we love talking shop and helping you get the best out of your sessions.
Frequently Asked Questions
Standard Membership - £100 + VAT per month. Access all our studios 24/7 with 20% off every booking. Pay monthly at £100 + VAT, or annually at £1,000 + VAT.
Co-working Desk - £300 + VAT per month. Your own dedicated workspace in our creative community. Pay monthly at £300 + VAT, or annually at £2,500 + VAT.
Credit Packs - Members can purchase studio credit packs starting from £1,000 with an additional 10% discount (only available with Standard membership).


.avif)

